Granny Square Basics: Crochet Your First Classic Square
Overview
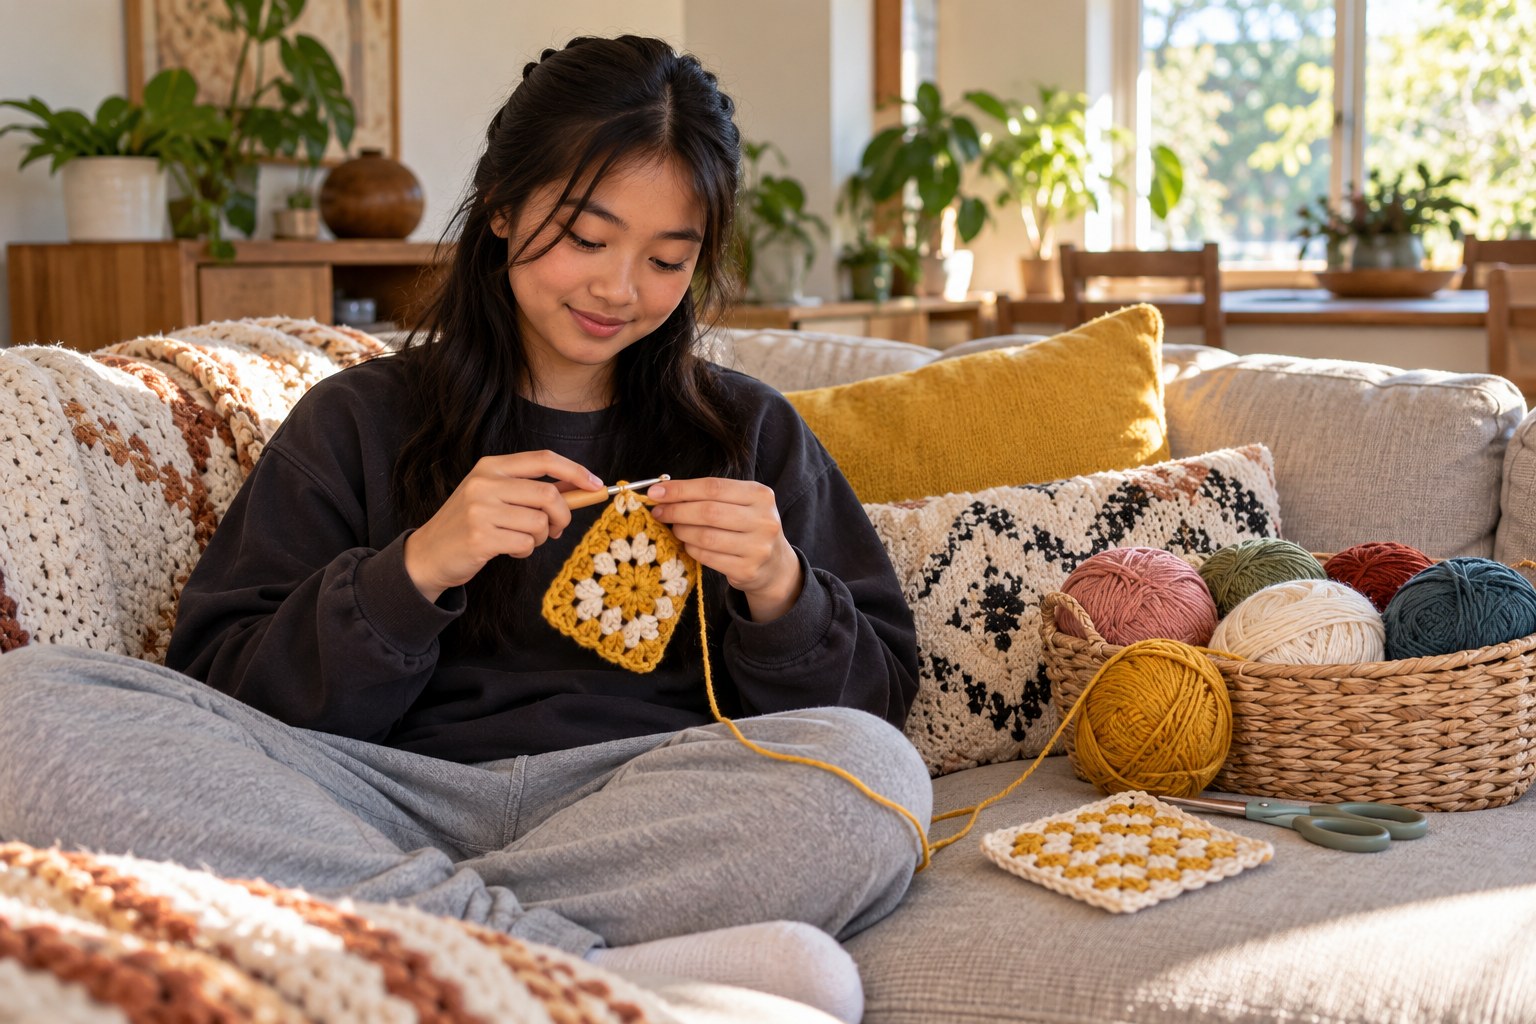
Crochet your first three-round granny square and learn to read a pattern.
Description
Your teen learns to hold a crochet hook and yarn, makes a slip knot, a chain and a magic ring, and works double crochet clusters to build a classic three-round granny square with one color change. Along the way they learn to read a written pattern and its standard US abbreviations, then block the square flat and sketch how several squares could join into a tote or blanket.
Objective
Your teen will learn basic crochet stitches, follow a written pattern with standard abbreviations, and complete and block a granny square.
Materials
| Item | Quantity |
|---|---|
| Worsted-weight (#4) yarn in two colors | 1 small ball each |
| Crochet hook, 5 mm (US H-8) | 1 |
| Scissors | 1 |
| Yarn needle (blunt tapestry needle) | 1 |
| Spray bottle of water and a towel for blocking | 1 each |
| Sheet of paper and pencil | 1 each |
Vocabulary
Preparation
- Choose a smooth, light-colored worsted-weight yarn for the main color; dark or fuzzy yarn makes stitches hard to see.
- If you or your teen are new to crochet, a short video of a slip knot and double crochet can help alongside this lesson.
Introduction
Show your teen a picture of a granny-square cardigan or tote. Tell them every one of those is made of the same small square, repeated, and that they'll make the first one today.
Have you seen granny squares on clothes, bags or blankets?
What colors would you want for your first square?
Steps
Conclusion
Ask: what was hardest, the magic ring or the corners? Every crocheter's first square is a little wonky. The second one is always better.
Make your own lesson plan in minutes
Describe a topic and Resource Portal AI writes the objectives, materials and steps for your group.
Try Resource Portal AI