Lesson planMini Sneaker Sculpture: Modeling a Shoe in Air-Dry Clay
Arts & Crafts60 minutesGrades: 10th
Overview
Sculpt a tiny sneaker from a real one.
Description
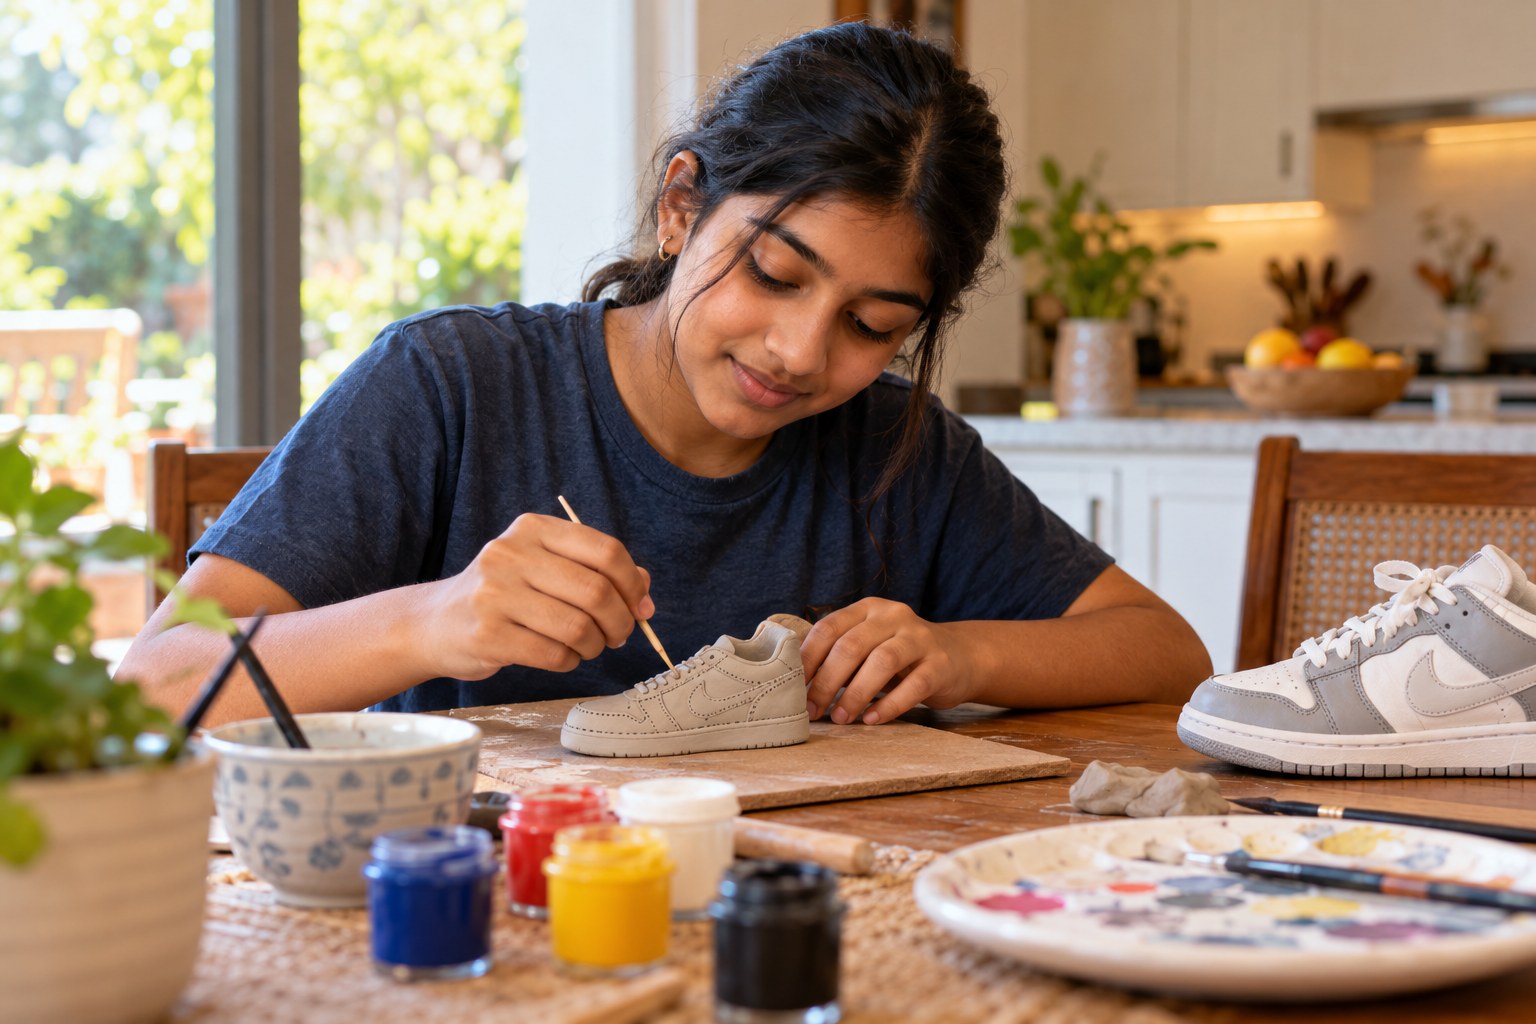
Your teen studies the parts of a real sneaker, then sculpts a model about one-quarter scale in air-dry clay: sole, upper, tongue and laces. They press in texture with a toothpick and fork, set it to dry, and plan an original colorway to paint once it hardens.
Objective
Your teen will build a small sneaker sculpture in proportion to a real shoe, joining clay pieces securely and adding surface texture.
Materials
| Item | Quantity |
|---|
| Air-dry clay | 1 pound (about 450 g) |
| Real sneaker to use as a model | 1 |
| Toothpick | 2 |
| Fork | 1 |
| Small cup of water | 1 |
| Ruler | 1 |
| Acrylic paints (to use after drying) | 3-5 colors |
Vocabulary
Scale
The size relationship between a model and the real object; at one-quarter scale, every measurement is divided by 4.
Score and slip
Scratching both clay surfaces and adding a bit of wet clay or water so two pieces stick together and do not crack apart when dry.
Midsole
The cushioned layer between the outsole and the upper; it is often the thickest part of a sneaker's sole.
Preparation
- Cover the table with a placemat or sheet of parchment paper.
- Set out the clay, 2 toothpicks, fork, cup of water and ruler next to the model sneaker.
Introduction
Tiny sneaker sculptures and keychains are popular with collectors, and making one forces you to really look at a shoe. Ask your teen to describe their sneaker from memory, then look at it closely and see what they missed.
Which part of a sneaker do you think will be hardest to sculpt?
If the real shoe is 28 cm long, how long is a quarter-scale model?
Steps
1Step 1
Measure and plan the scale
(8 min) Your teen measures the real sneaker's length, sole height and collar height with the ruler and divides each by 4 to get model sizes. They jot the numbers on a scrap of paper so they can check the clay as they go.
2Step 2
Build the sole
(12 min) From the air-dry clay your teen rolls and flattens a slab for the sole, trims it to the scaled length, and shapes the toe spring so the front lifts slightly. They press the fork along the edge to make outsole tread texture.
3Step 3
Shape the upper and tongue
(18 min) Your teen forms the upper as a hollow shell around a small ball of crumpled foil or paper, then adds a separate tongue. They score and slip every joint with a toothpick and a dab of water from the cup so the pieces bond.
4Step 4
Add laces and stitching
(14 min) Your teen rolls thin clay coils for laces and lays them across the eyestay in a crisscross. With the second toothpick they press tiny stitch marks along the panels and add any details from the real shoe, like a heel pull tab.
5Step 5
Plan the colorway
(8 min) While the sculpture starts drying (usually 24 to 72 hours), your teen sketches a quick side view and chooses 3 to 5 of the acrylic paints for an original colorway. They write which color goes on each part so painting day goes quickly.
Conclusion
Ask your teen what they now notice about real sneakers that they didn't before. Sculptors and product designers build models for exactly that reason: making the object teaches you how it works.
Make your own lesson plan in minutes
Describe a topic and Resource Portal AI writes the objectives, materials and steps for your group.
Try Resource Portal AI