Lesson planCardboard Cosplay Prop: Template, Layer and Paint a Lightweight Shield
Arts & Crafts60 minutesGrades: 10th
Overview
Template, layer and weather a lightweight cardboard shield.
Description
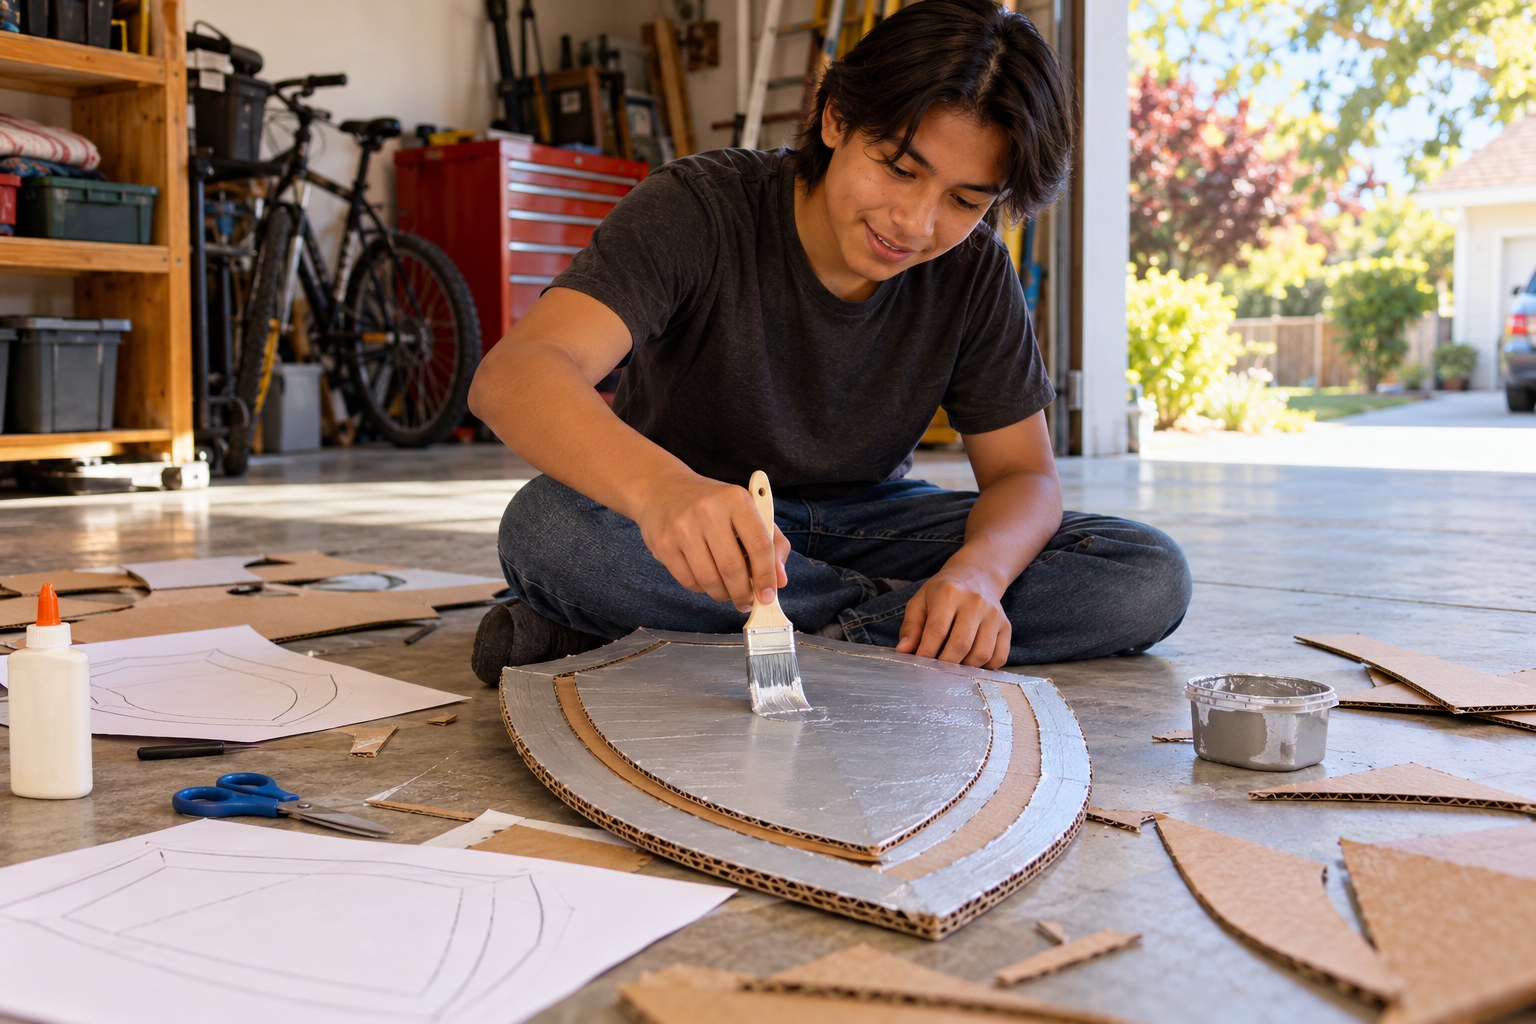
Your teen designs an original fantasy shield, makes a symmetrical paper template, and cuts three layers of corrugated cardboard with scissors to build raised rims and an emblem. They seal the surface with watered-down glue, paint a metallic base coat, and dry-brush dark paint into the edges so it looks like worn metal.
Objective
Your teen will turn an original sketch into a paper template, build depth with layered cardboard, and apply a sealed metallic finish with dry-brushed weathering.
Materials
| Item | Quantity |
|---|
| Large corrugated cardboard box, flattened | 1 |
| Sheets of newspaper or large paper for the template | 2 |
| Sturdy scissors | 1 pair |
| White school glue | 1 bottle (about 4 oz) |
| Small cup for mixing glue and water | 1 |
| Silver or metallic acrylic paint | about 2 oz |
| Black or brown acrylic paint | about 1 oz |
| Wide paintbrush | 1 |
| Small stiff brush for dry brushing | 1 |
| Duct tape | about 24 inches |
| Pencil | 1 |
| Paper towels | 4 sheets |
Vocabulary
Template
A paper pattern you trace onto material so every piece comes out the right shape and size.
Layering
Gluing cut shapes on top of each other to create raised edges and depth.
Sealing
Brushing on a thin coat, here glue and water, that stiffens cardboard and gives paint a smooth surface.
Dry brushing
Wiping most paint off a brush and lightly dragging it over raised areas so they catch color, like worn metal.
Preparation
- Cover the work area (a garage floor or table) with newspaper and open a window or door.
- If the cardboard is too thick for scissors in any spot, an adult makes those cuts with a box cutter; your teen uses scissors only.
- Flatten the box and check that it has at least one large clean panel for the shield base.
Introduction
Show your teen a photo search of finished cosplay armor and ask: how much of this do you think is real metal? Many convention props are cardboard, foam, glue and smart paint.
What makes something look heavy and metallic in a photo?
Why might prop makers design their own emblem instead of copying one?
Steps
1Step 1
Sketch the design
(8 min) Your teen sketches an original shield in pencil on a sheet of newspaper: an outline shape, a raised rim, and one emblem such as a crest, a star or a family initial. They mark which parts will be the base layer, the rim layer and the emblem layer.
2Step 2
Make the template
(10 min) Your teen folds the second sheet of newspaper in half, draws half of the shield against the fold, and cuts it out with the scissors so the template opens perfectly symmetrical. They cut a second template for the rim by drawing a line about 1 inch inside the edge and a third small one for the emblem.
3Step 3
Trace and cut the layers
(14 min) Your teen traces the templates onto the flattened cardboard box in pencil and cuts out the base, the rim ring and the emblem with the scissors, cutting slowly and keeping fingers out of the blade's path. An adult handles any spot that needs a box cutter.
4Step 4
Glue the layers and add a handle
(8 min) Your teen spreads white school glue on the back of the rim and emblem, presses them onto the base and weighs them down with a few books for 5 minutes. They then make a handle on the back with a doubled strip of the duct tape, sticky sides together in the middle, taped down at both ends.
5Step 5
Seal the surface
(8 min) In the small cup your teen mixes about 2 tablespoons of white glue with 2 tablespoons of water and brushes a thin coat over the front with the wide paintbrush, getting into the edges. They let it dry, using a hair dryer on a low setting if you have one, until it is no longer tacky.
6Step 6
Paint and weather
(12 min) Your teen paints the whole front silver with the wide paintbrush and lets it set for a few minutes. Then they dip the small stiff brush in the black or brown paint, wipe almost all of it off on a paper towel, and lightly drag it over edges and the emblem so the raised areas look scuffed and old.
Conclusion
Have your teen hold the shield and pose for one photo. Ask what they would change on version two, because prop makers almost always build twice.
Make your own lesson plan in minutes
Describe a topic and Resource Portal AI writes the objectives, materials and steps for your group.
Try Resource Portal AI