Digicam Revival: A Day of Photos With an Old Point-and-Shoot
Overview
Shoot a day-in-the-life set with an old digital camera and its flash.
Description
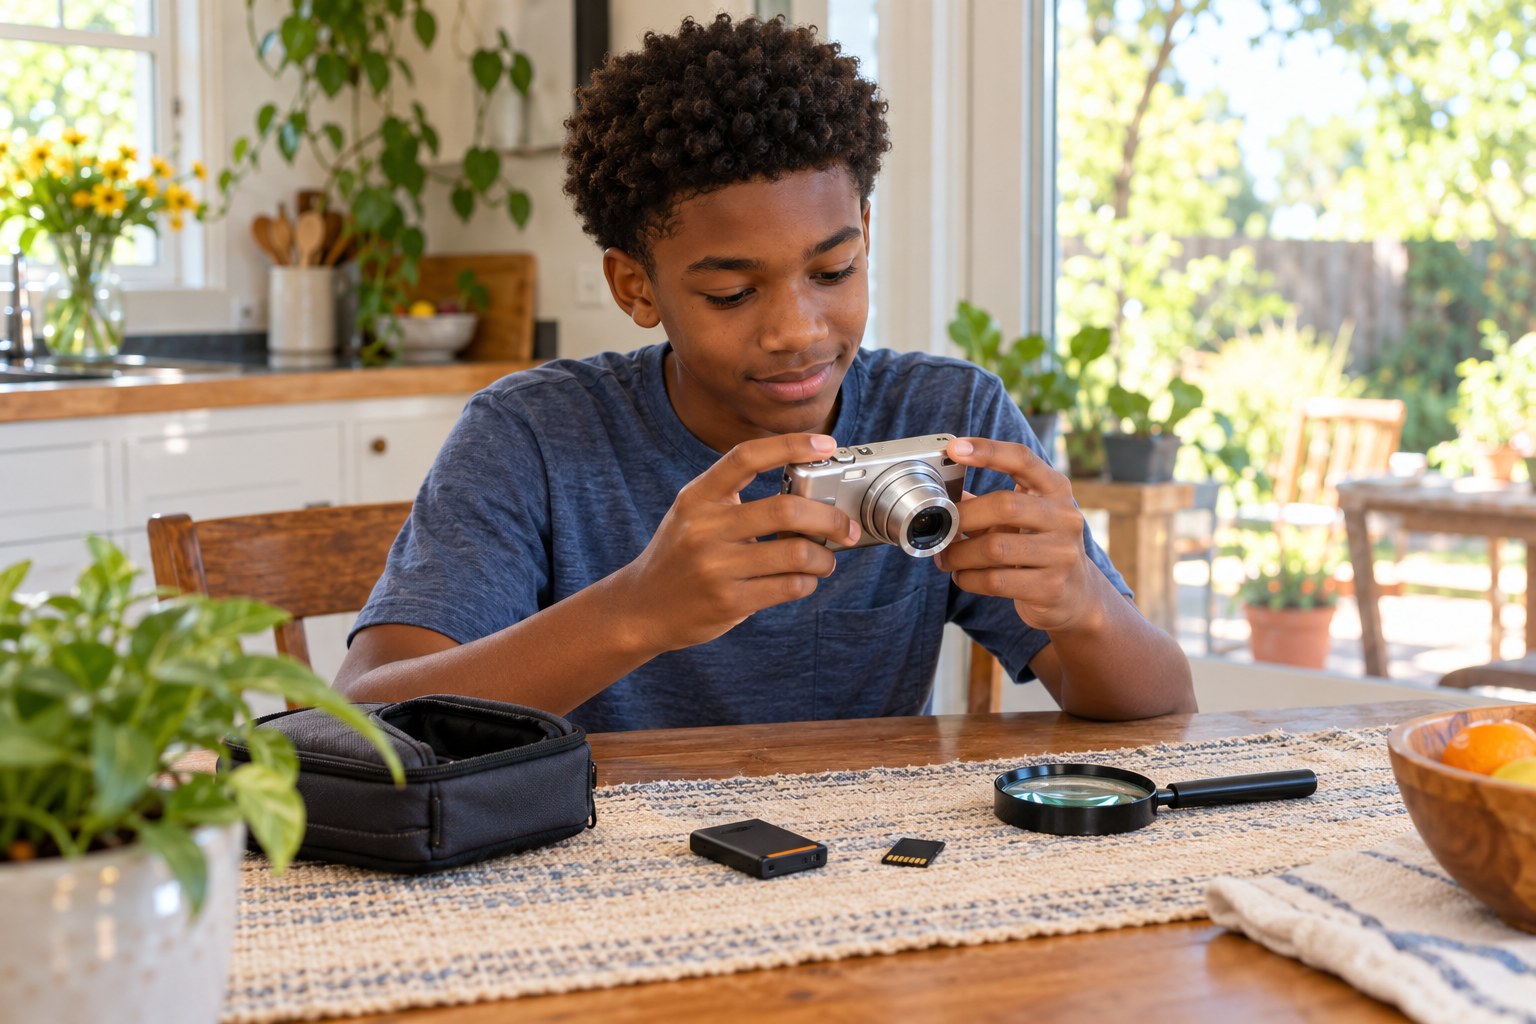
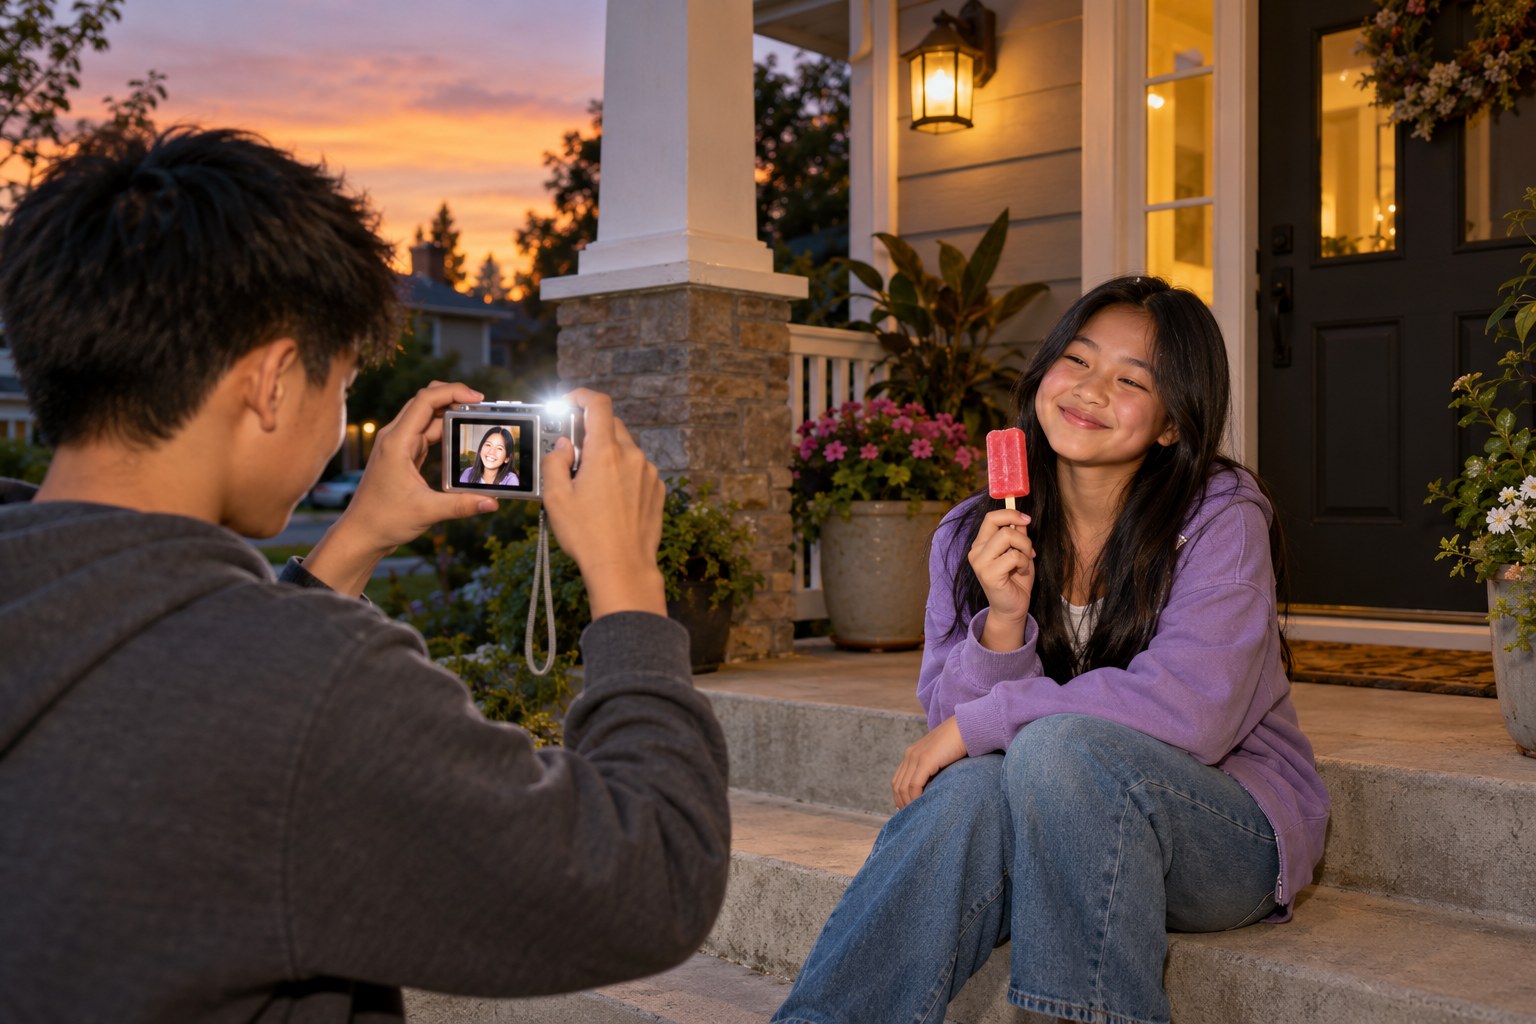
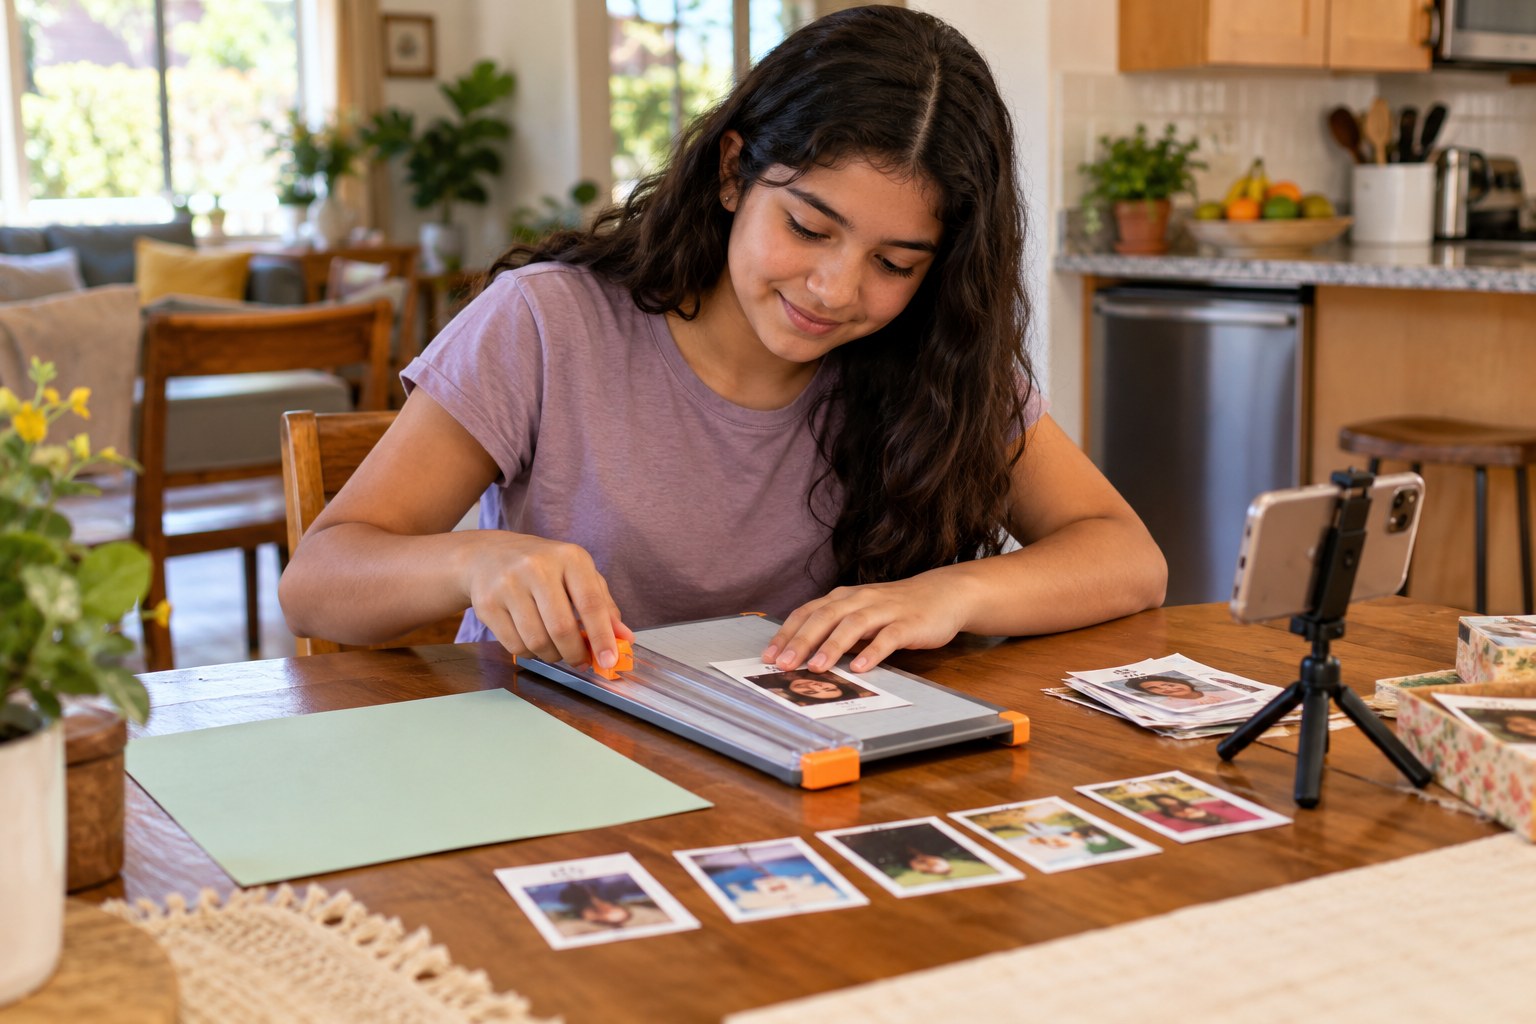
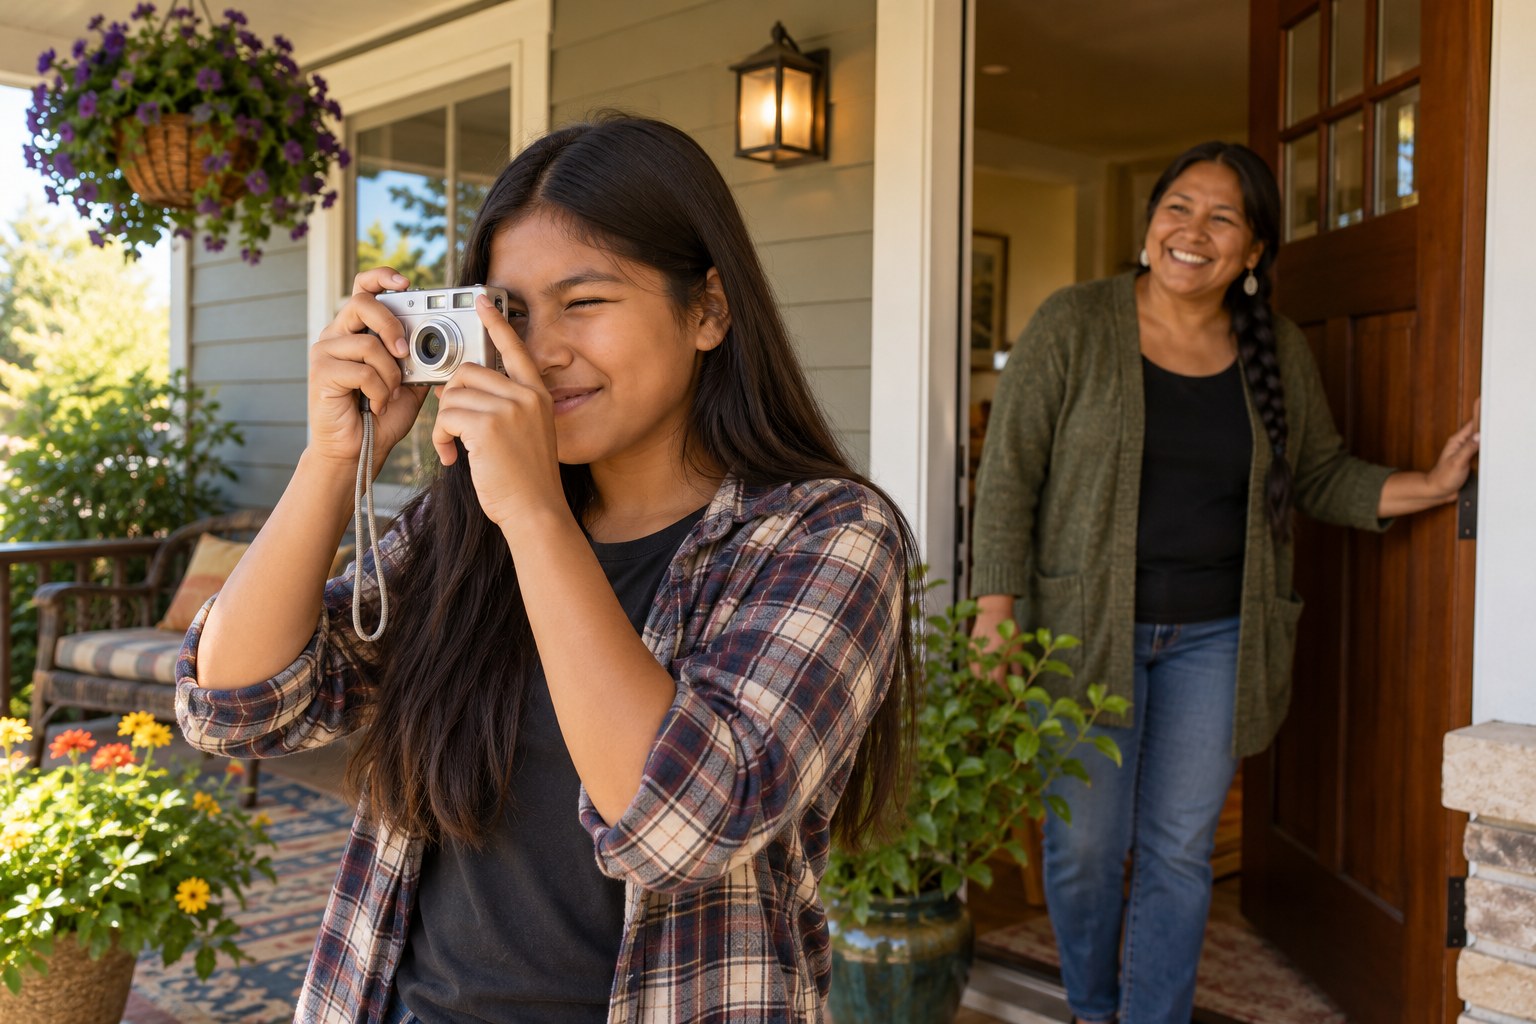
Your teen uses an old point-and-shoot digital camera from a drawer, or a phone with flash on and no filters, to shoot a day-in-the-life set of about 30 photos. They compare direct flash with natural window light on the same subjects, learn why small sensors and on-camera flash create the bright, high-contrast look that has made older digicams popular again, and pick their five strongest frames.
Objective
Your teen will compare flash and natural light, use zoom and framing intentionally, and select a small set of photos that tells a story.
Materials
| Item | Quantity |
|---|---|
| Old digital point-and-shoot camera with a charged battery and memory card, or a phone | 1 |
| Notebook and pen for a shot log | 1 each |
| Computer or phone to view photos | 1 |
Vocabulary
Preparation
- Charge the camera battery and check the memory card, or clear space on the phone.
- Look up the camera's model number online to find its basic manual if the buttons are confusing.
Introduction
Show your teen a photo from an old family camera or phone, with its harsh flash and bright colors. Ask: why do you think some people your age are buying cameras like this again?
What does a photo with direct flash look like compared with daylight?
Why might a photo that looks less perfect feel more real?
Steps
Conclusion
Ask your teen what the flash did to their photos and when they liked it. Understanding why a look happens lets a photographer choose it on purpose instead of by accident.
Make your own lesson plan in minutes
Describe a topic and Resource Portal AI writes the objectives, materials and steps for your group.
Try Resource Portal AI