Flash in Daylight: Getting the Digicam Look on Purpose
Overview
Use on-camera flash on purpose and see what it really does.
Description
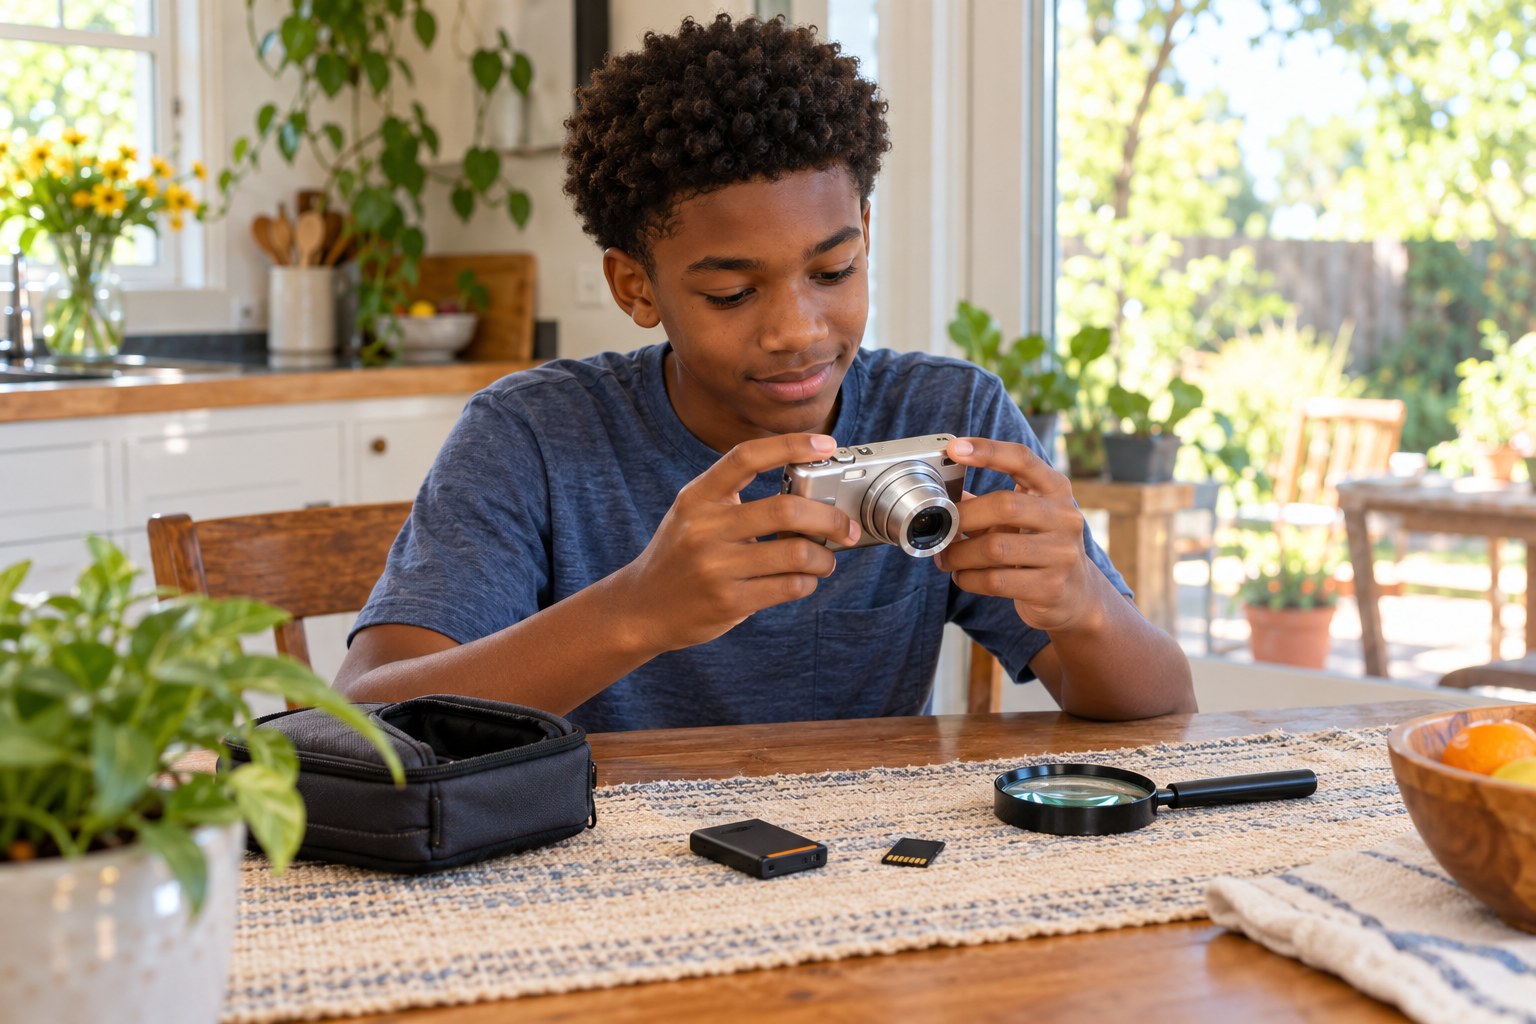
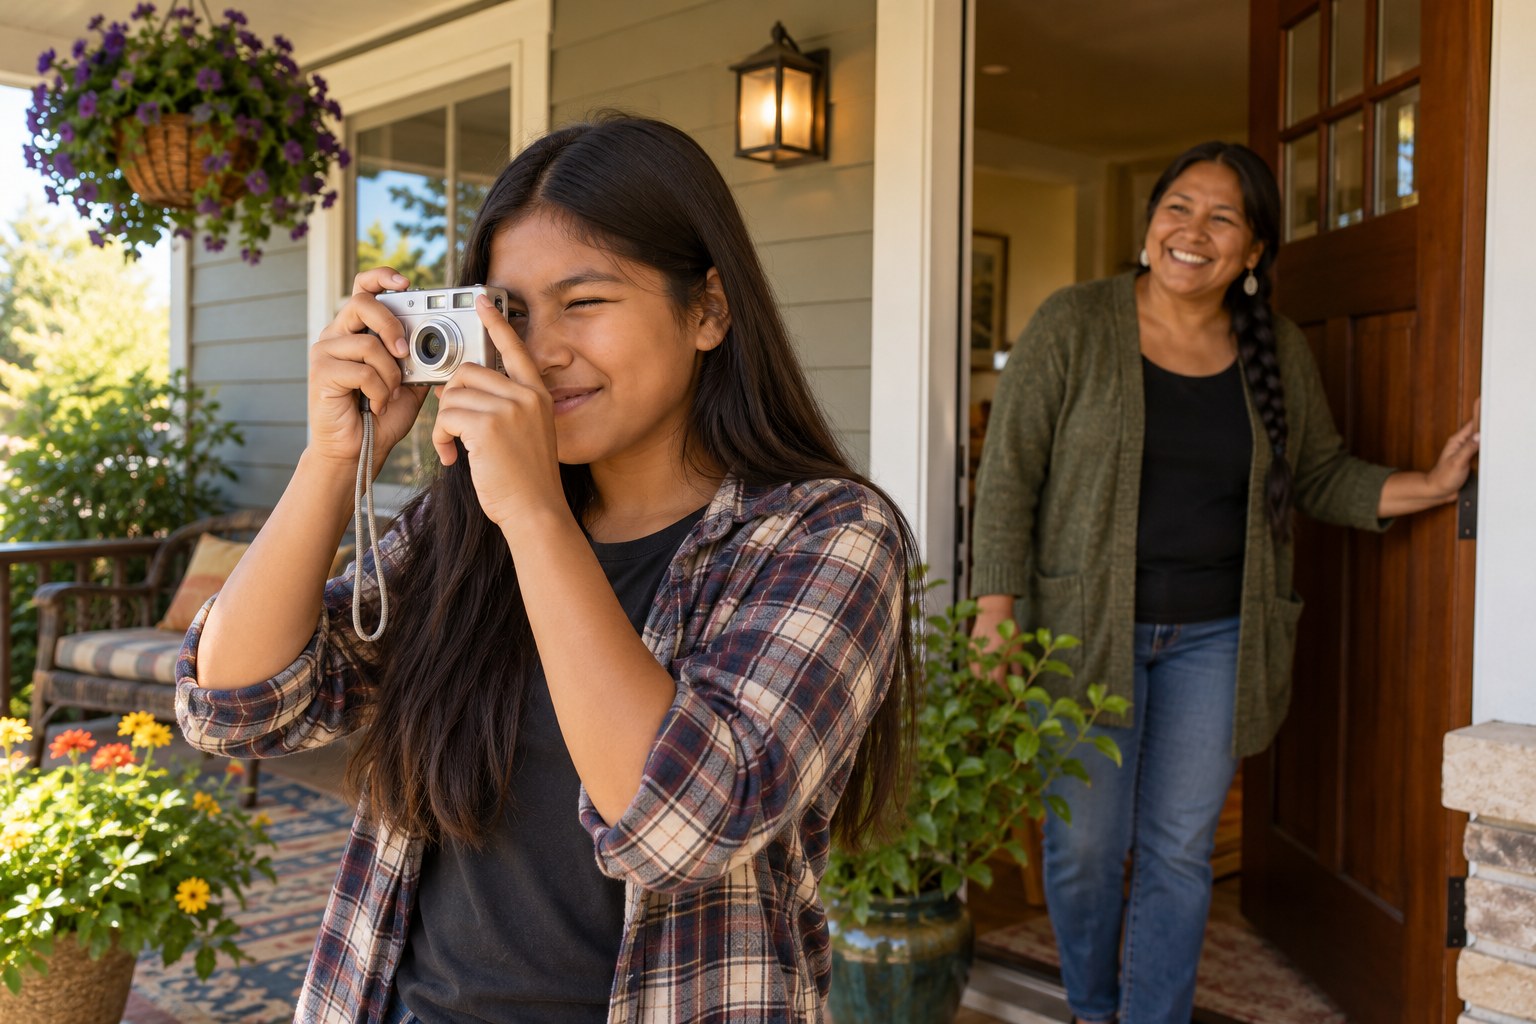
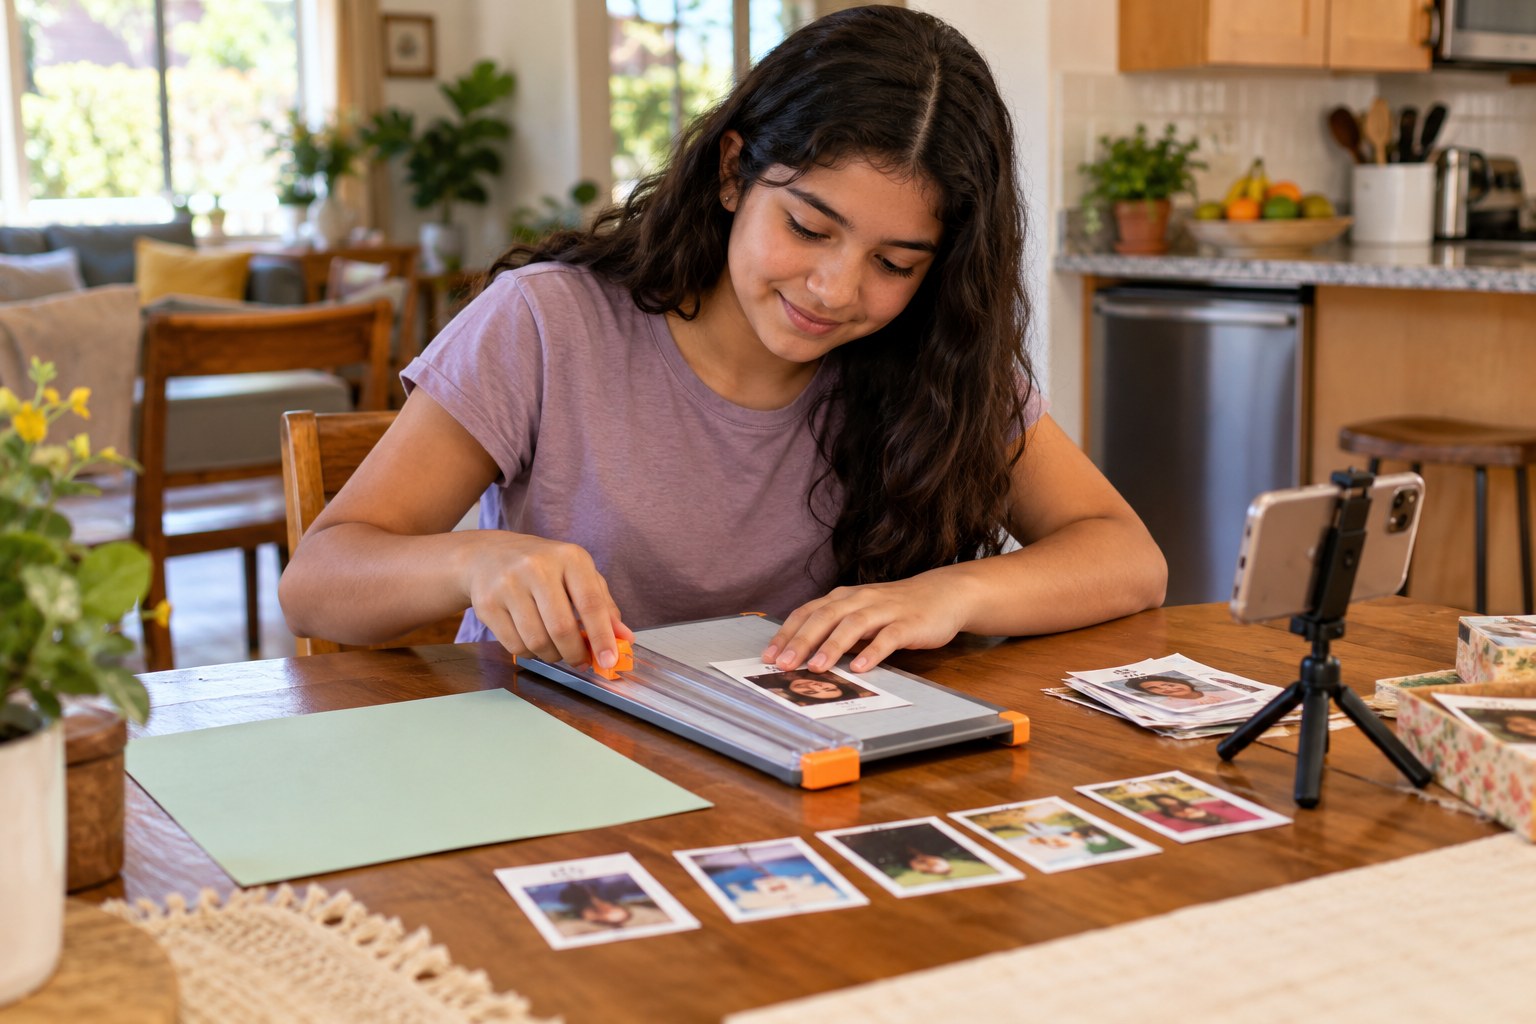
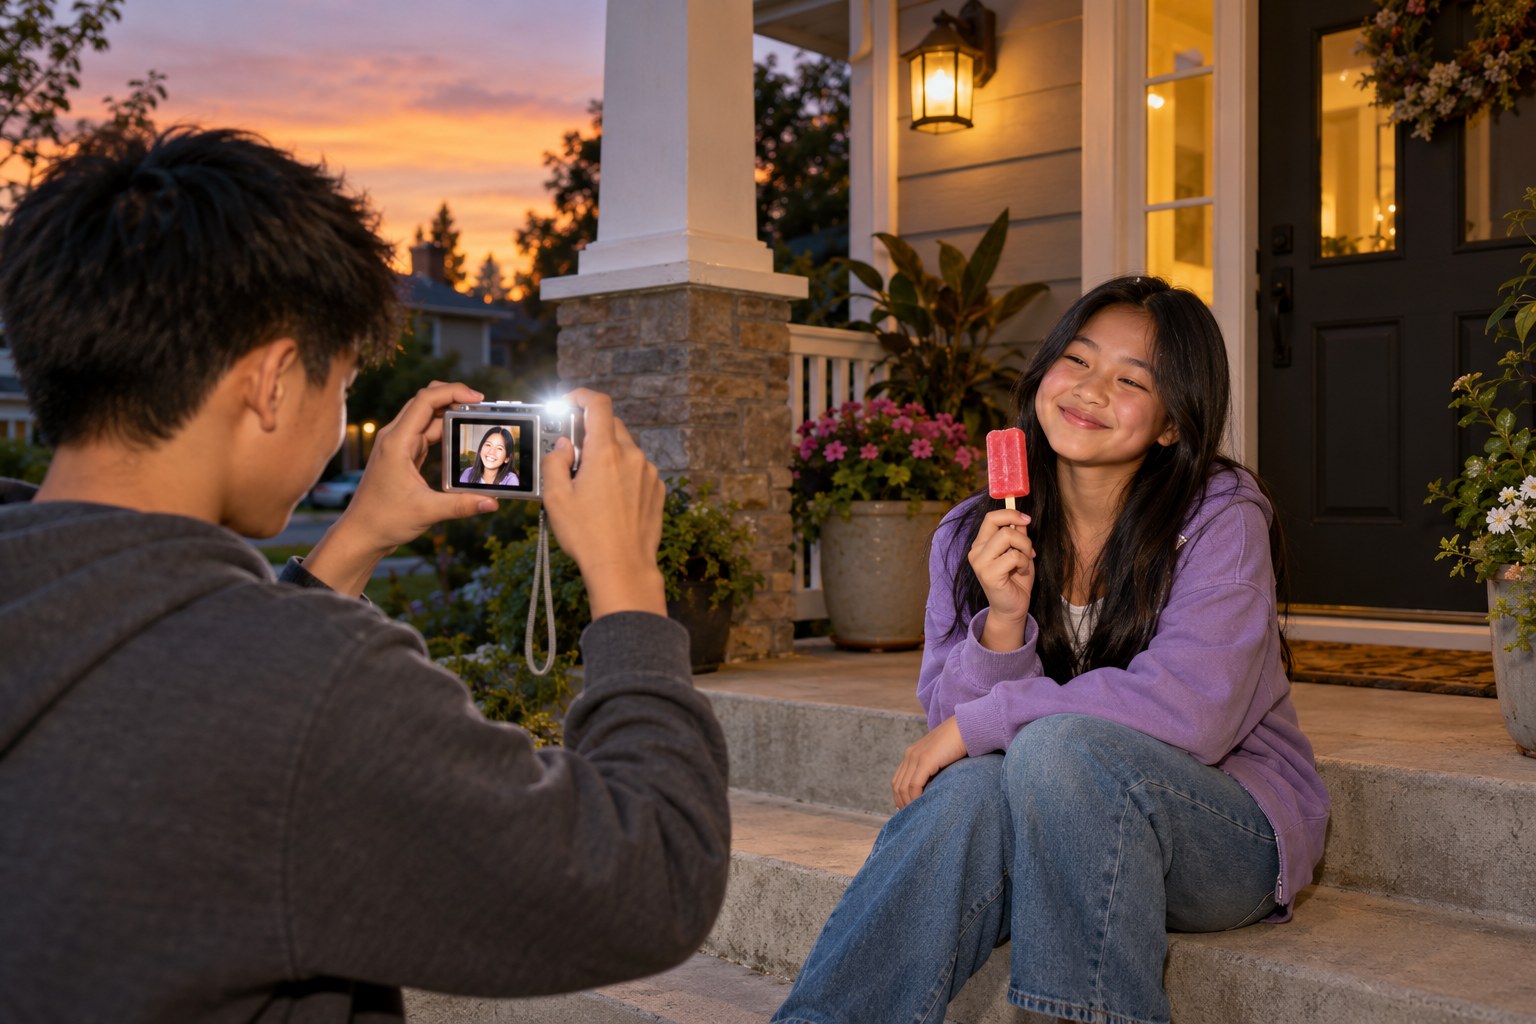
Your teen photographs a family member in open shade and again at dusk, each time with the flash off and on, at two distances. They lay the eight shots side by side to see hard light, flash falloff and red-eye for themselves, then explain why the bright, slightly harsh 2000s digicam look became popular again.
Objective
Your teen will use on-camera flash deliberately in shade and low light, compare results at two distances, and explain hard light, flash falloff and red-eye.
Materials
| Item | Quantity |
|---|---|
| Phone or old point-and-shoot camera with a built-in flash | 1 |
| Family member willing to be photographed | 1 |
| Sheet of plain paper for a shot log | 1 |
| Pen | 1 |
| Painter's tape or a shoe to mark distances on the ground | 2 marks |
Vocabulary
Preparation
- Pick a shady spot outside (a porch, the north side of the house or under a tree) and plan to return near sunset for the dusk shots.
- Put one tape mark about 3 feet from where your model will stand and a second mark about 10 feet away.
- On the sheet of plain paper draw a log with columns for shot number, light (shade or dusk), flash (on or off) and distance.
Introduction
Show your teen any photo of themselves taken with flash at night and ask: why does your face look bright but everything behind you looks black? Tell them today they will make that look happen on purpose instead of by accident.
Why do you think people now copy the look of cheap 2000s cameras on purpose?
When does flash make a photo better, and when does it ruin the mood?
Steps
Conclusion
Ask your teen: what is one situation where you would now turn the flash on deliberately? Knowing why a look happens is what lets you choose it.
Make your own lesson plan in minutes
Describe a topic and Resource Portal AI writes the objectives, materials and steps for your group.
Try Resource Portal AI