Free lesson plan

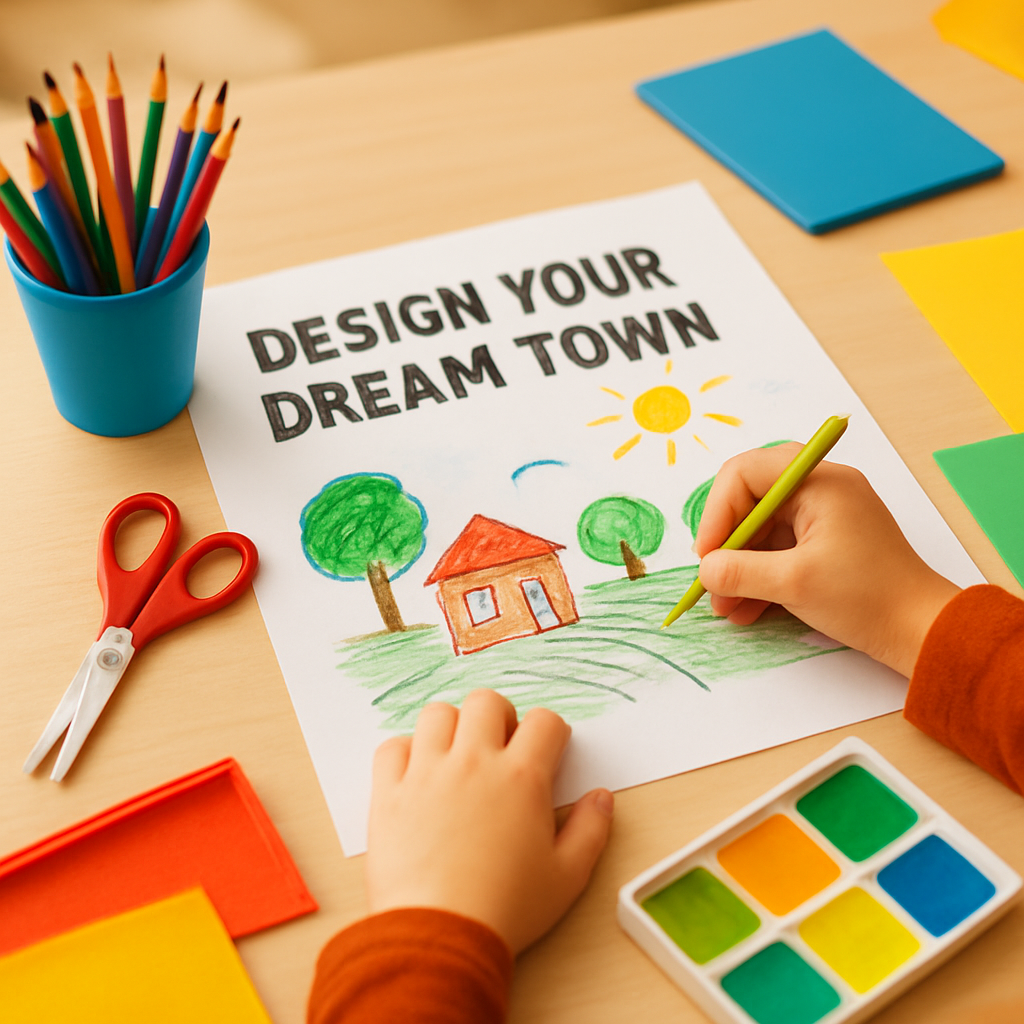
Design Your Dream Town
STEAM1 HourGrades: 6th, 7th
Design Your Dream Town

Overview

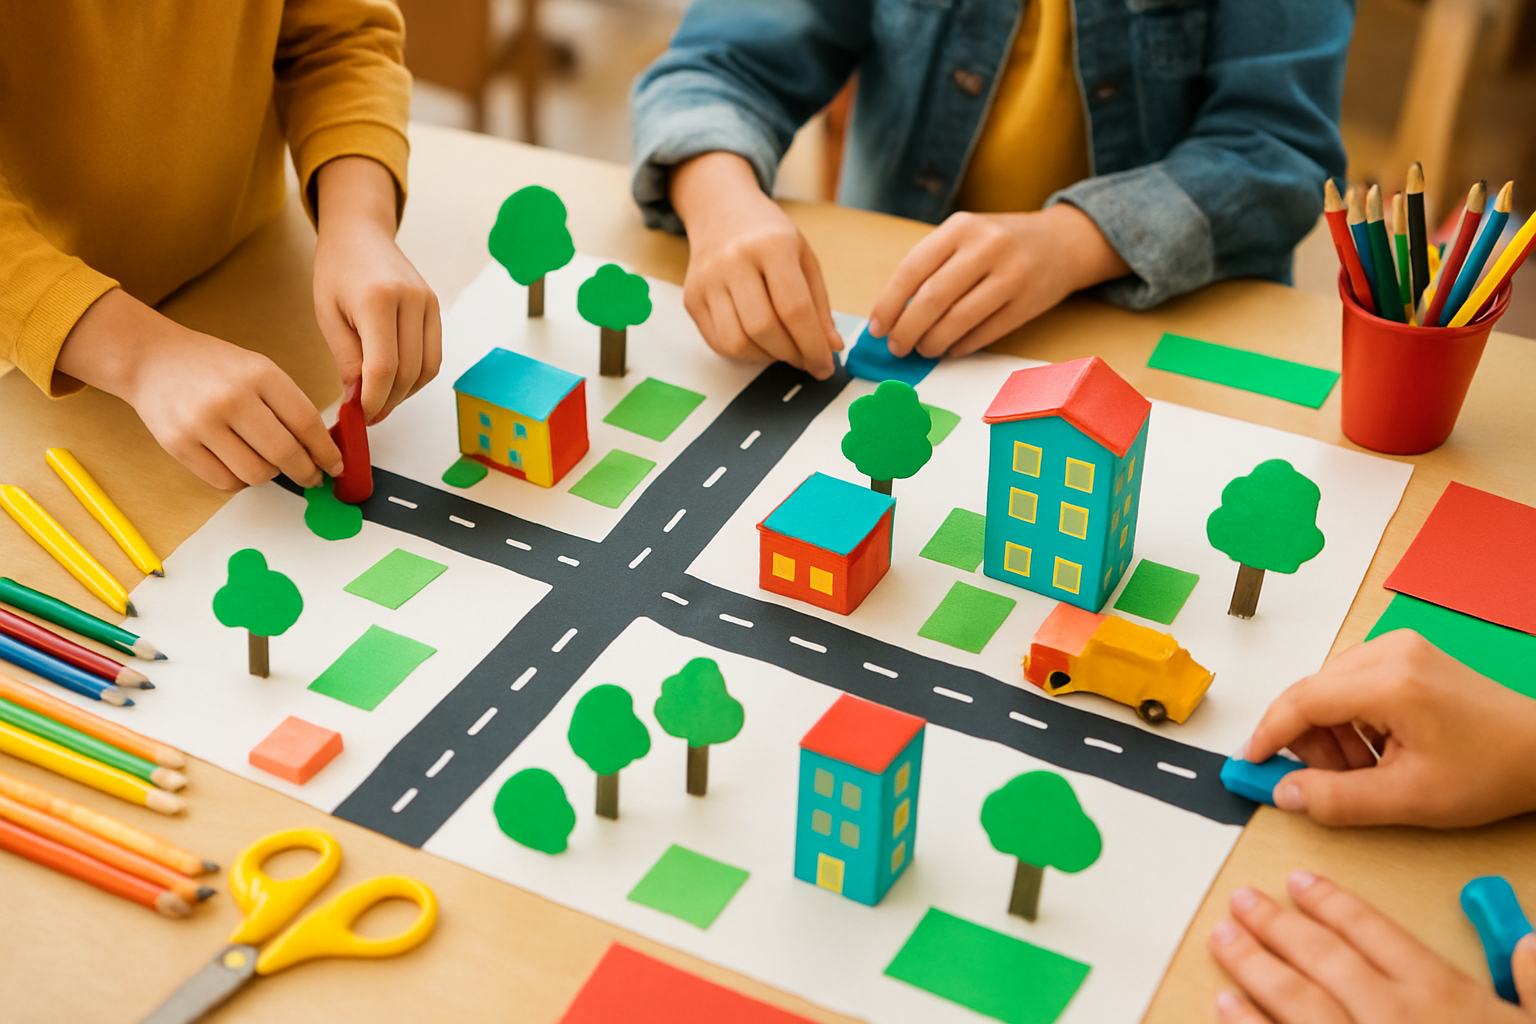
Students will collaborate to design and create a model of their dream town, fostering skills in critical thinking, communication, and teamwork.

Description

In this lesson, students will work collaboratively to design their dream town. They will engage in critical thinking and problem-solving as they consider the needs of their community, utilizing various materials to create a model of their town.

Objective

Students will collaboratively design a model of a dream town, demonstrating their understanding of community needs and urban planning.

Materials

ItemQuantity
Graph paper40 sheets
Rulers5 pieces
Colored pencils20 pieces
Colored markers20 pieces
Glue sticks20 pieces
Scissors10 pieces
Small building toys (e.g., LEGO or similar)5 pieces

Vocabulary

Urban Planning
The process of planning and designing how land is used in cities.
Infrastructure
The buildings and facilities that support a community's needs.
Community
A group of people living in the same area.
Sustainability
The ability to maintain resources without depleting them, especially concerning the environment.
Zoning
Dividing land into areas for specific types of use, like residential or commercial.

Preparation

Introduction

Show a brief video or image slideshow of innovative towns and cities around the world to inspire students.
What makes a town a great place to live?
What facilities and services do you think every town should have?
How can we ensure that our town is sustainable and meets the needs of all its residents?

Steps
1Step 1
Introduction to Brookhaven RP
(5 min) Begin the lesson by showing a brief video or slideshow of innovative towns worldwide to spark students' interest. Ask, 'What features do you think make a town successful?' Allow students to share their thoughts before moving on to group formation.
Step 1
2Step 2
Group Organization
(5 min) Organize students into 5 groups of 4. Each group will receive 8 sheets of graph paper, 1 ruler, and 4 colored pencils. The teacher will say, 'Let's make sure each group has everything they need to begin!' After distributing the materials, the students will discuss their ideas within their groups and prepare to start their designs.
Step 2
3Step 3
Designing the Town
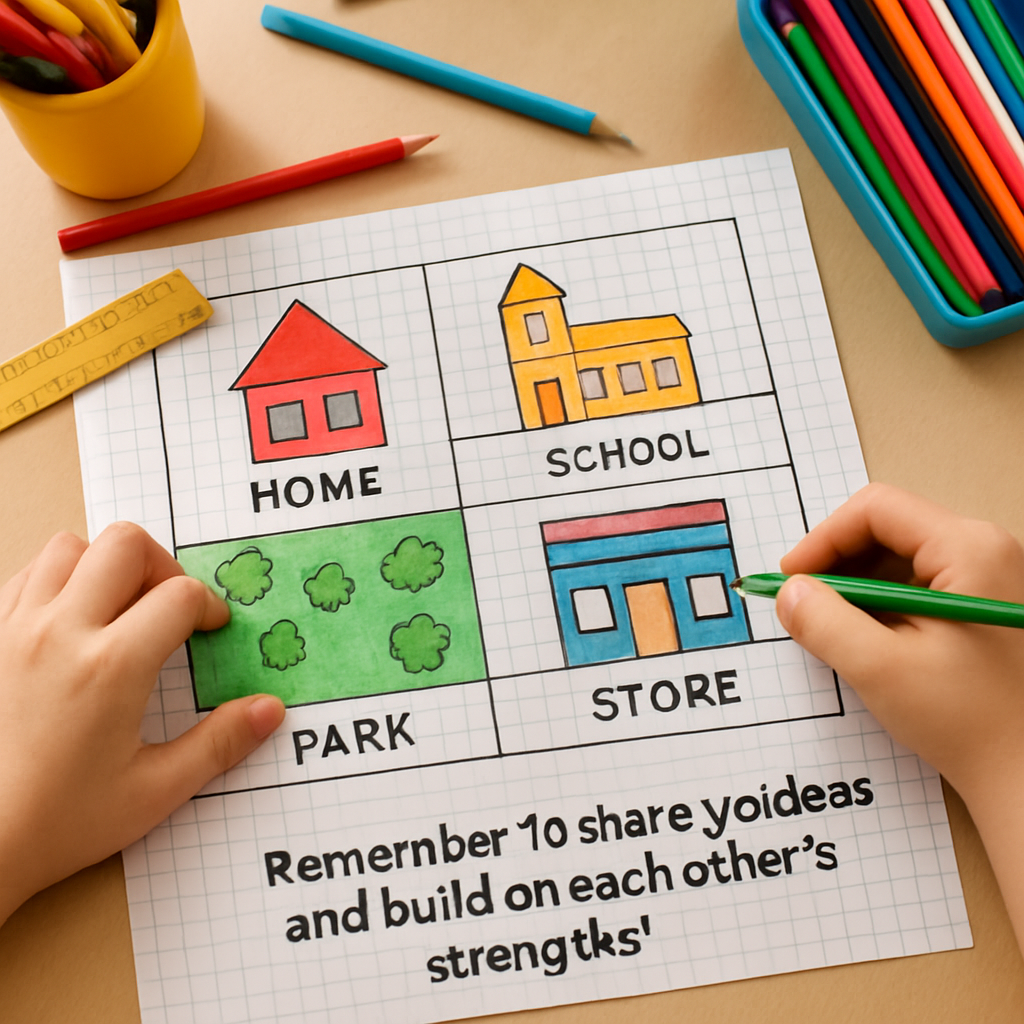
(25 min) Groups will design their town on the graph paper, including homes, a school, a park, and a store. They will calculate the area of each zone and ensure that at least 20% is green space. The teacher will encourage them by saying, 'Remember to share your ideas and build on each other's strengths!' As they work, the students will create a colorful and detailed layout on the graph paper, making sure to label each area clearly.
Step 3
4Step 4
Presenting the Scaled Map
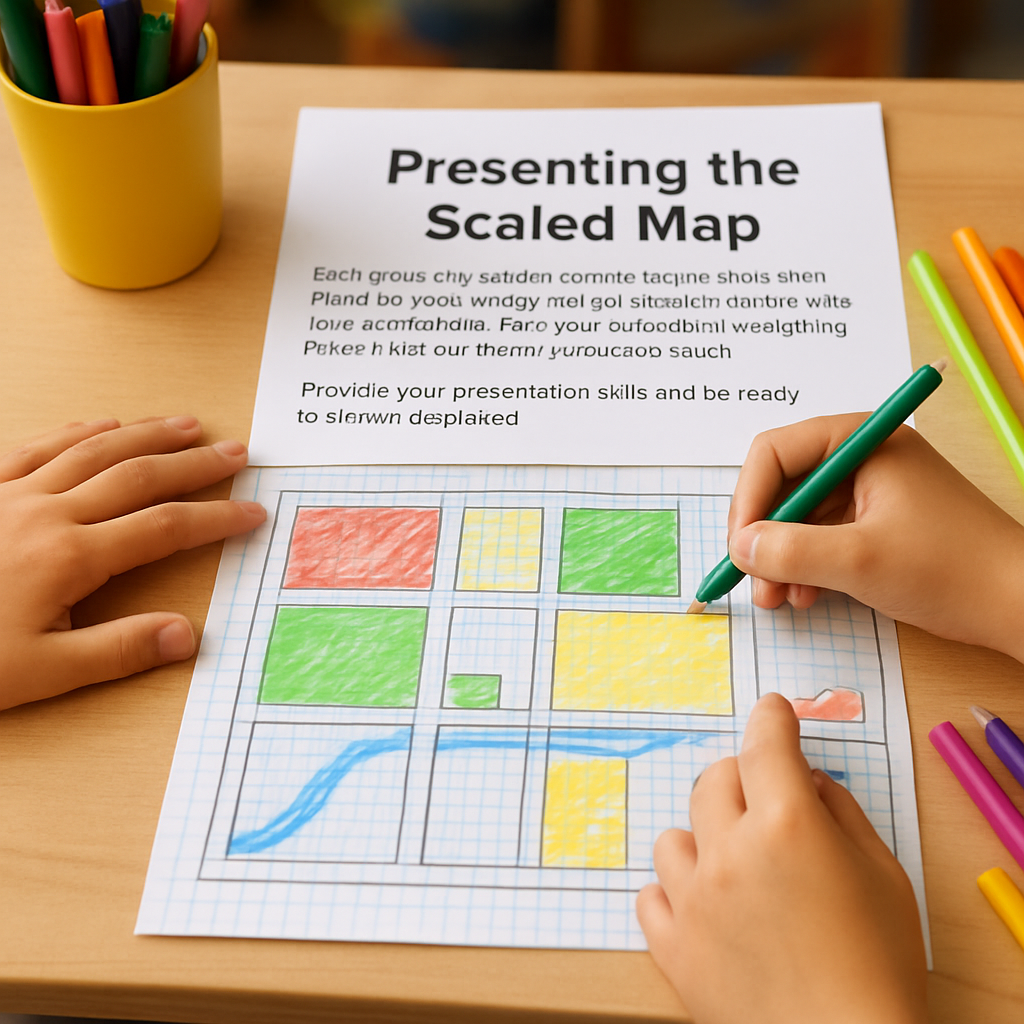
(20 min) Each group will create a scaled map of their town based on their design using 2 sheets of graph paper. They will present their map to the class, explaining how their features meet community needs. The teacher will prompt them, saying, 'Practice your presentation skills and be ready to answer questions!' Students will use colored markers to highlight different areas on the map and ensure that their final product is visually appealing and informative.
Step 4
5Step 5
Reflection Time
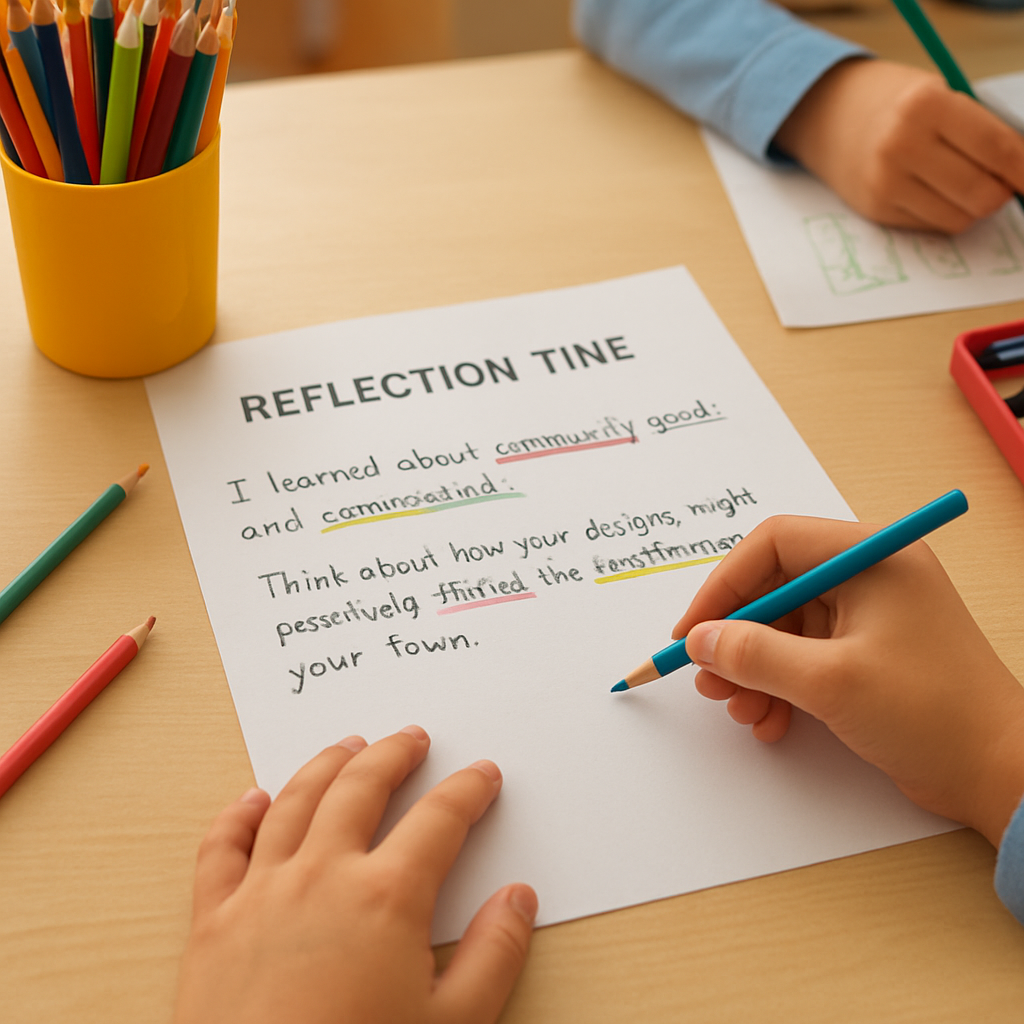
(5 min) Each student will write a short reflection of two sentences about what they learned during the activity, focusing on community needs and teamwork. The teacher will encourage them by saying, 'Think about how your designs might positively impact the residents of your town.' As they write, students will use their colored pencils to underline key points in their reflections, which will help solidify their understanding of the lesson.
Step 5

Conclusion

Wrap up the lesson by discussing the importance of community needs and how their designs can positively impact the environment and the quality of life for residents.

Make your own lesson plan in minutes

Describe a topic and Resource Portal AI writes the objectives, materials and steps for your group.

Try Resource Portal AI