Free lesson plan

Pinhole Cameras: How Light Makes an Image
Science1 HourGrades: 6th, 7th, 8th
Pinhole Cameras: How Light Makes an Image

Overview

Students will learn about light and image formation by building and using pinhole viewers, enhancing their critical thinking and collaboration skills.

Description

In this lesson, students will explore the principles of light and how it creates images using a pinhole viewer. They will work collaboratively to construct their viewers and experiment with observing upside-down images.

Objective

Students will understand the basic principles of how light creates an image and will construct a functional pinhole viewer to demonstrate this concept.

Standards

6.G.1Math · Grade 6 · Geometry
Find the area of right triangles, other triangles, special quadrilaterals, and polygons by composing into rectangles or decomposing into triangles and other shapes; apply these techniques in the context of solving real-world and mathematical problems.
7.G.6Math · Grade 7 · Geometry
Solve real-world and mathematical problems involving area, volume and surface area of two- and three-dimensional objects composed of triangles, quadrilaterals, polygons, cubes, and right prisms.
MP.4Math · Grade K-12 · Mathematical Practices
Model with mathematics.

Materials

ItemQuantity
Shoeboxes5 pieces
Foil (sheets)5 sheets
Pins20 pieces
Wax paper (sheets)5 sheets
Black construction paper (sheets)20 sheets
Pencil (with eraser)20 pieces
Tape (rolls)5 rolls
Scissors10 pieces

Vocabulary

Pinhole
A small opening that allows light to enter.
Camera Obscura
An early device that led to the invention of the camera.
Light Sensitivity
The ability of a material to react to light.
Exposure
The amount of light that reaches the light-sensitive material.
Image Formation
The process by which an image is created.

Preparation

Introduction

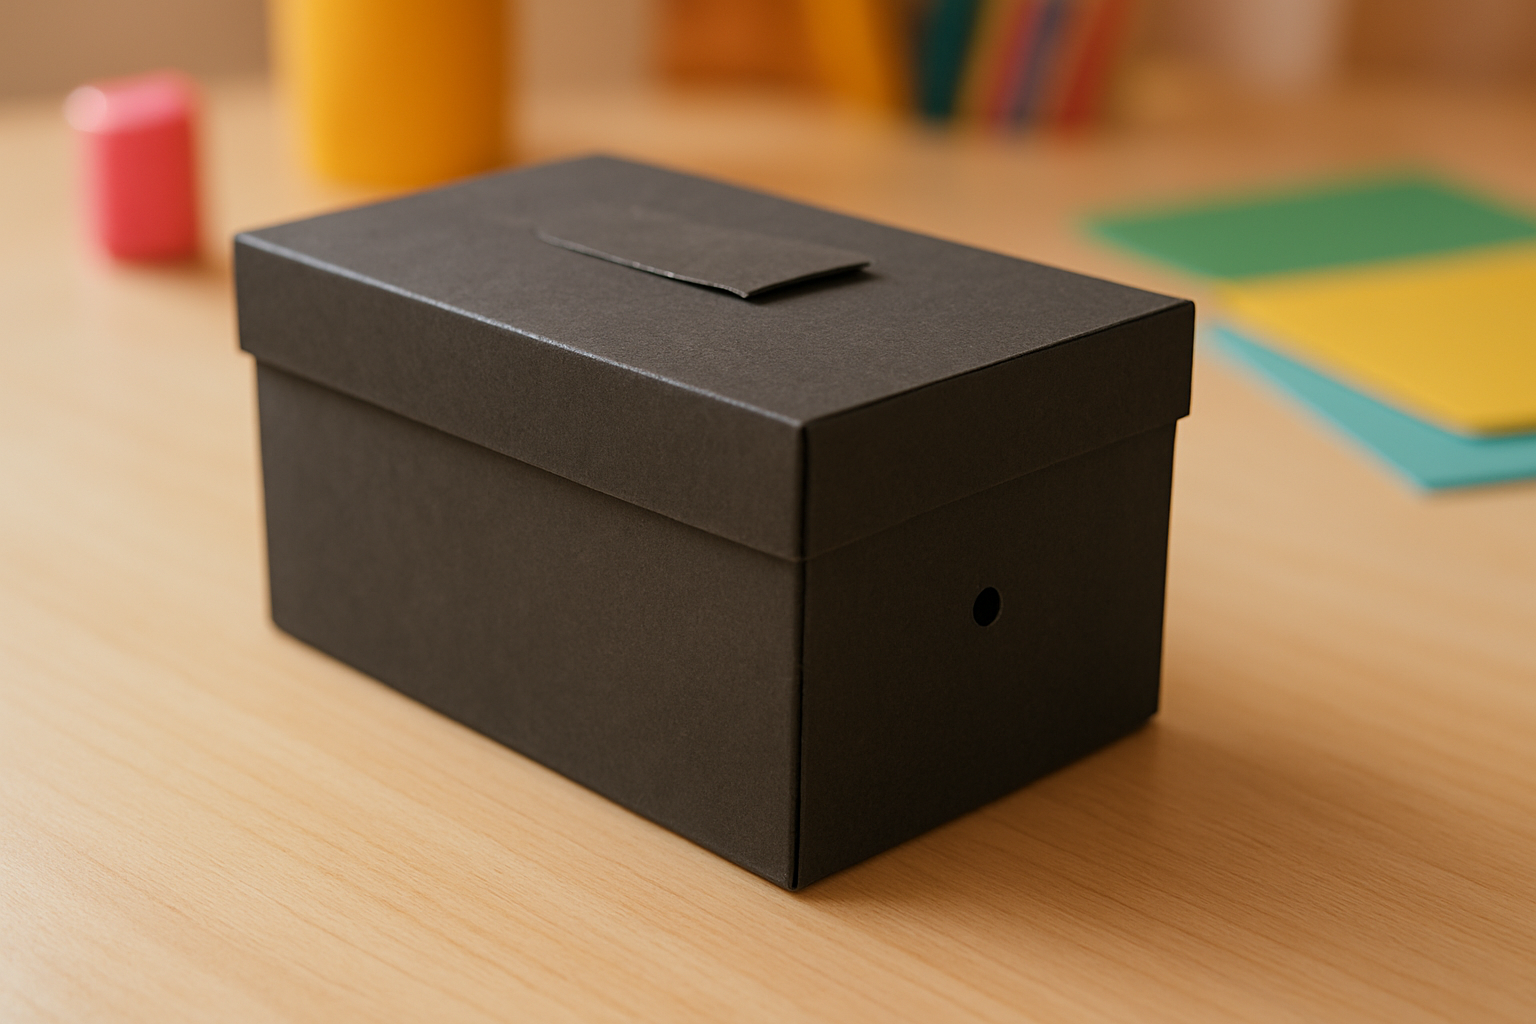
(5 min) Show a simple pinhole viewer demonstration using a shoebox or oatmeal canister. Ask students, 'What do you think happens to the image when light passes through a small hole?' Students will observe how a light source creates an image inside the viewer.

Steps
1Step 1
Distribute Materials
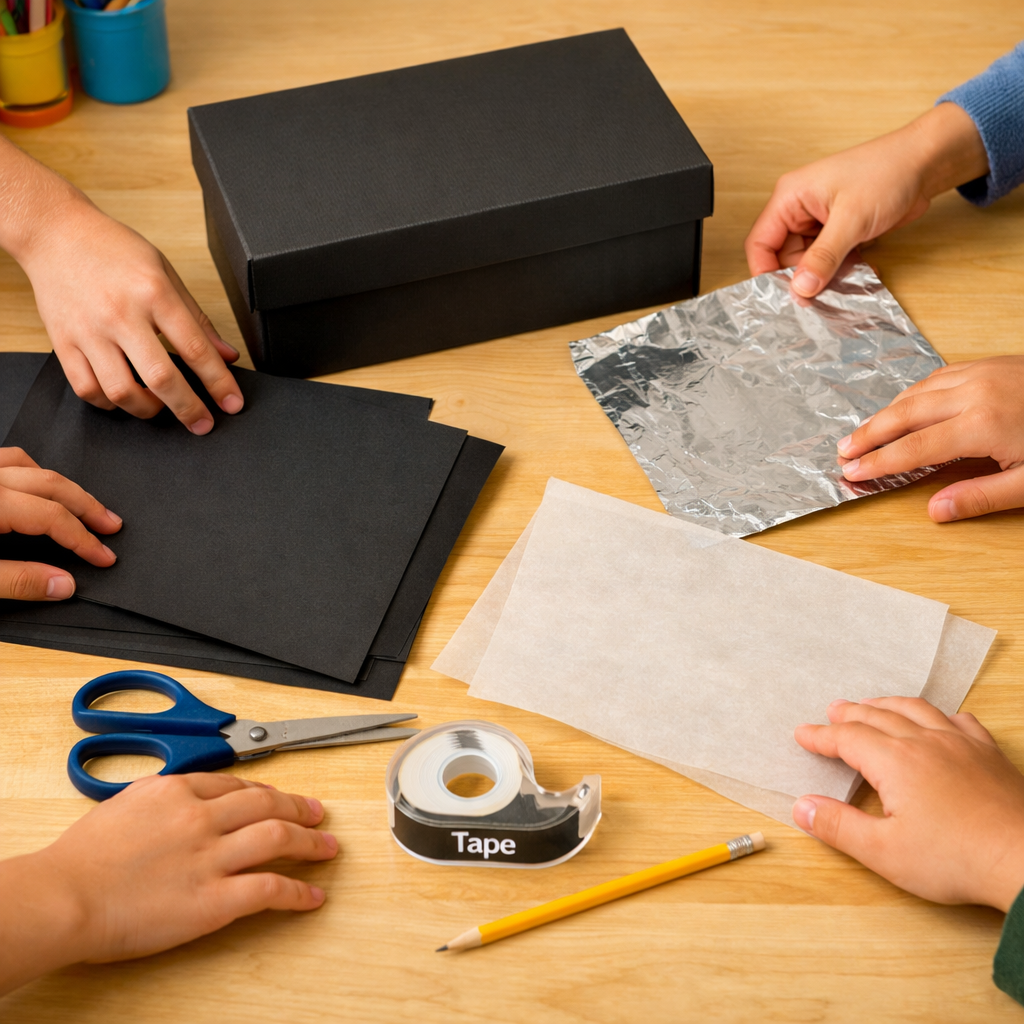
(5 min) Distribute materials to each group of four students. Each group will receive one shoebox, one sheet of foil, one sheet of wax paper, four sheets of black construction paper, one pair of scissors, one roll of tape, and a pencil. The teacher will say, 'Let’s work together to create something amazing!' Students will distribute the materials and begin brainstorming how to build their viewers, aiming for a functional design that can clearly show an image.
Step 1
2Step 2
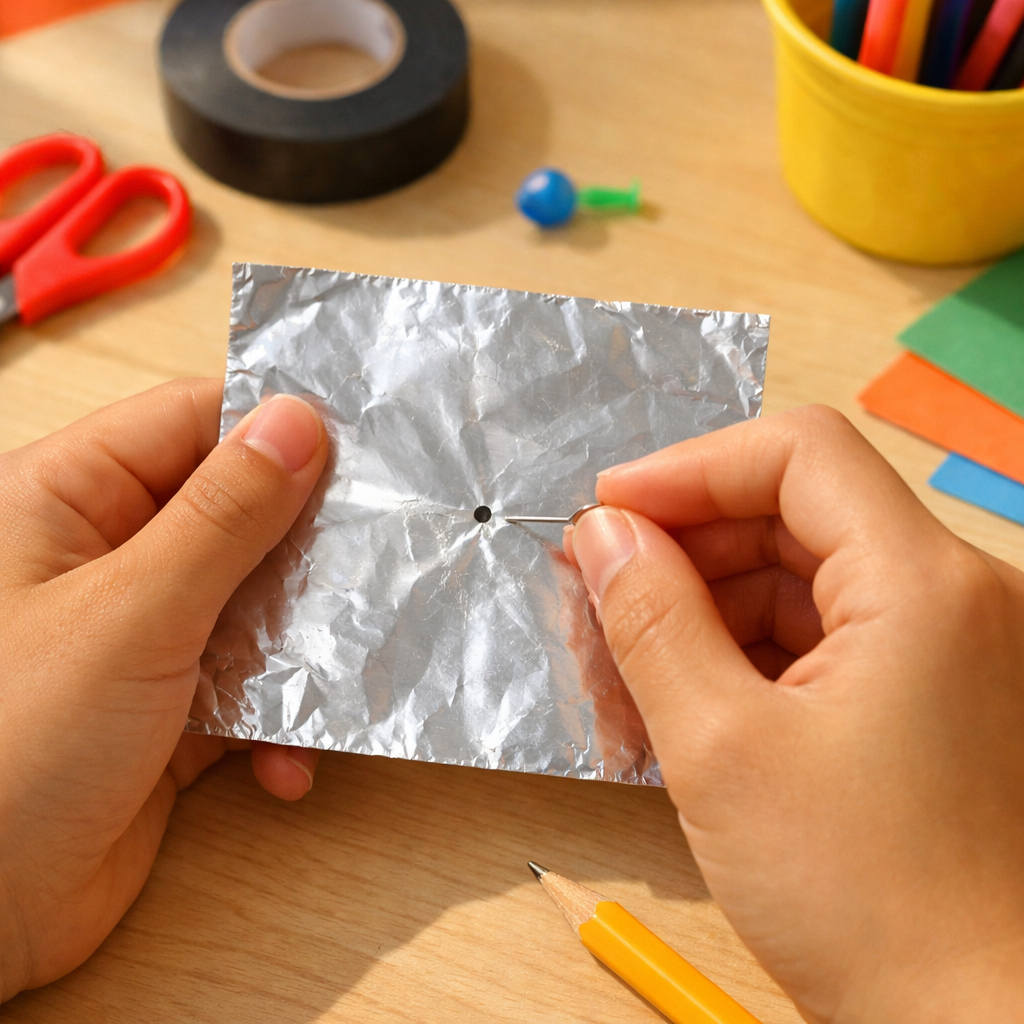
Create the Pinhole
(15 min) Instruct students to carefully create a small hole in the center of their foil piece using a pin. The teacher will say, 'This tiny hole is going to be the magic that lets light in!' After making the hole, students will tape the foil over one end of the shoebox, ensuring it's secure. The finished work will have a pinhole neatly placed in the foil, ready for light to enter.
Step 2
3Step 3
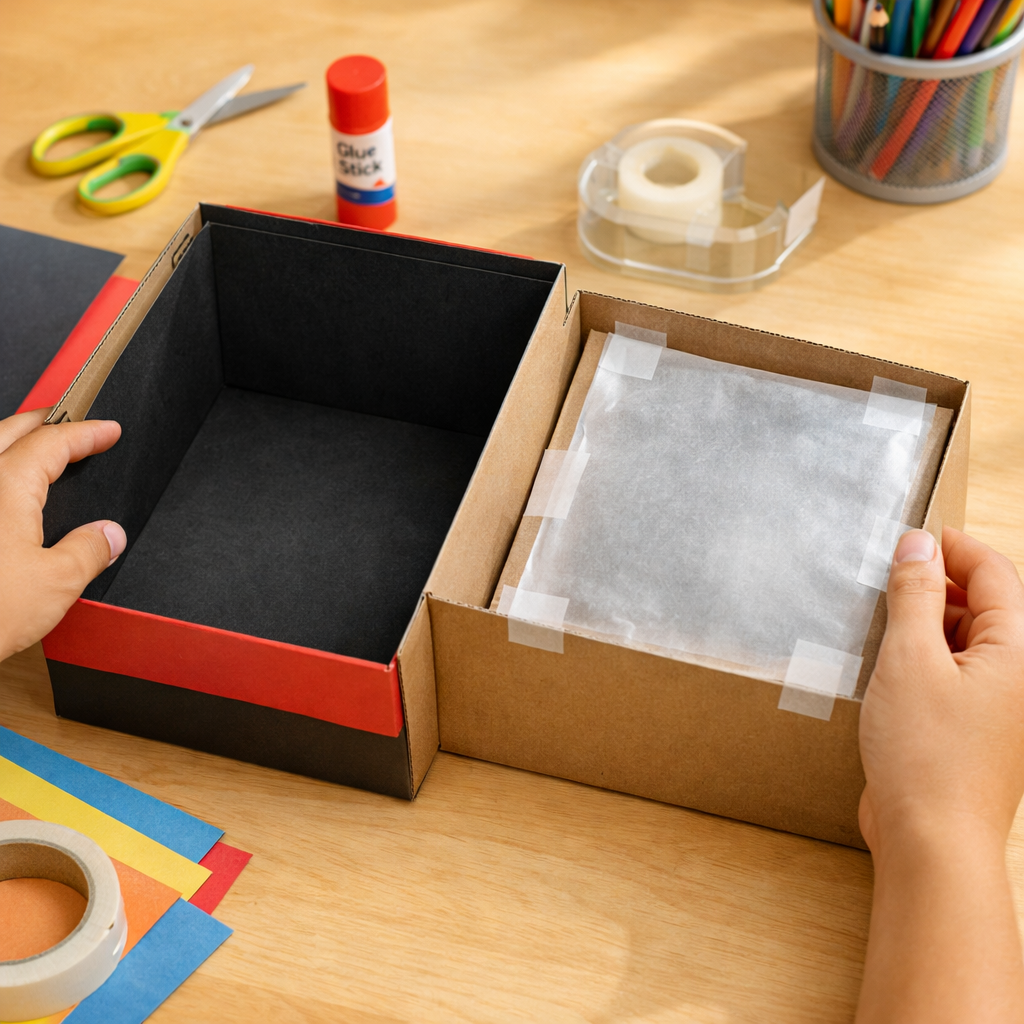
Prepare the Viewer
(15 min) Have students cut a piece of black construction paper to fit inside their shoebox, ensuring it covers the interior walls. The teacher will say, 'This will help block out any light that we don’t want!' Next, students will tape a piece of wax paper to the opposite end of the shoebox, creating a viewing screen. The completed viewer will have a lined interior and a transparent screen ready for use.
Step 3
4Step 4
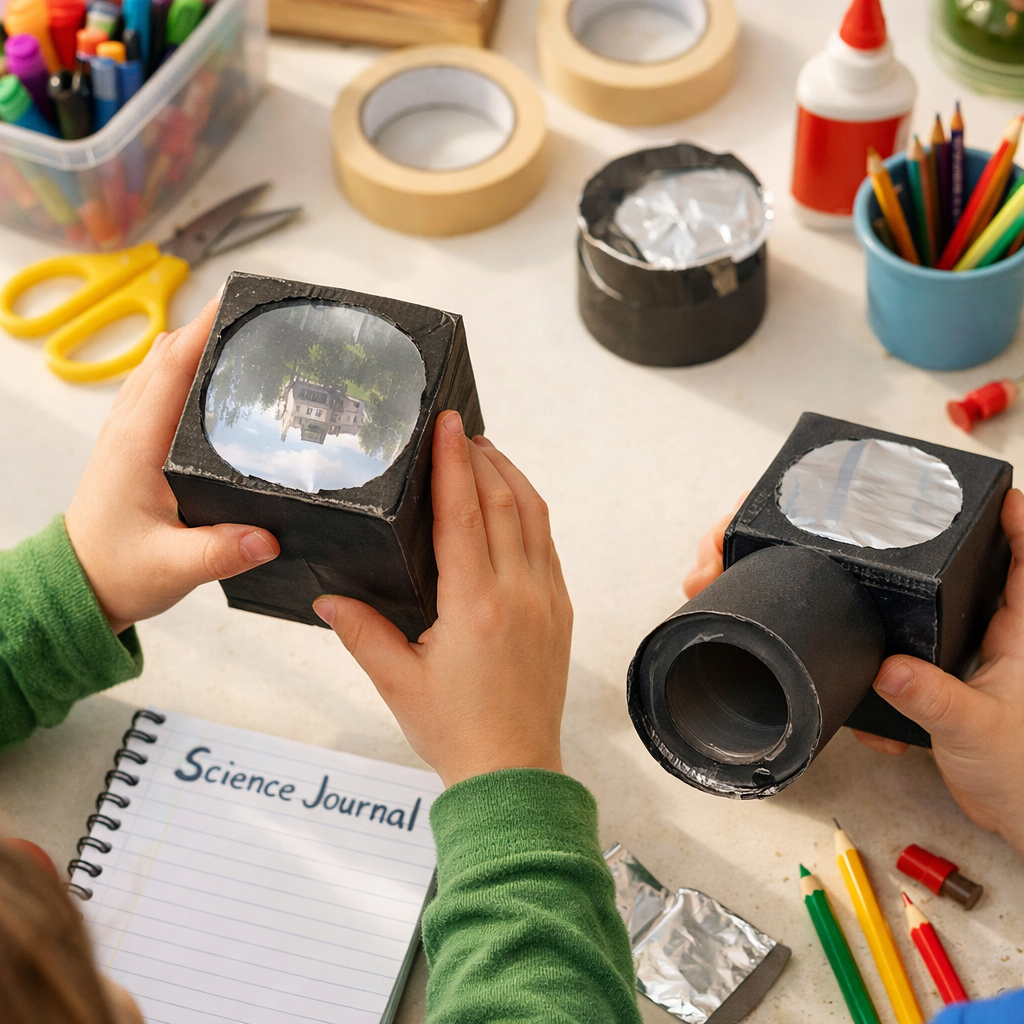
View the Image
(15 min) Guide students to take their pinhole viewers outside to a well-lit area. The teacher will say, 'Now it's time to see what we've created!' Students will point their viewers at an outdoor scene and look through the wax paper. They should observe the image produced and note its orientation, discussing why it appears upside down. The setup will show students engaged in examining their surroundings through the viewer.
Step 4
5Step 5
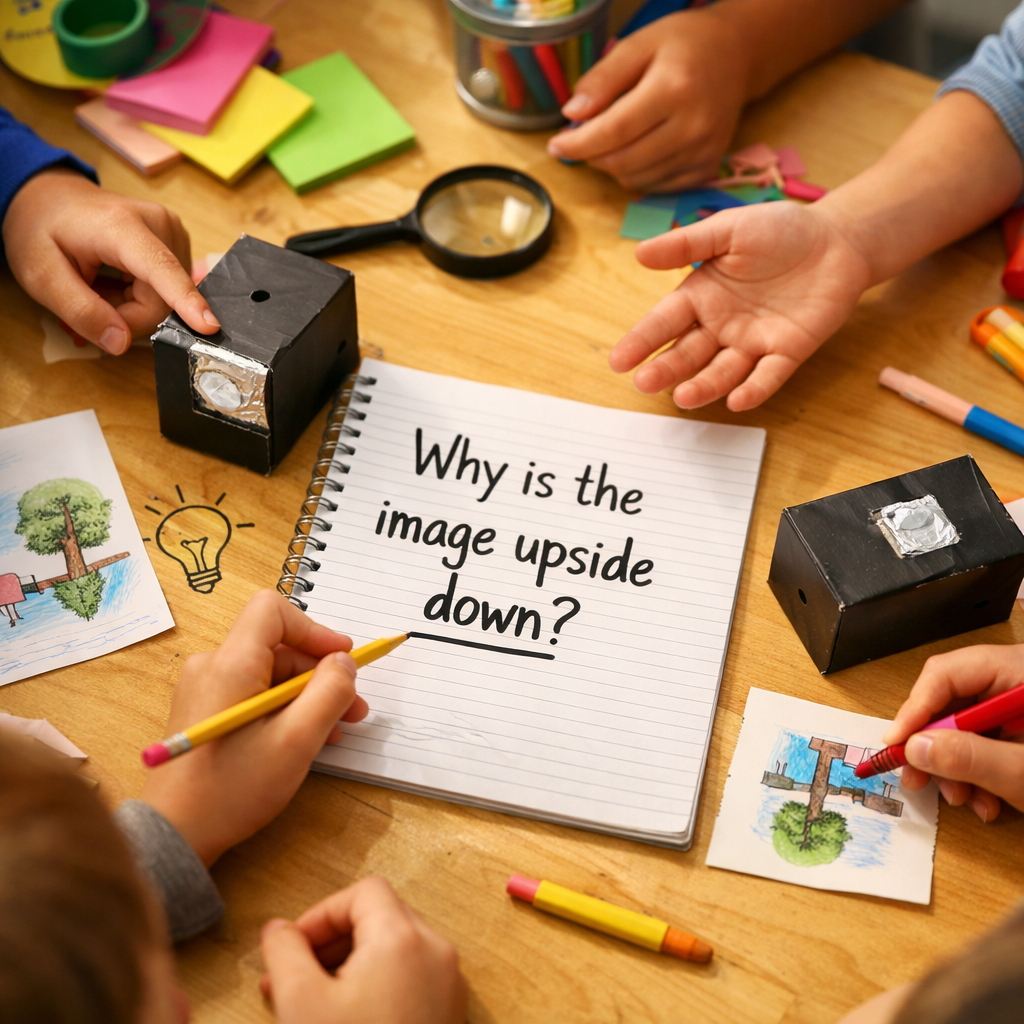
Reflect on Learning
(10 min) Back in the classroom, have students reflect on their experience with their pinhole viewers. The teacher will ask, 'What did you learn about light and images today?' Students will share their thoughts on why the image is upside down, contributing to a class discussion that fosters understanding of light and image formation. The room will be filled with enthusiasm as ideas are exchanged.
Step 5

Conclusion

Discuss why the image appears upside down and what they learned about light and image formation through their pinhole viewers. Encourage students to share their thoughts and findings with their peers.

Make your own lesson plan in minutes

Describe a topic and Resource Portal AI writes the objectives, materials and steps for your group.

Try Resource Portal AI