Full lesson previewJuneteenth Freedom Quilt Square
Math40 minutesGrades: 1st, 2nd, 3rd, 4th
Overview
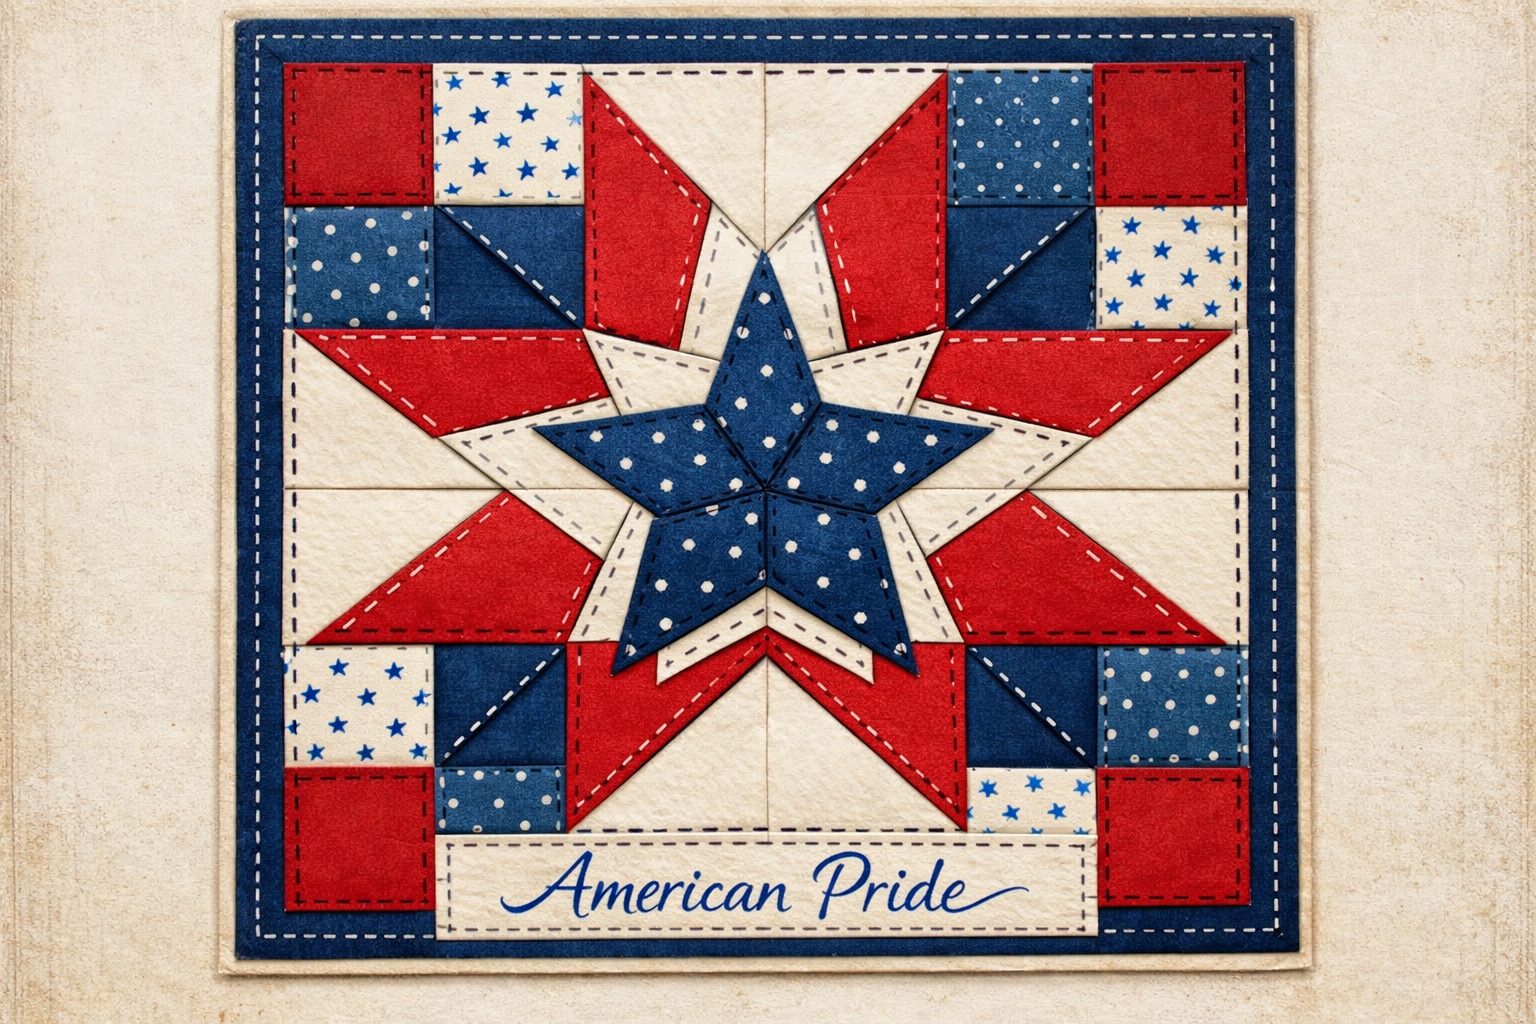
Learn Juneteenth's history and design a paper quilt square.
Description
Your child learns the true story of Juneteenth, then designs a paper quilt square by cutting squares into triangles and arranging them into a star pattern, counting equal parts as they go.
Objective
Your child will explain what happened on June 19, 1865, and compose a quilt square from triangles and squares, describing its equal parts.
Standards
1.G.2Math · Grade 1 · Geometry Compose two-dimensional shapes (rectangles, squares, trapezoids, triangles, half-circles, and quarter-circles) or three-dimensional shapes (cubes, right rectangular prisms, right circular cones, and right circular cylinders) to create a composite shape, and compose new shapes from the composite shape.
3.G.2Math · Grade 3 · Geometry Partition shapes into parts with equal areas. Express the area of each part as a unit fraction of the whole.
Materials
| Item | Quantity |
|---|
| Construction paper or scrap paper in red, blue and white (or any 3 colors) | 2 sheets of each color |
| Large paper square, about 9 x 9 inches, for the backing | 1 per child |
| Ruler and pencil | 1 each |
| Child-safe scissors and glue stick | 1 each per child |
| Fabric scraps (optional) | a few pieces |
Vocabulary
Juneteenth
June 19, the day that marks the end of slavery in the United States.
Emancipation
Being set free.
Quilt block
One square of a quilt, often made of smaller shapes sewn together.
Half-square triangle
A square cut corner to corner into 2 equal triangles.
Preparation
- Use the ruler to draw 3-inch squares on the colored paper: about 6 squares of each color.
- Lightly draw a 3 x 3 grid of 3-inch squares on each 9-inch backing square.
Introduction
Show your child a quilt, blanket or picture of one and ask: how many shapes can you find? Quilts are made of small pieces that come together into something beautiful.
Have you heard of Juneteenth?
Why would people celebrate the day they found out they were free?
Steps
1Step 1
Learn the history
(8 min) Read 'About Juneteenth' together, slowly, and stop to answer your child's questions. Explain that Juneteenth is a day for both remembering and celebrating.
2Step 2
Cut the triangles
(8 min) Your child cuts out the 3-inch squares from the colored paper, then cuts some squares corner to corner with the child-safe scissors to make 2 equal triangles. Ask: are the 2 triangles the same size? What fraction of the square is each one?
3Step 3
Design the square
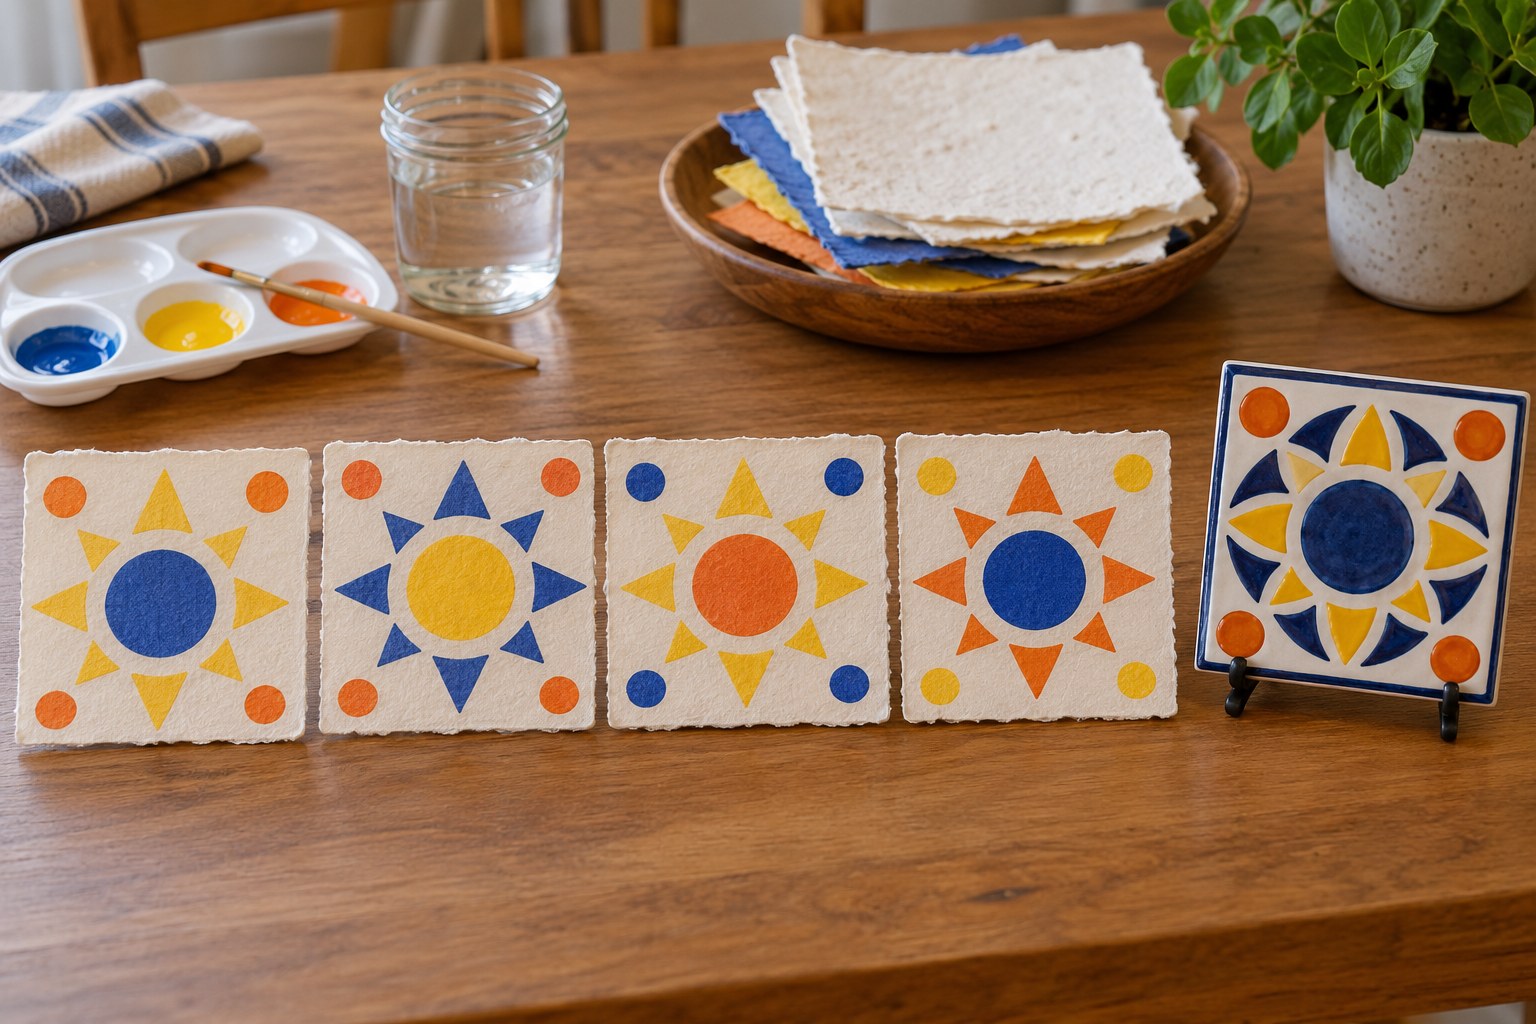
(10 min) Arrange the squares and triangles on the 9-inch backing square's 3 x 3 grid without gluing yet. Try a star: a solid square in the middle, triangle pairs making points on 4 sides and plain squares in the corners, or invent your own pattern.
4Step 4
Glue and finish
(8 min) When the design is set, glue each piece down with the glue stick. Add fabric scraps or draw 'stitch' lines with the pencil around each piece to look like sewing.
5Step 5
Count the parts
(4 min) Your child counts how many squares and how many triangles they used. Ask: how many triangles make one small square? How many small squares make the whole block?
Conclusion
Ask: what would you want people to remember about Juneteenth? Make more blocks over time and tape them together into a family paper quilt.
Make your own lesson plan in minutes
Describe a topic and Resource Portal AI writes the objectives, materials and steps for your group.
Try Resource Portal AI