Blueprint Builders: Draw a Plan, Then Build It with Blocks
Overview
Draw a block blueprint and see if someone can rebuild it.
Description
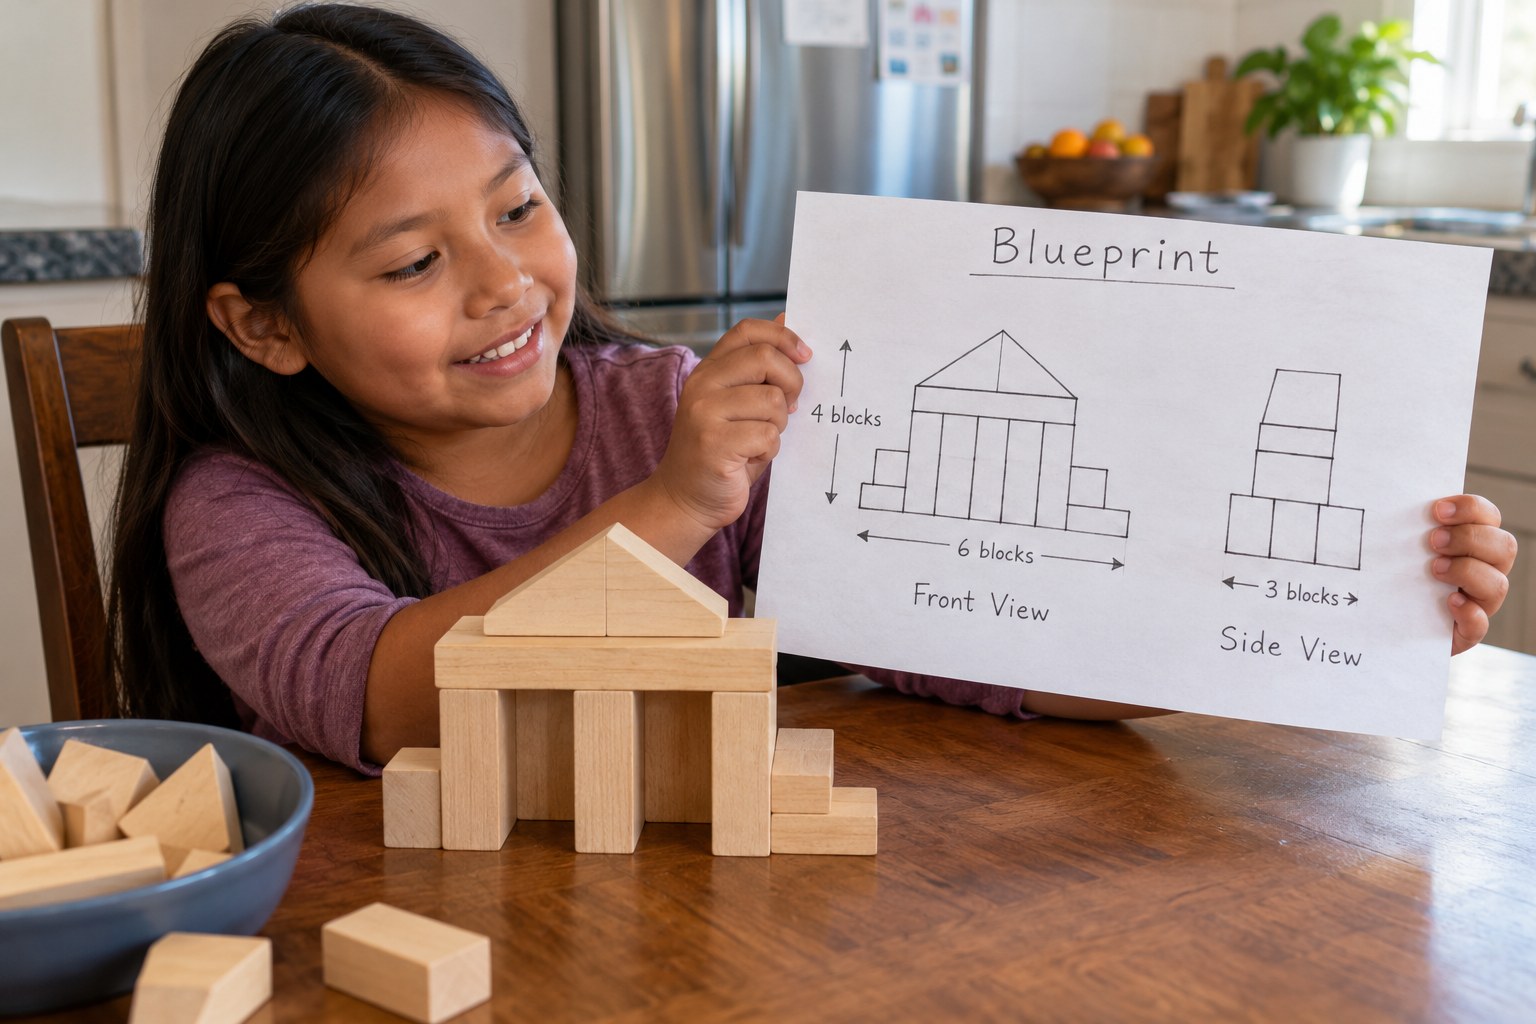
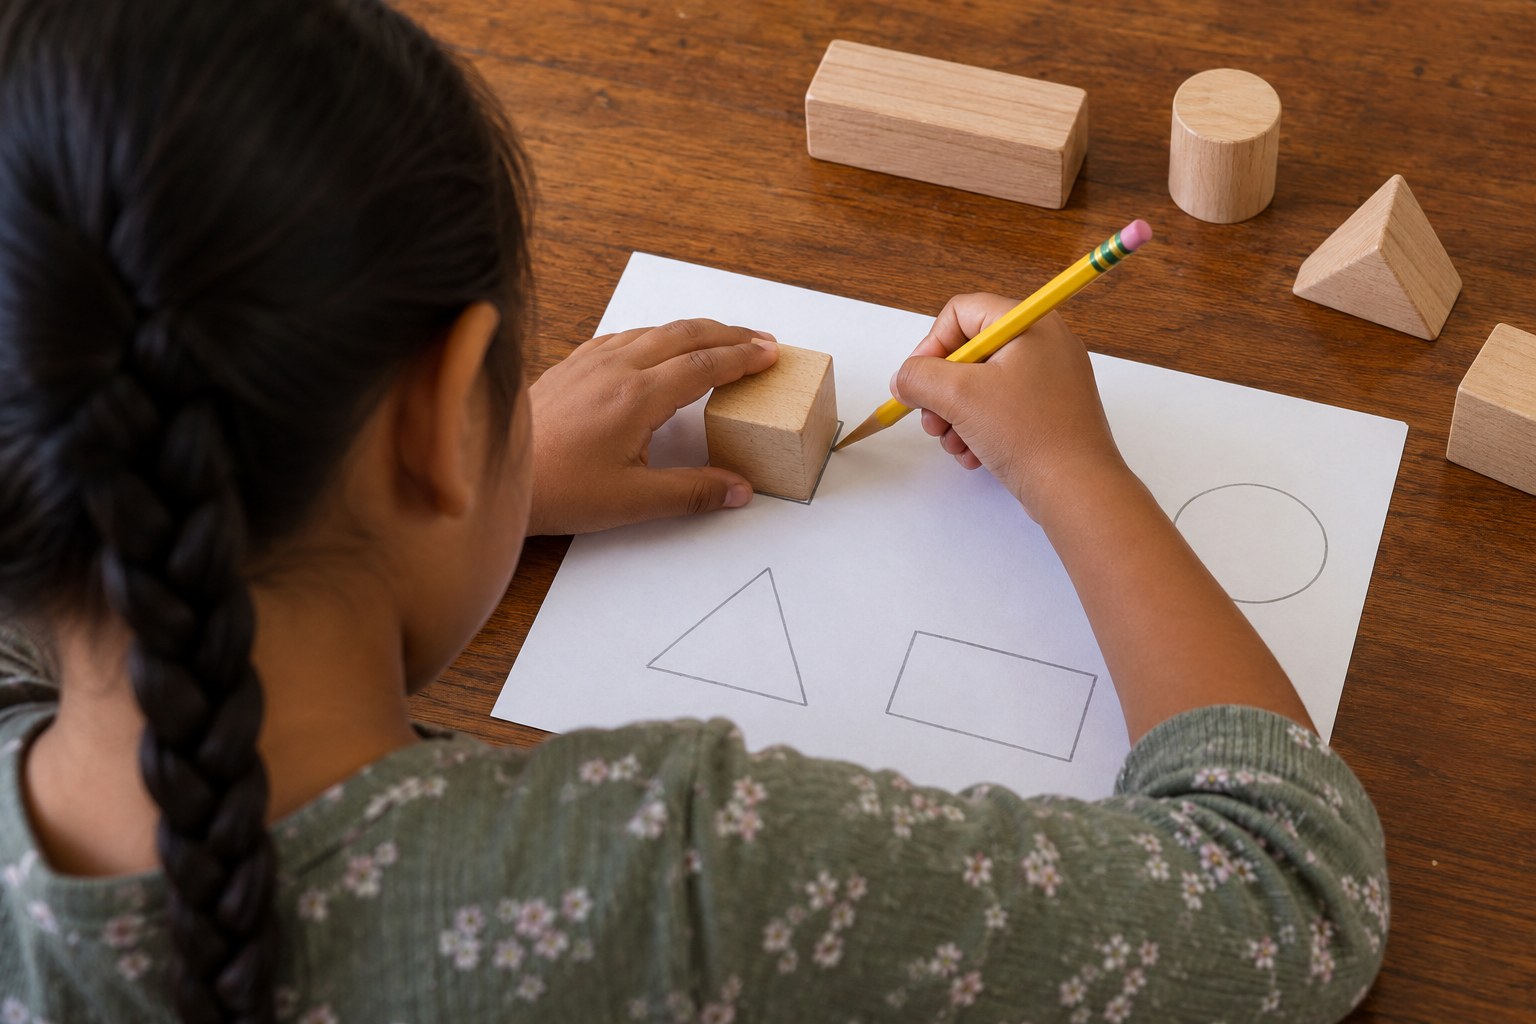
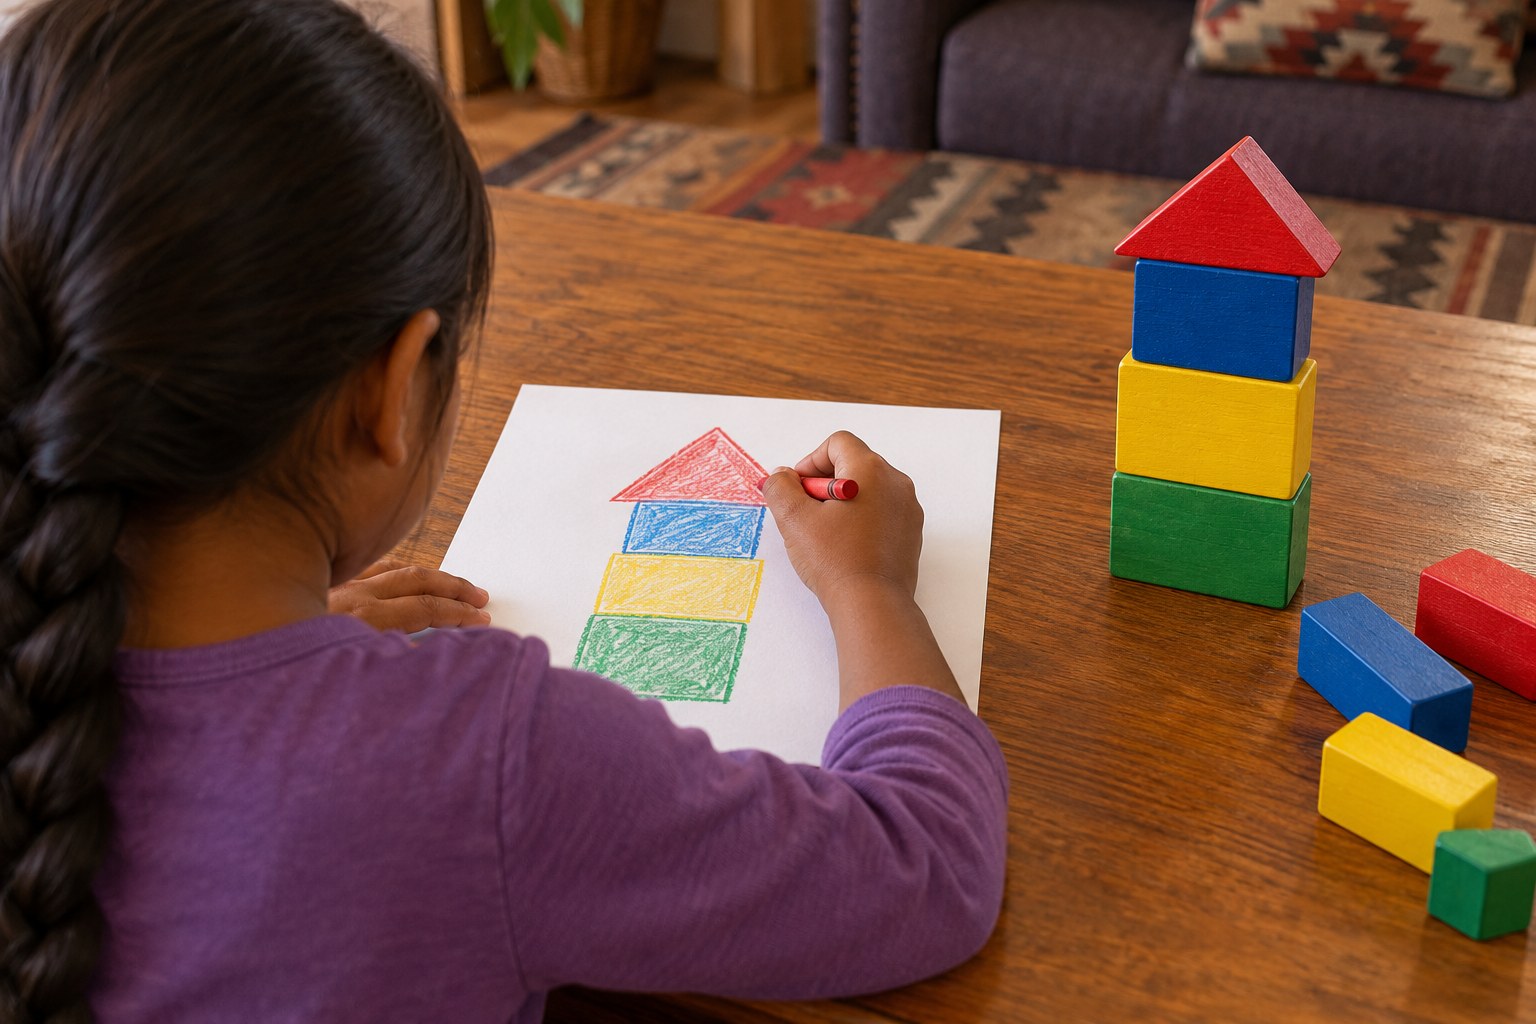
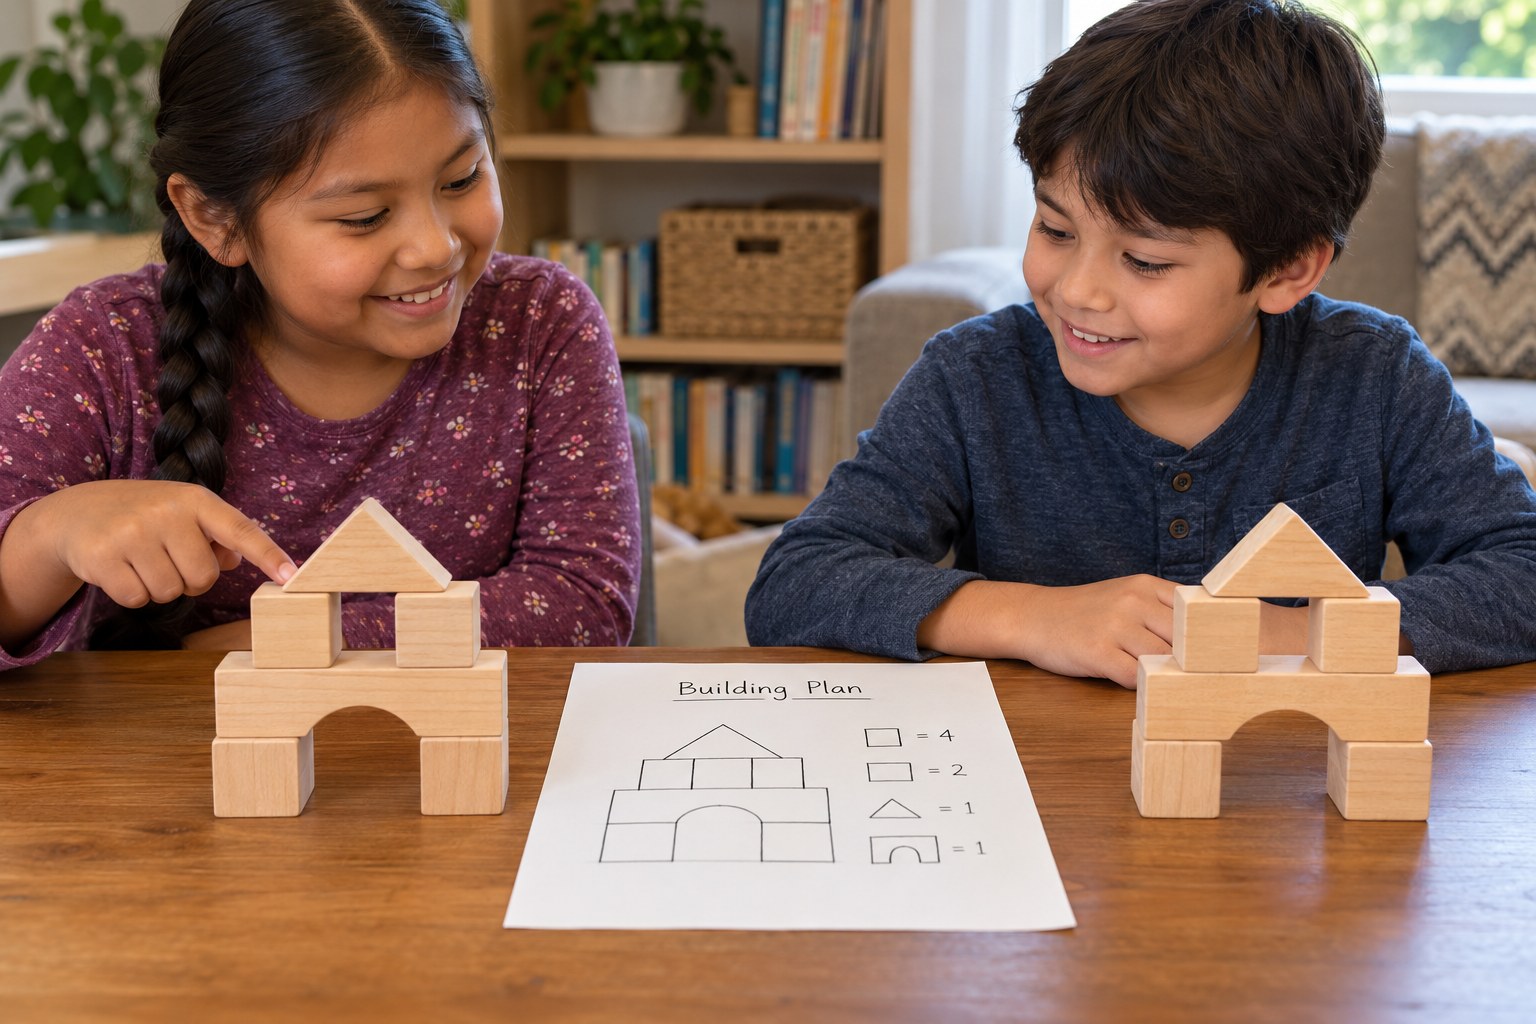
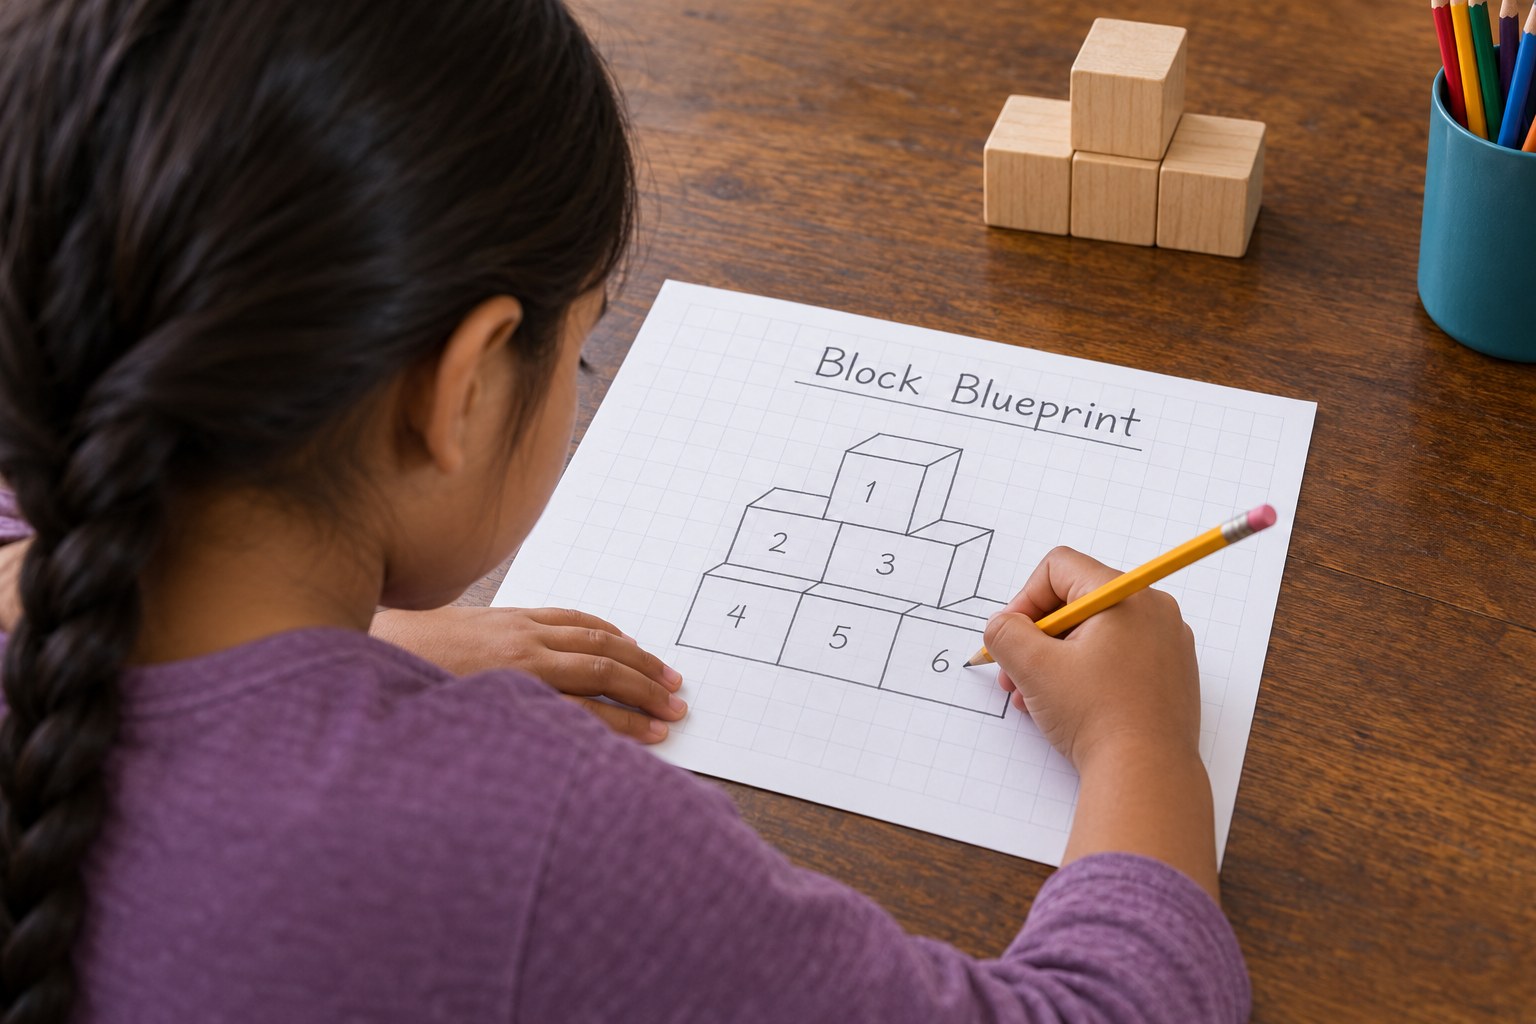
Your child builds a small block building, traces its footprint and sketches its front to make a simple blueprint, then a partner tries to rebuild the building using only the blueprint.
Objective
Your child will build a structure from blocks, draw a simple plan showing its shapes from above and from the front, and use a partner's plan to build a matching structure.
Standards
Materials
| Item | Quantity |
|---|---|
| Building blocks, stacking boxes or food containers in a few shapes | 10-20 |
| Paper | 4-6 sheets |
| Pencil and crayons | 1 set |
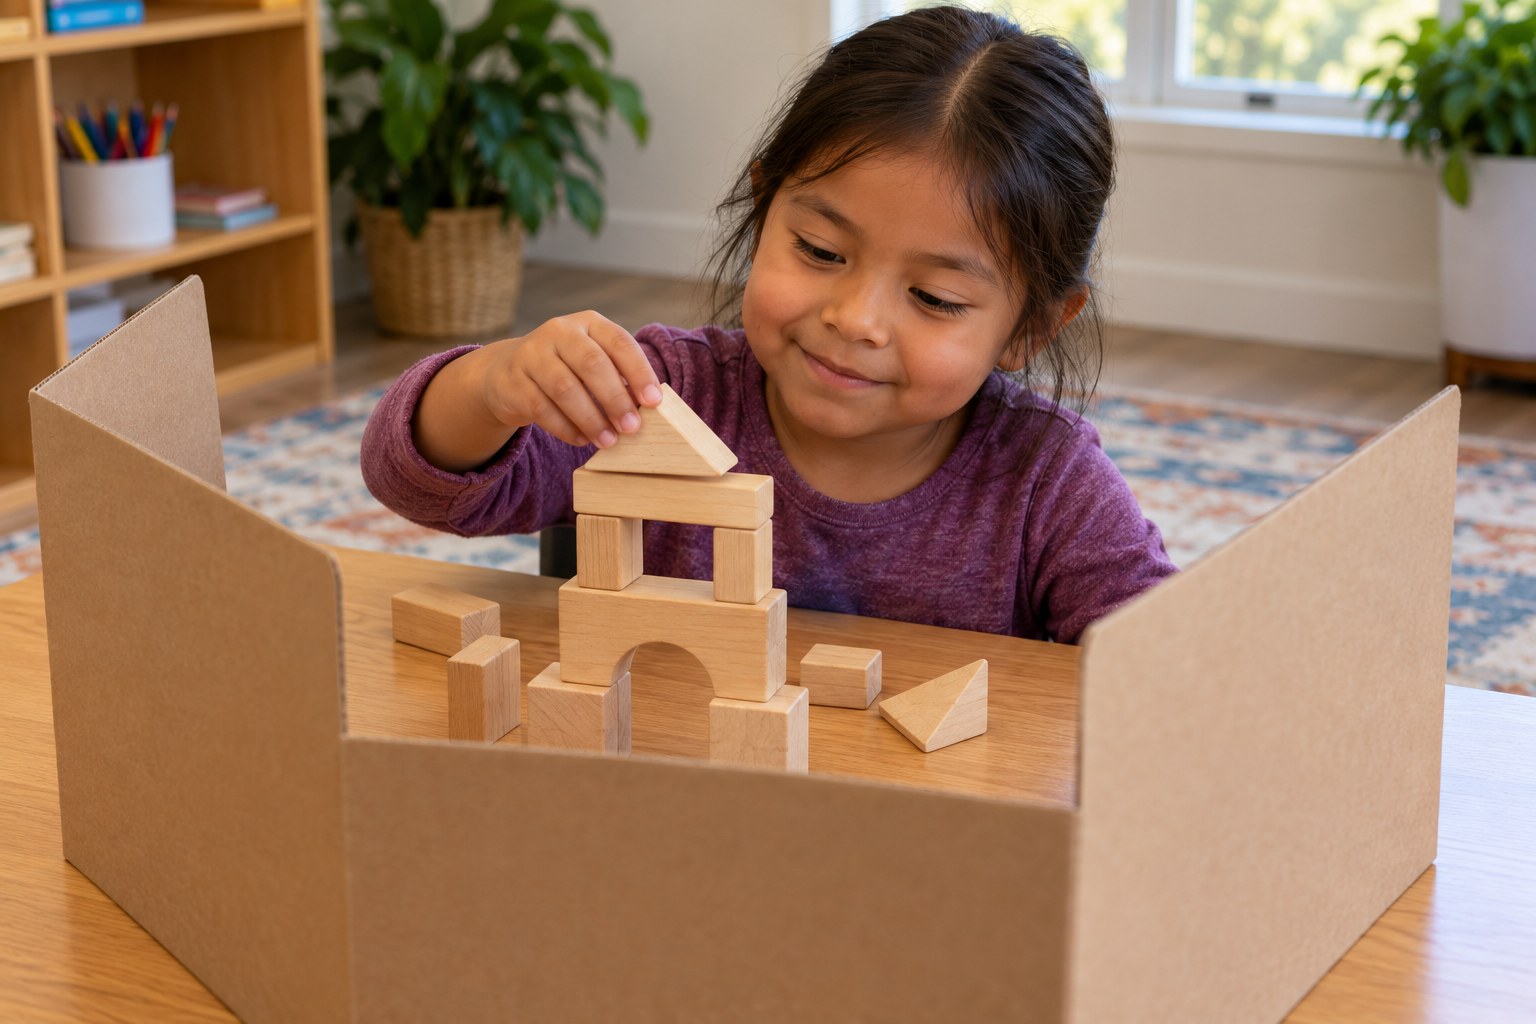
| Folder or cereal box to use as a privacy screen | 1 |
| Ruler (optional) | 1 |
Vocabulary
Preparation
- Gather blocks or household boxes with a mix of cubes, long rectangles, cylinders (cans) and triangles if you have them.
- Set up a folder as a screen so one builder can't see the other's building.
- Draw a sample blueprint of a simple 3-block building to show your child.
Introduction
Show your child a picture of a real blueprint (search 'house blueprint') or the sample you drew. Ask: how could a builder who never met the architect make the exact same house? They follow the blueprint!
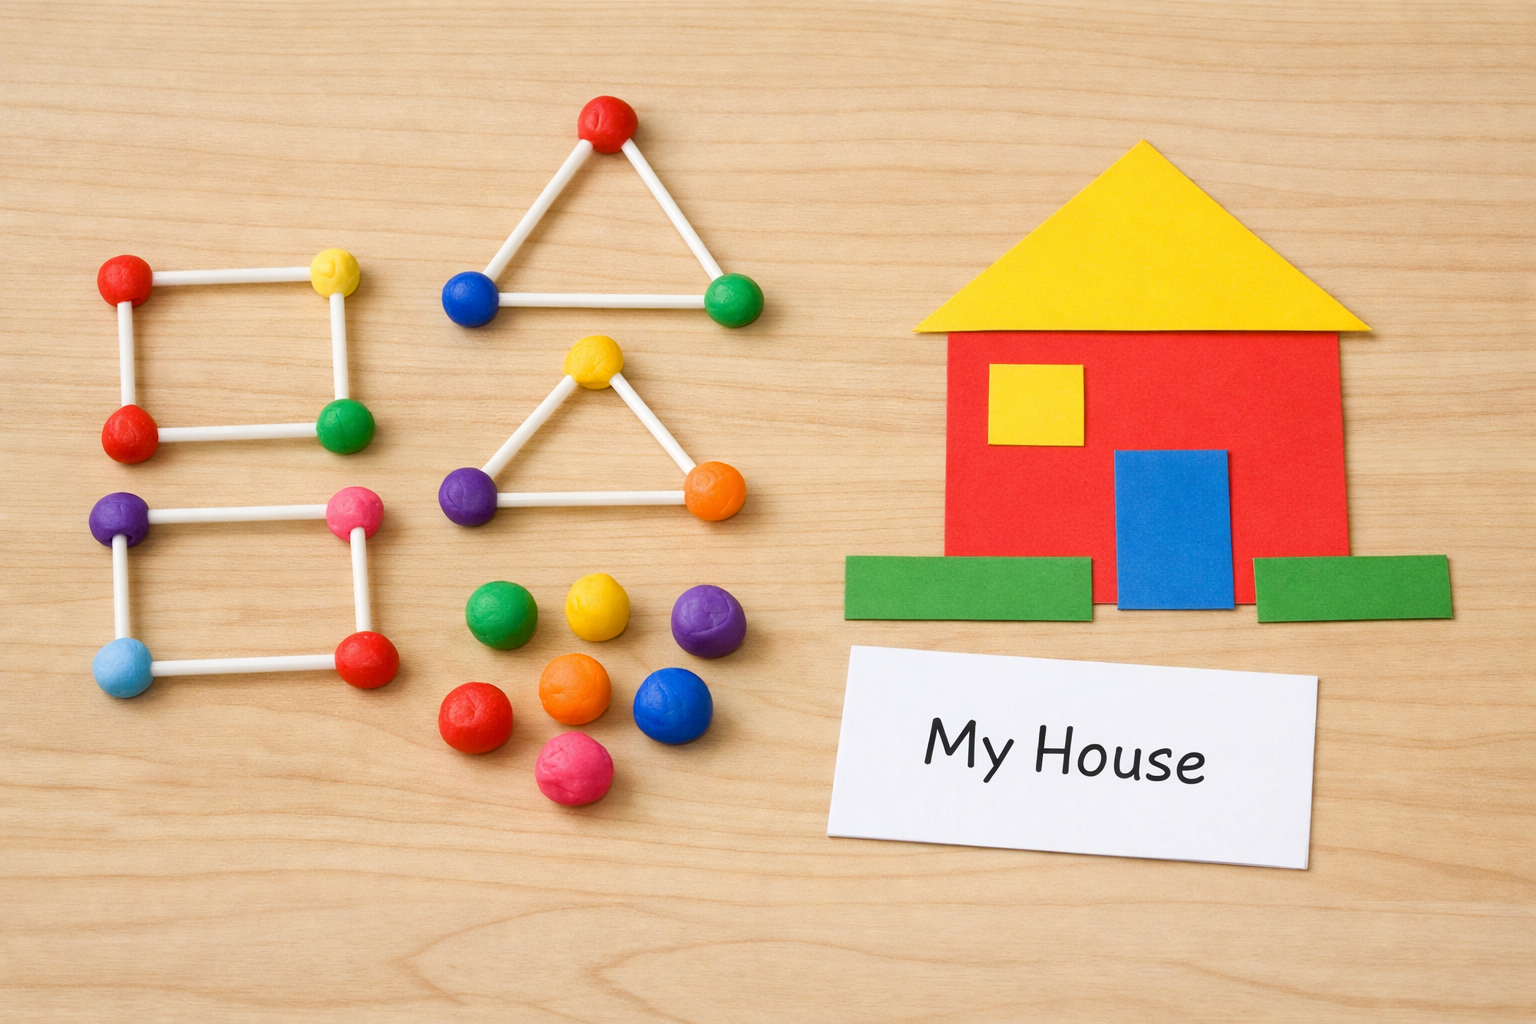
What shapes do you see in our house?
Why would builders need a plan before they start?
Steps
Conclusion
Ask: what made a blueprint easy to follow? Look for shapes on buildings in your neighborhood: rectangles for doors, triangles on roofs, circles on windows.
Make your own lesson plan in minutes
Describe a topic and Resource Portal AI writes the objectives, materials and steps for your group.
Try Resource Portal AI