Lesson planMake It Rain: Rainforest in a Jar
Science30 minutesGrades: K, 1st, 2nd
Overview
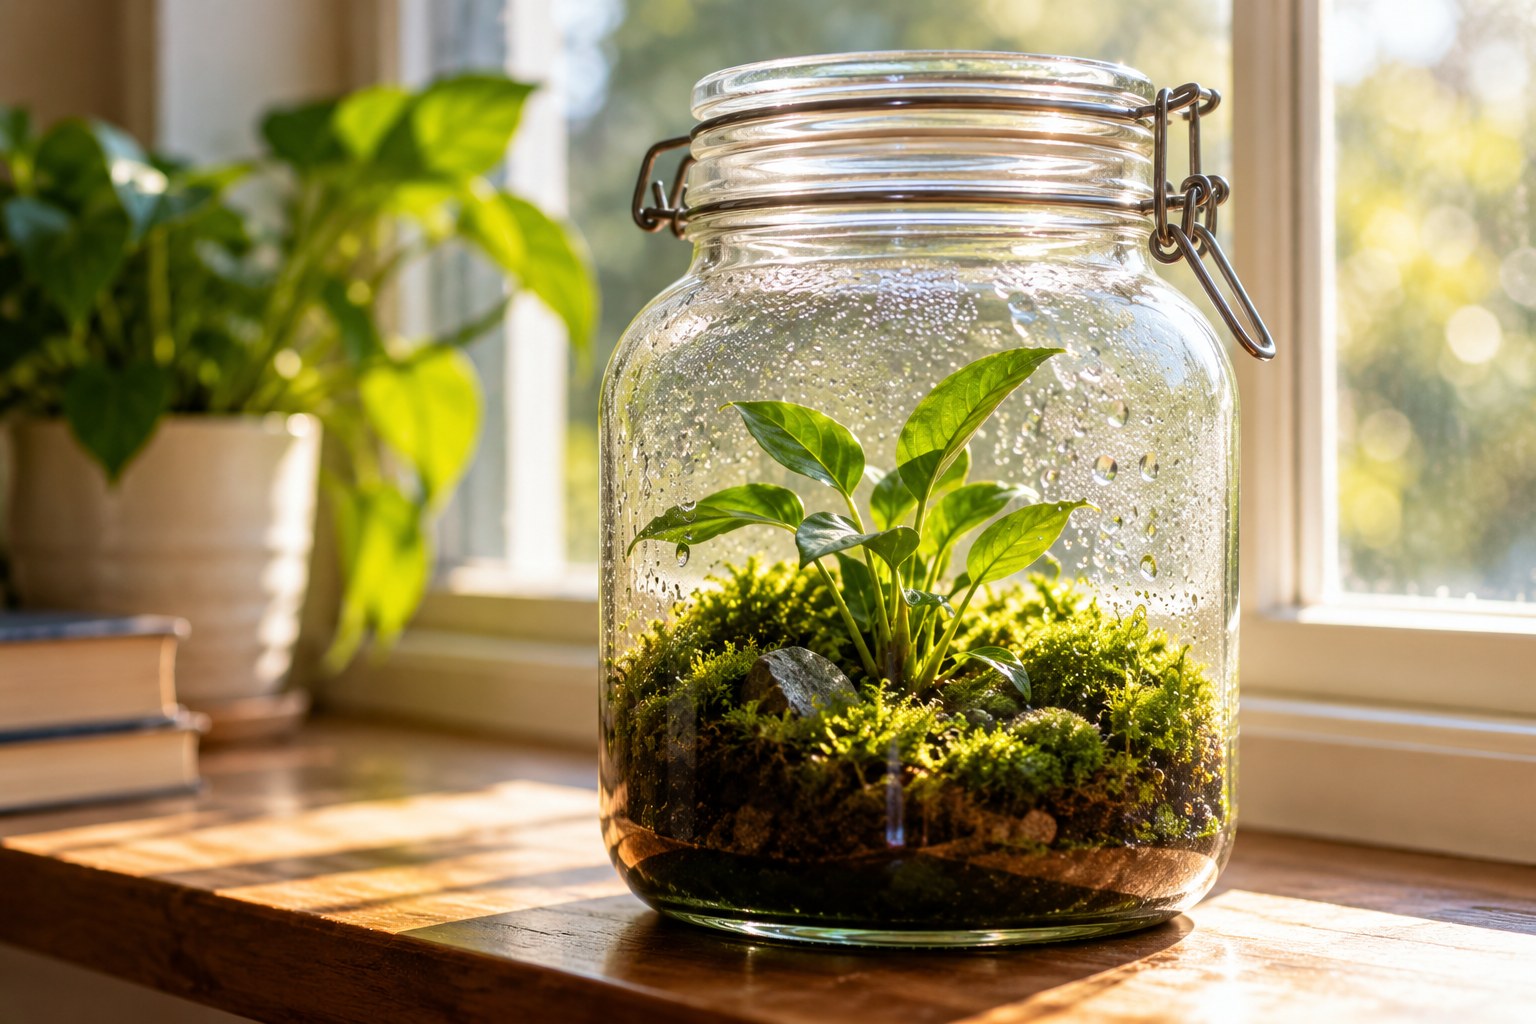
Build a mini rainforest that makes its own rain.
Description
Your child builds a tiny closed rainforest in a clear jar with soil, a small plant and a splash of water, puts it in a sunny window and watches droplets form and 'rain' down the sides, then draws what they saw.
Objective
Your child will build a closed jar habitat, observe water drops forming on the glass, and use a drawing with labels to answer the question 'Where did the rain come from?'
Standards
W.1.8ELA · Grade 1 · Writing With guidance and support from adults, recall information from experiences or gather information from provided sources to answer a question.
W.2.8ELA · Grade 2 · Writing Recall information from experiences or gather information from provided sources to answer a question.
Materials
| Item | Quantity |
|---|
| Clear jar with a lid, or a clear plastic bottle cut in half with the top taped back on (adult cuts) | 1 per child or pair |
| Small pebbles or gravel | 1/2 cup |
| Potting soil | 1-2 cups |
| Small plant cuttings, moss or a few fast seeds such as beans | 2-3 |
| Spray bottle or spoon and water | 1 |
| Paper and crayons | 1 sheet per child |
Vocabulary
Rainforest
A warm, wet forest where it rains a lot.
Evaporate
When water turns into an invisible gas and goes into the air.
Condense
When water in the air turns back into tiny drops on something cool.
Habitat
The place where a plant or animal lives and gets what it needs.
Preparation
- Wash the jar. If using a plastic bottle, an adult cuts it in half and keeps the tape ready.
- Spread newspaper on the table. For a group, set up one jar for every 2 children.
Introduction
Breathe on a cold mirror or window and look at the fog. Say: that cloud came from water inside your breath! Today we'll build a rainforest that makes its own rain.
Where does rain come from?
What do you think will happen to water sealed inside a jar on a sunny window?
Steps
1Step 1
Layer the jar
(8 min) Your child pours pebbles in the bottom, then about two fingers of soil on top. They poke holes and plant the cuttings or seeds, pressing the soil gently.
2Step 2
Add the rain
(4 min) Your child sprays or spoons in a little water until the soil is damp but not puddly. Close the lid tightly. Explain that the water is now trapped inside.
3Step 3
Sunny window
(4 min) Set the jar in a bright window and predict together: what will we see on the glass later? Write or say the prediction.
4Step 4
Look for rain
(6 min) After a few hours or the next morning, look closely at the glass. Your child finds the drops on the walls and lid and watches for one to slide down like rain. Explain that the sun warmed the water, it evaporated, then condensed on the cooler glass and fell again, just like rainforest rain.
5Step 5
Draw the answer
(8 min) Your child draws the jar with arrows showing water going up as invisible vapor and coming down as drops. They label the arrows (up, drops, rain) or tell you the words to write, answering 'Where did the rain come from?' Hang the drawing next to the jar.
Conclusion
Ask: where did the rain in the jar come from? Check the jar every day for a week and see if the plants keep growing without new water.
Make your own lesson plan in minutes
Describe a topic and Resource Portal AI writes the objectives, materials and steps for your group.
Try Resource Portal AI