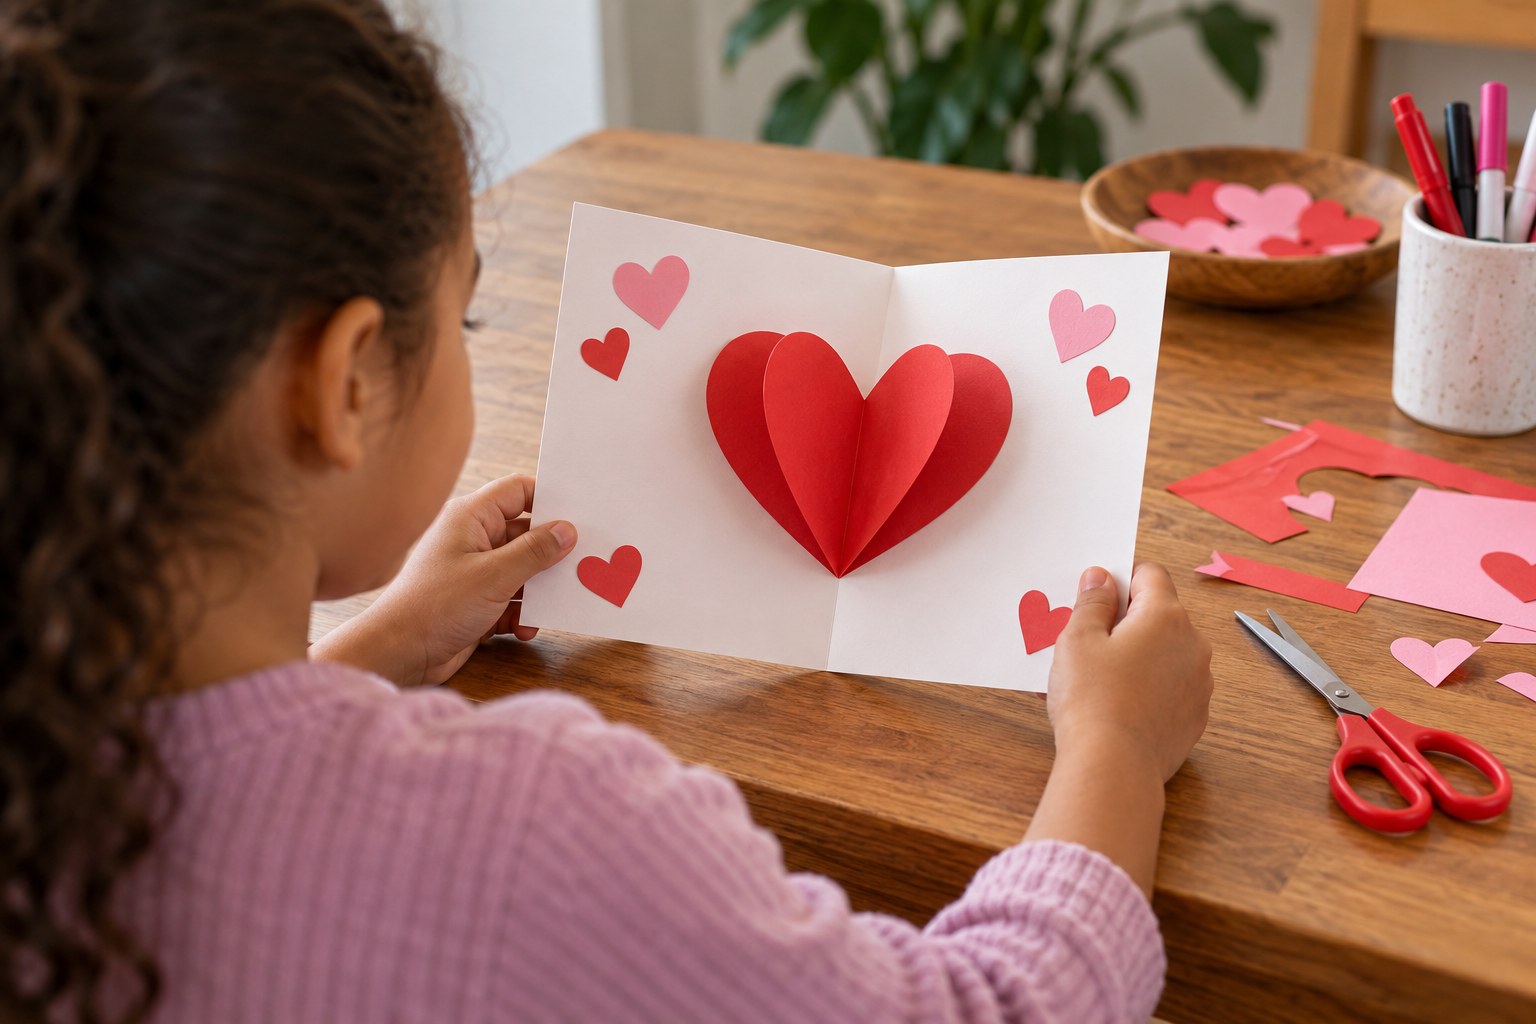
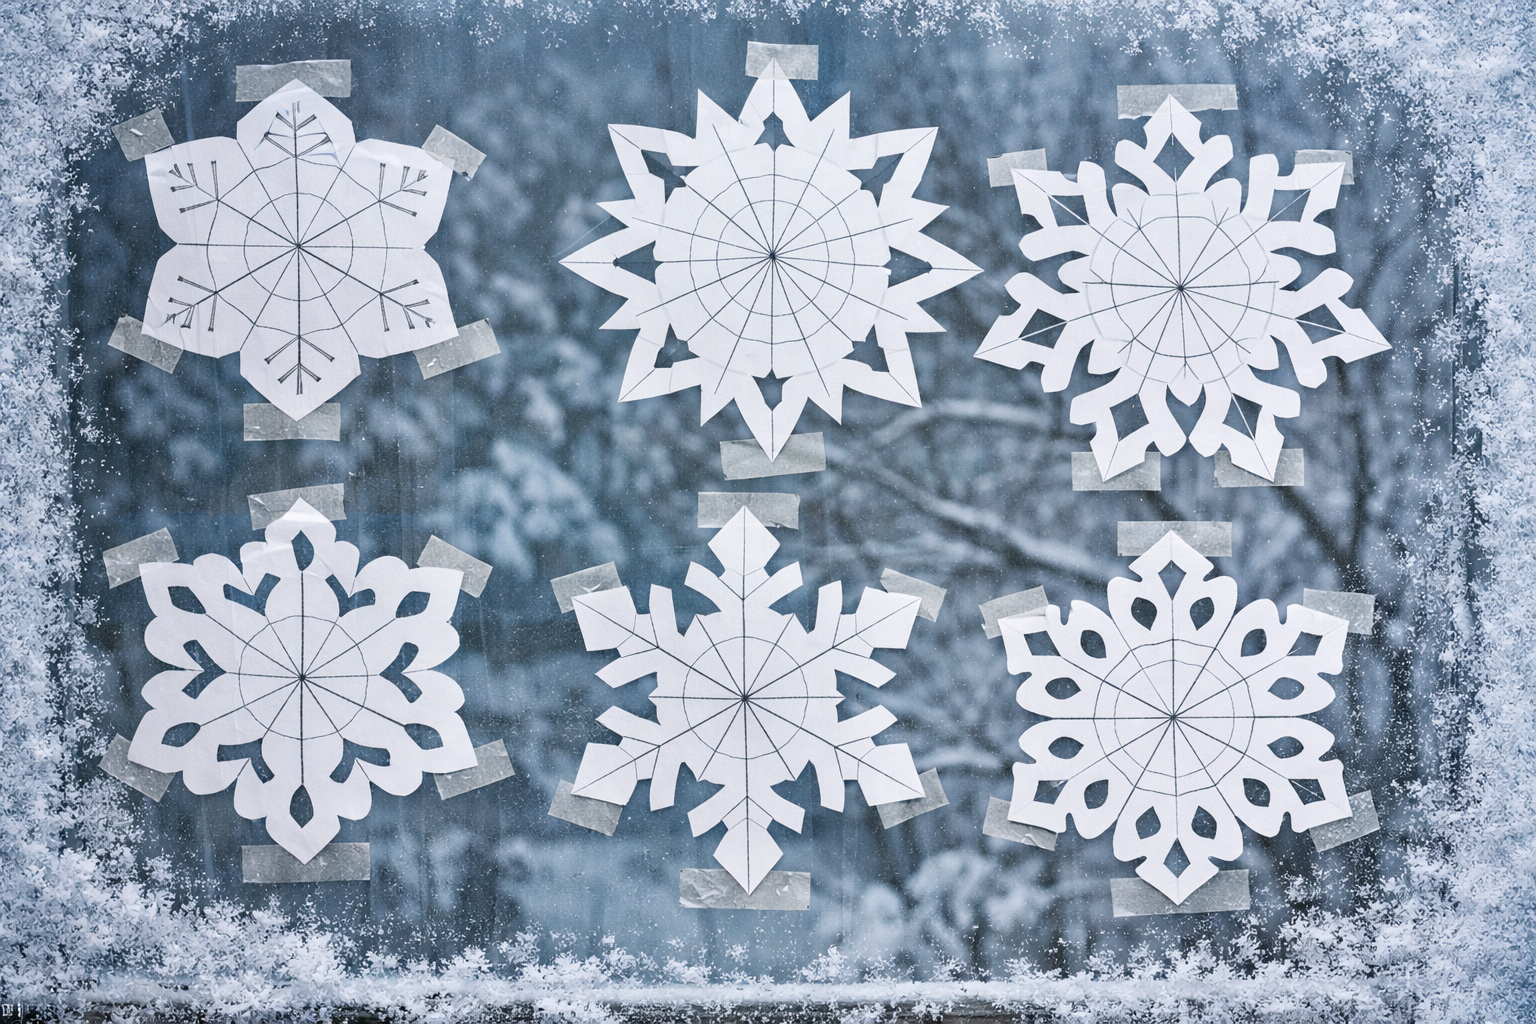
Full lesson previewDía de los Muertos Papel Picado Banner
Arts & Crafts40 minutesGrades: 2nd, 3rd, 4th, 5th
Overview
Fold, cut and hang a papel picado banner.
Description
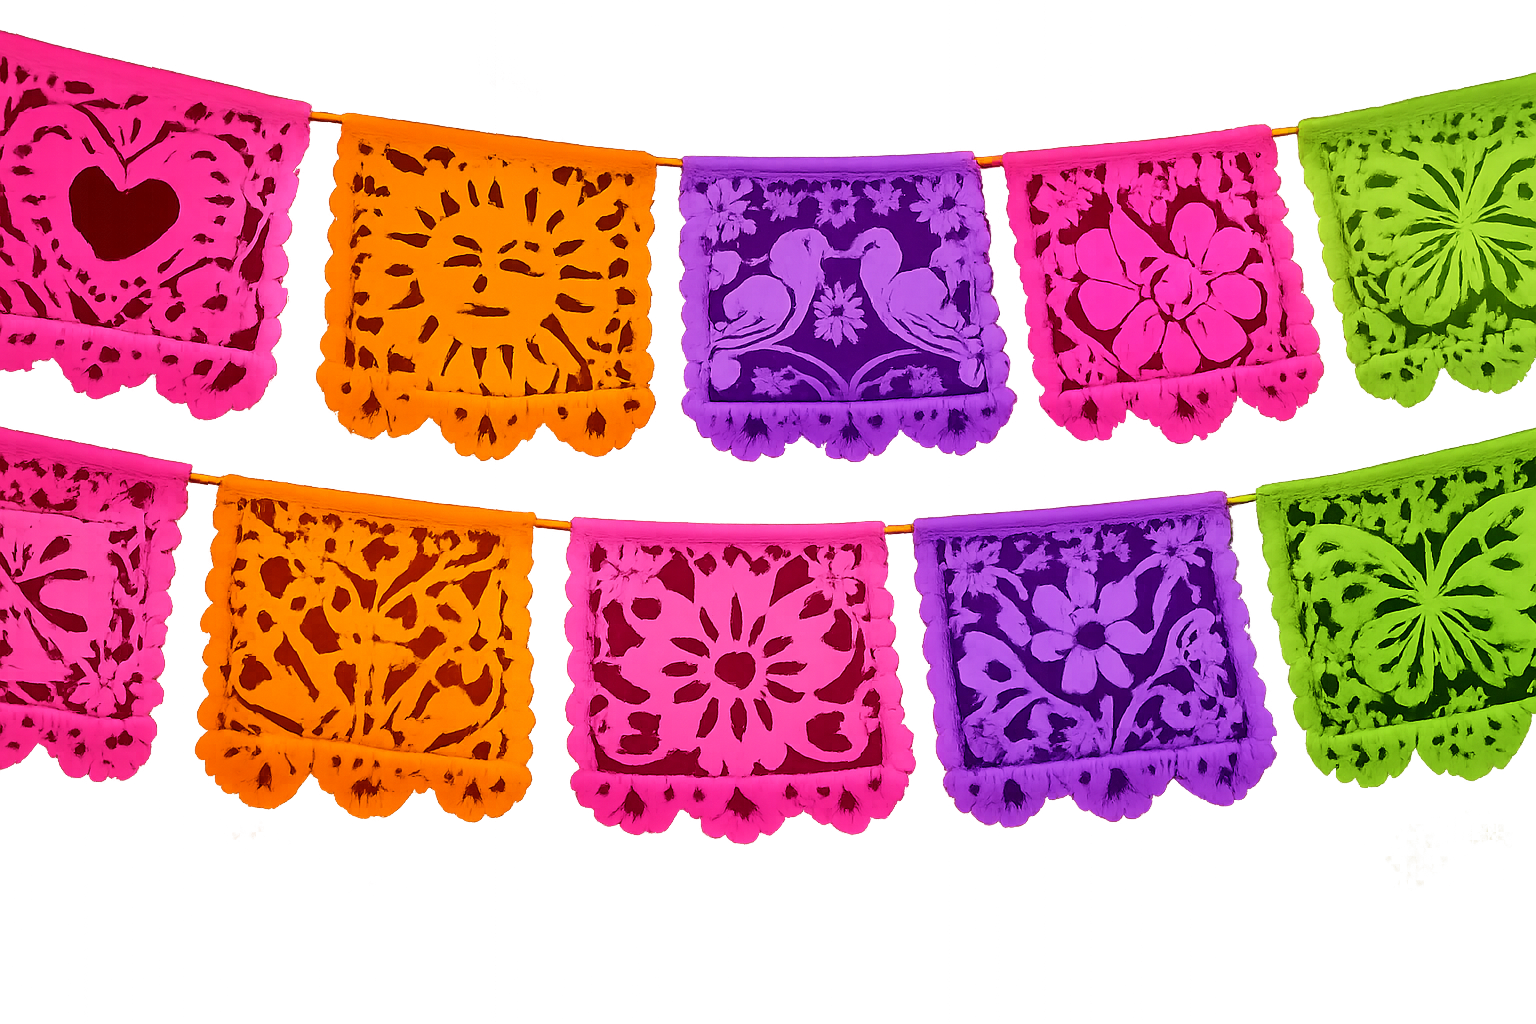
Your child learns what Día de los Muertos is and why families build an ofrenda, then folds and cuts tissue paper into symmetrical papel picado flags and strings them into a banner.
Objective
Your child will explain the purpose of Día de los Muertos and the ofrenda, and use folding to cut designs with lines of symmetry.
Standards
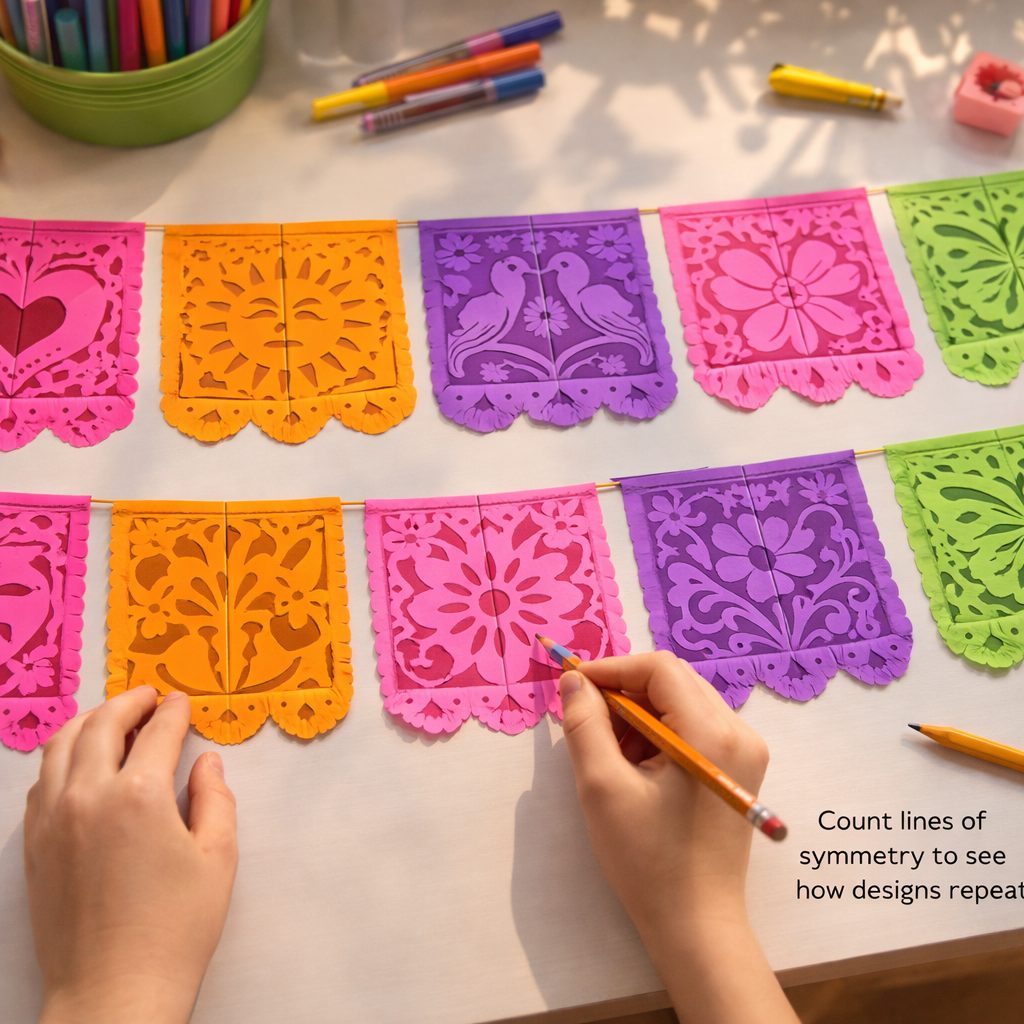
4.G.3Math · Grade 4 · Geometry Recognize a line of symmetry for a two-dimensional figure as a line across the figure such that the figure can be folded along the line into matching parts. Identify line-symmetric figures and draw lines of symmetry.
Materials
| Item | Quantity |
|---|
| Tissue paper in bright colors, cut to about 8 x 10 inches | 4 sheets per child |
| Child-safe scissors | 1 per child |
| String or yarn | 1 piece, about 4 feet long |
| Clear tape | 1 roll |
| Pencil | 1 per child |
Vocabulary
Día de los Muertos
Day of the Dead, a holiday on November 1 and 2 when families remember loved ones who have died.
Ofrenda
A home altar with photos, favorite foods, flowers and candles that welcomes the memory of loved ones.
Papel picado
Spanish for 'punched paper.' Colorful paper flags with cut-out designs.
Line of symmetry
A fold line where both sides match exactly.
Preparation
- Cut the tissue paper into 8 x 10 inch rectangles if it is not already that size.
- Practice one fold-and-cut yourself so you can show the trick.
Introduction
Hold a folded paper up, make one snip, and open it. Ask: how did one cut make two matching holes?
Who is someone (or a pet) you like to remember?
What do you think a celebration of remembering might look like?
Steps
1Step 1
Learn the tradition
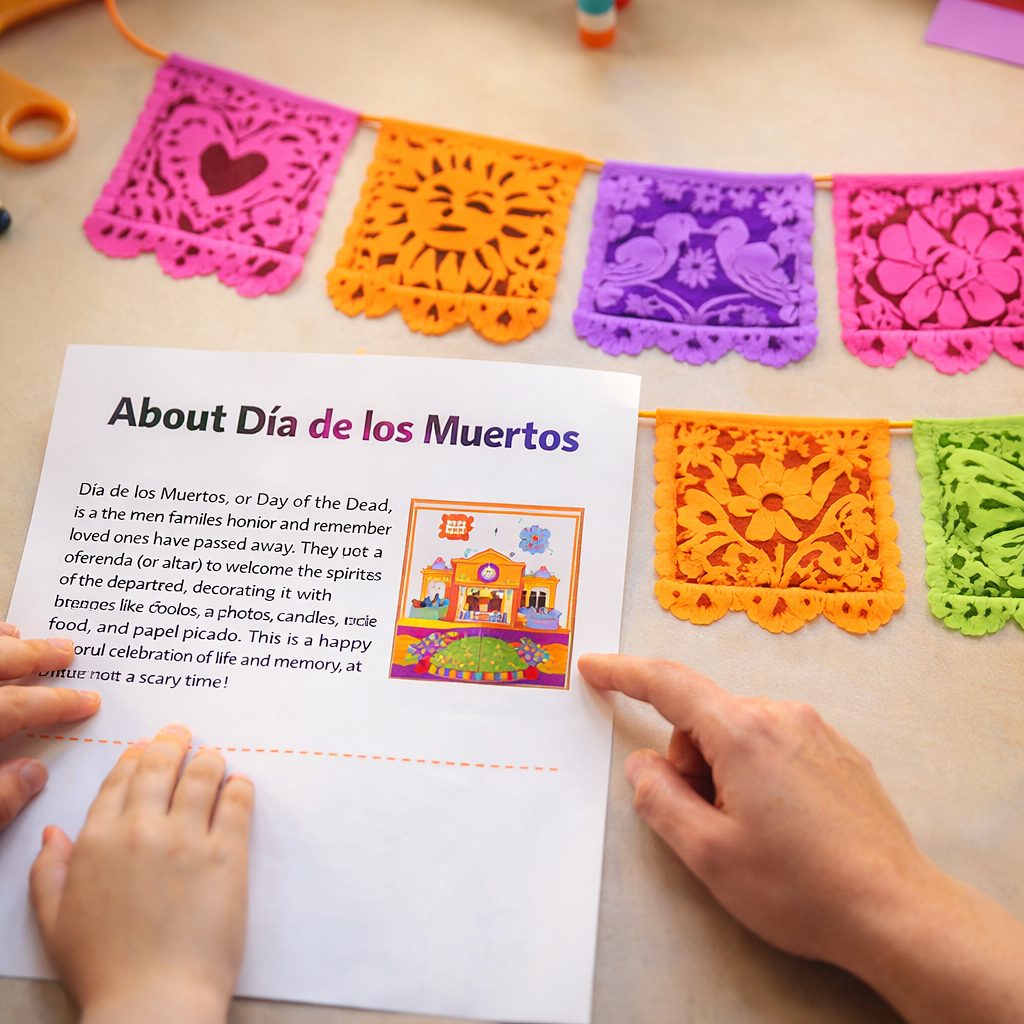
(6 min) Read the 'About Día de los Muertos' section aloud together. Explain that papel picado banners hang above and around the ofrenda, and that this is a happy time of remembering, not a scary one.
2Step 2
Fold the paper
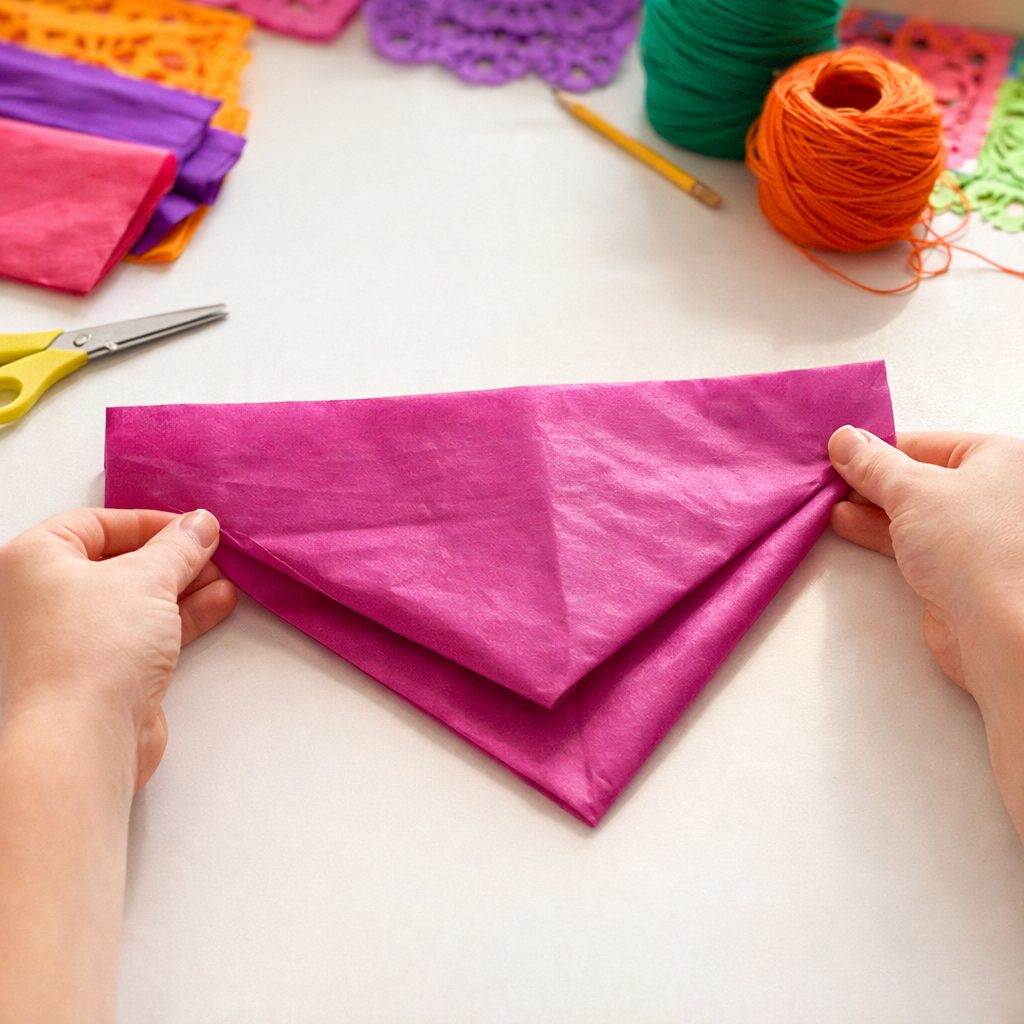
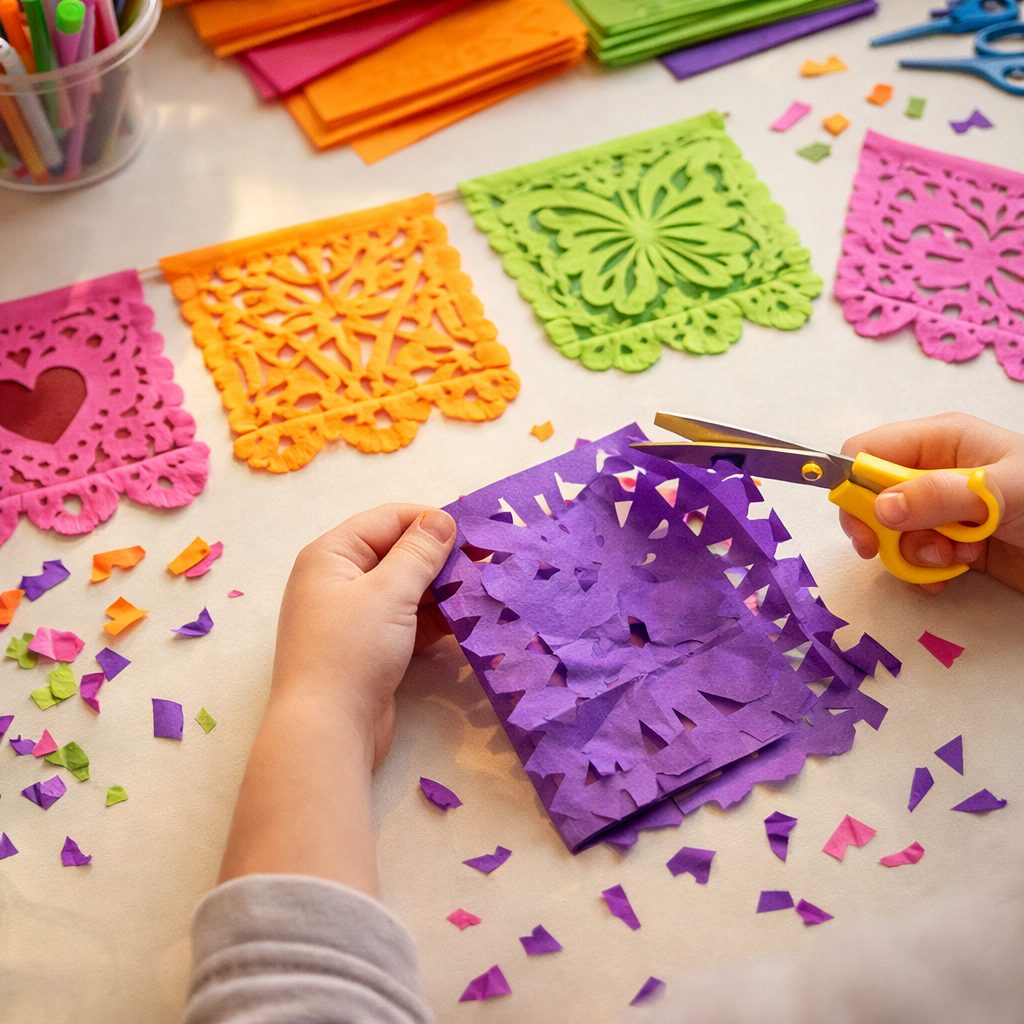
(5 min) Take 1 sheet of tissue paper and fold it in half the long way, then in half again, and then once diagonally into a triangle. Leave the top 1 inch unfolded and uncut so it can wrap over the string later.
3Step 3
Cut the shapes
(14 min) Using the child-safe scissors, cut small triangles, half-circles and notches along the folded edges, keeping at least half of the paper uncut so it doesn't fall apart. Open it slowly, then make 3 more flags from the remaining sheets of tissue paper, trying different cuts each time.
4Step 4
Find the symmetry
(5 min) Lay each opened flag flat and trace the fold lines lightly with the pencil. Count how many lines of symmetry each flag has and notice how the design repeats on both sides of each line.
5Step 5
String the banner
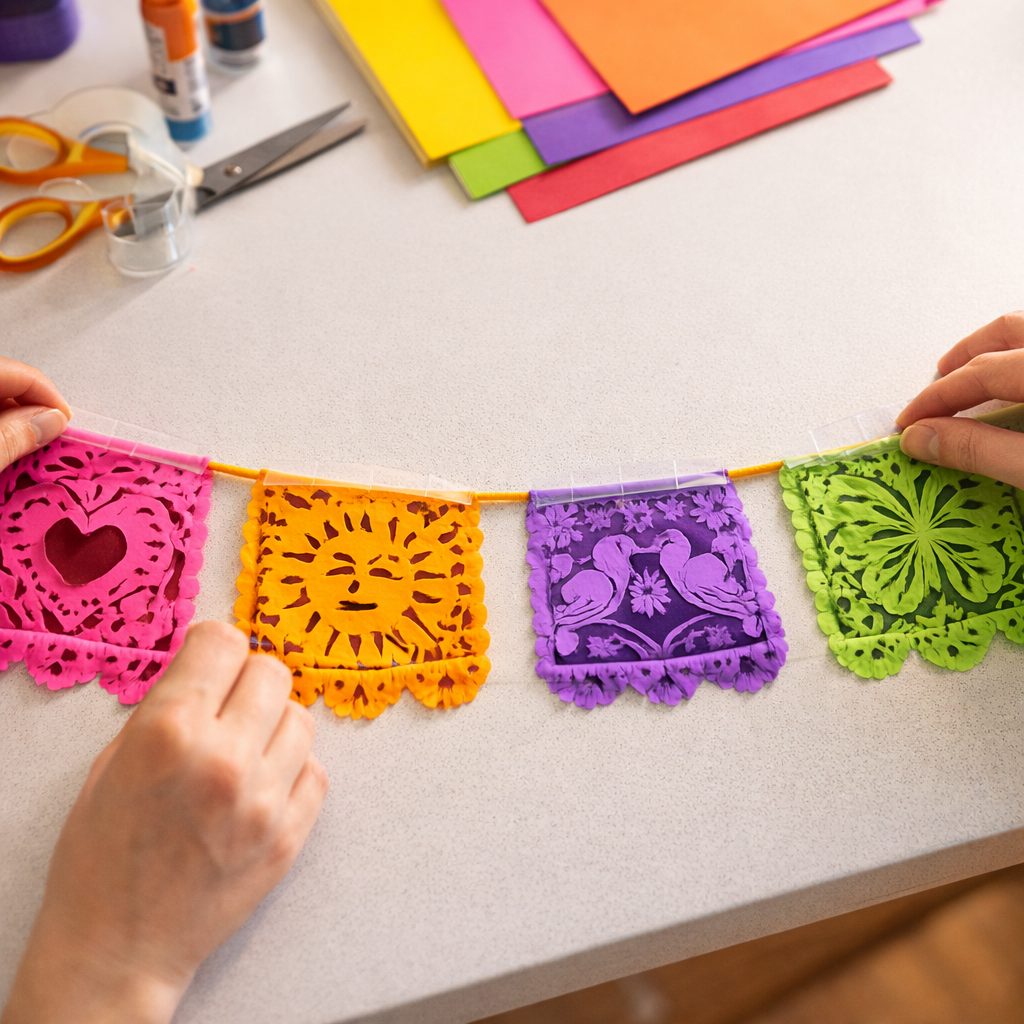
(6 min) Fold the uncut top of each flag over the string and tape it closed with the clear tape. Space the 4 flags evenly and hang the banner in a window or doorway where it can flutter.
Conclusion
Ask: why do you think the paper flutters is part of the tradition? If your family would like, talk about a loved one or pet you remember and what made them special.
Make your own lesson plan in minutes
Describe a topic and Resource Portal AI writes the objectives, materials and steps for your group.
Try Resource Portal AI