String-and-Paper Suspension Bridge: Engineer a Bridge That Hangs
Overview
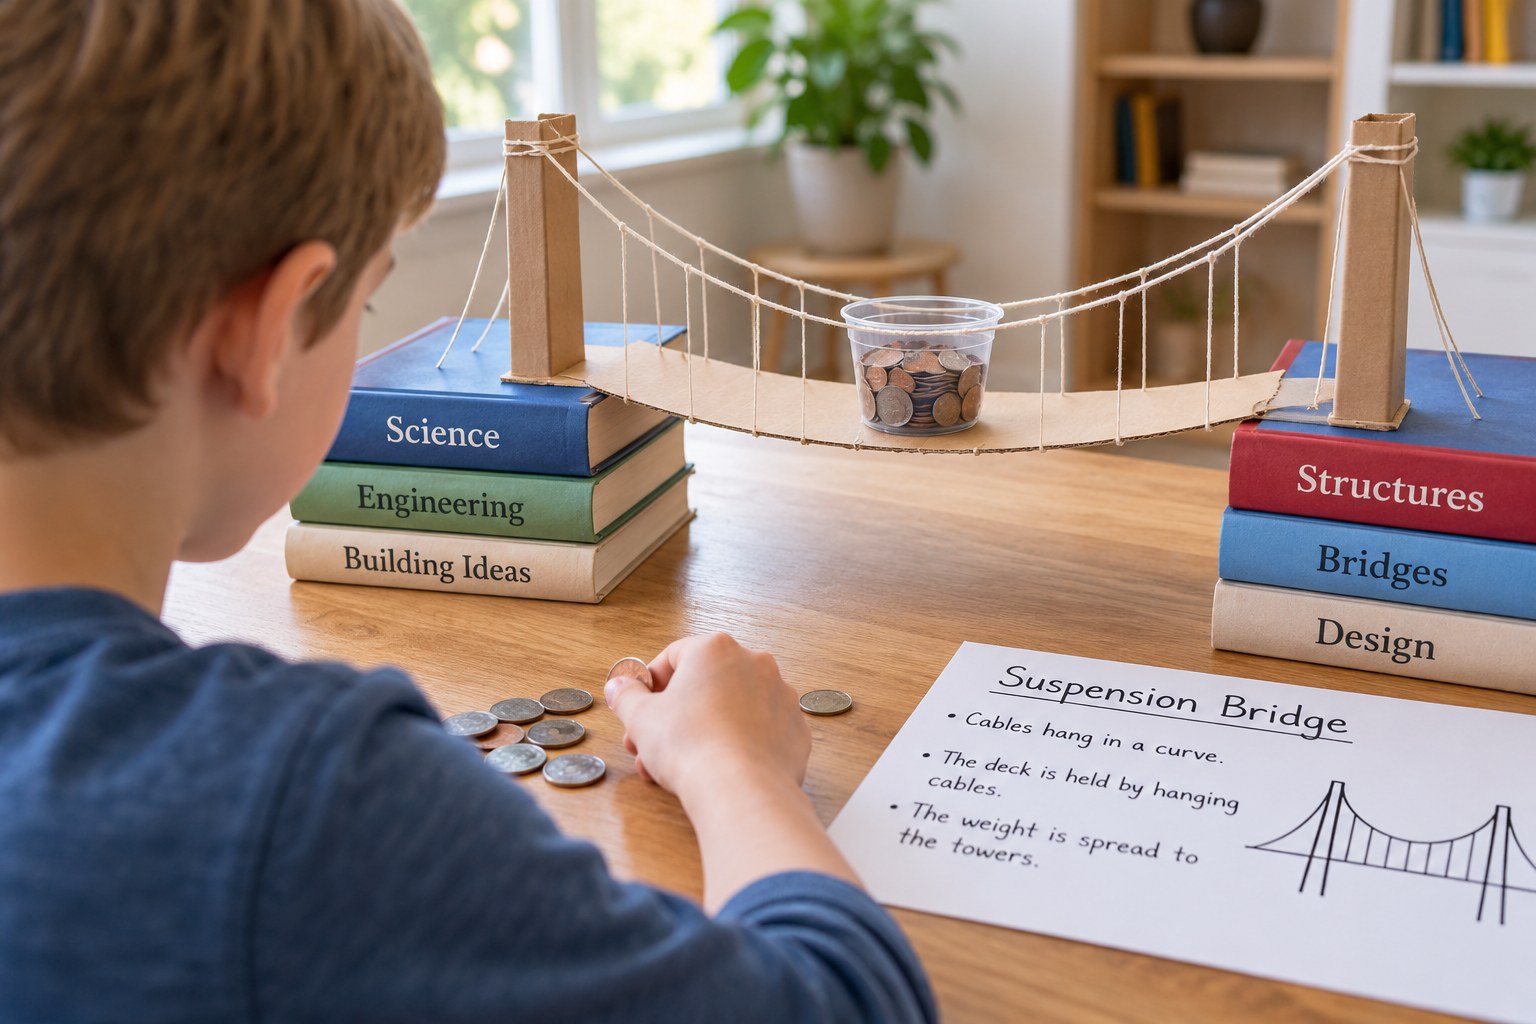
Hang a paper road from string cables and load it with coins.
Description
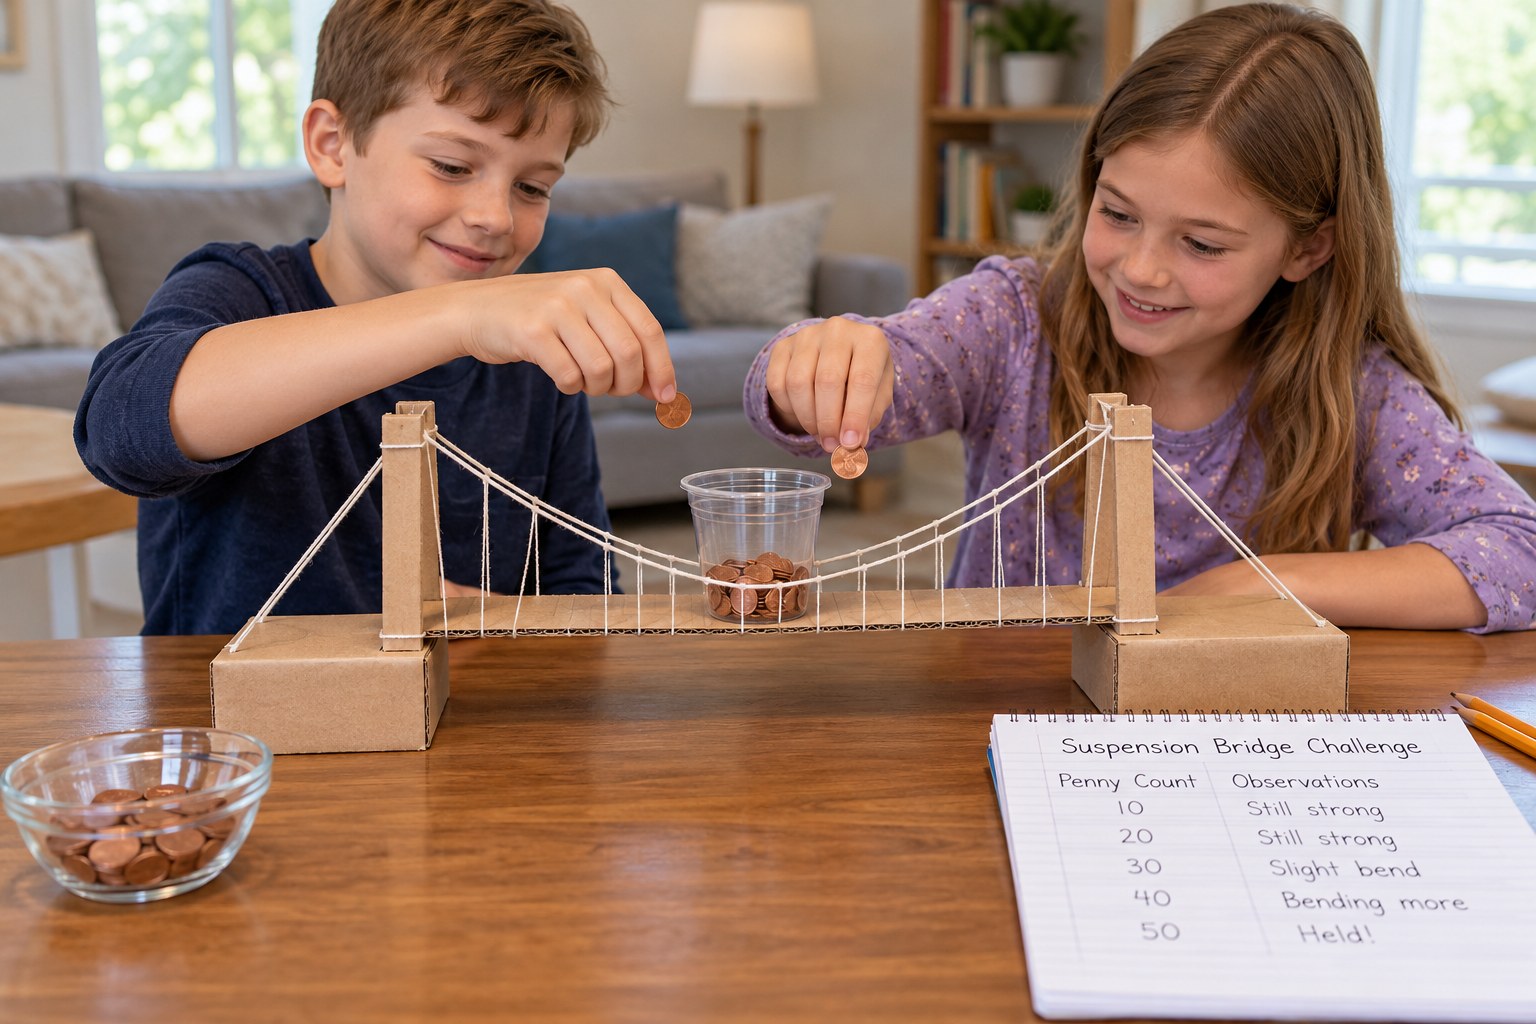
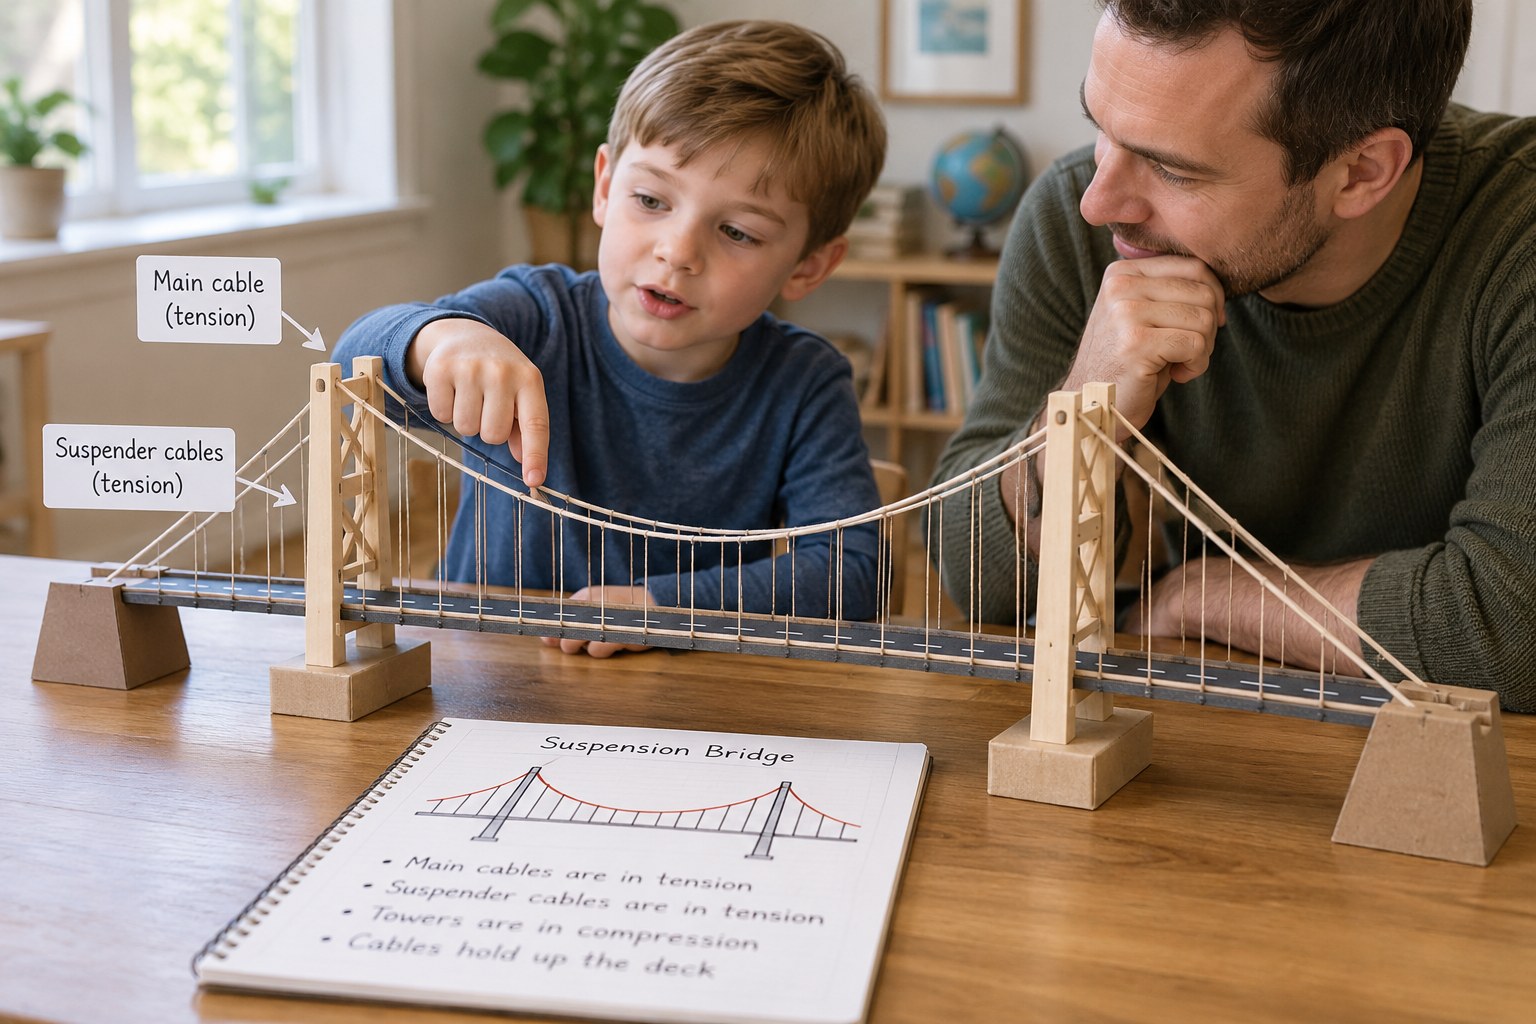
Your child builds a model suspension bridge using book-stack towers, string cables and a paper deck, then tests how many coins the deck holds with and without its cables to see how tension carries the load.
Objective
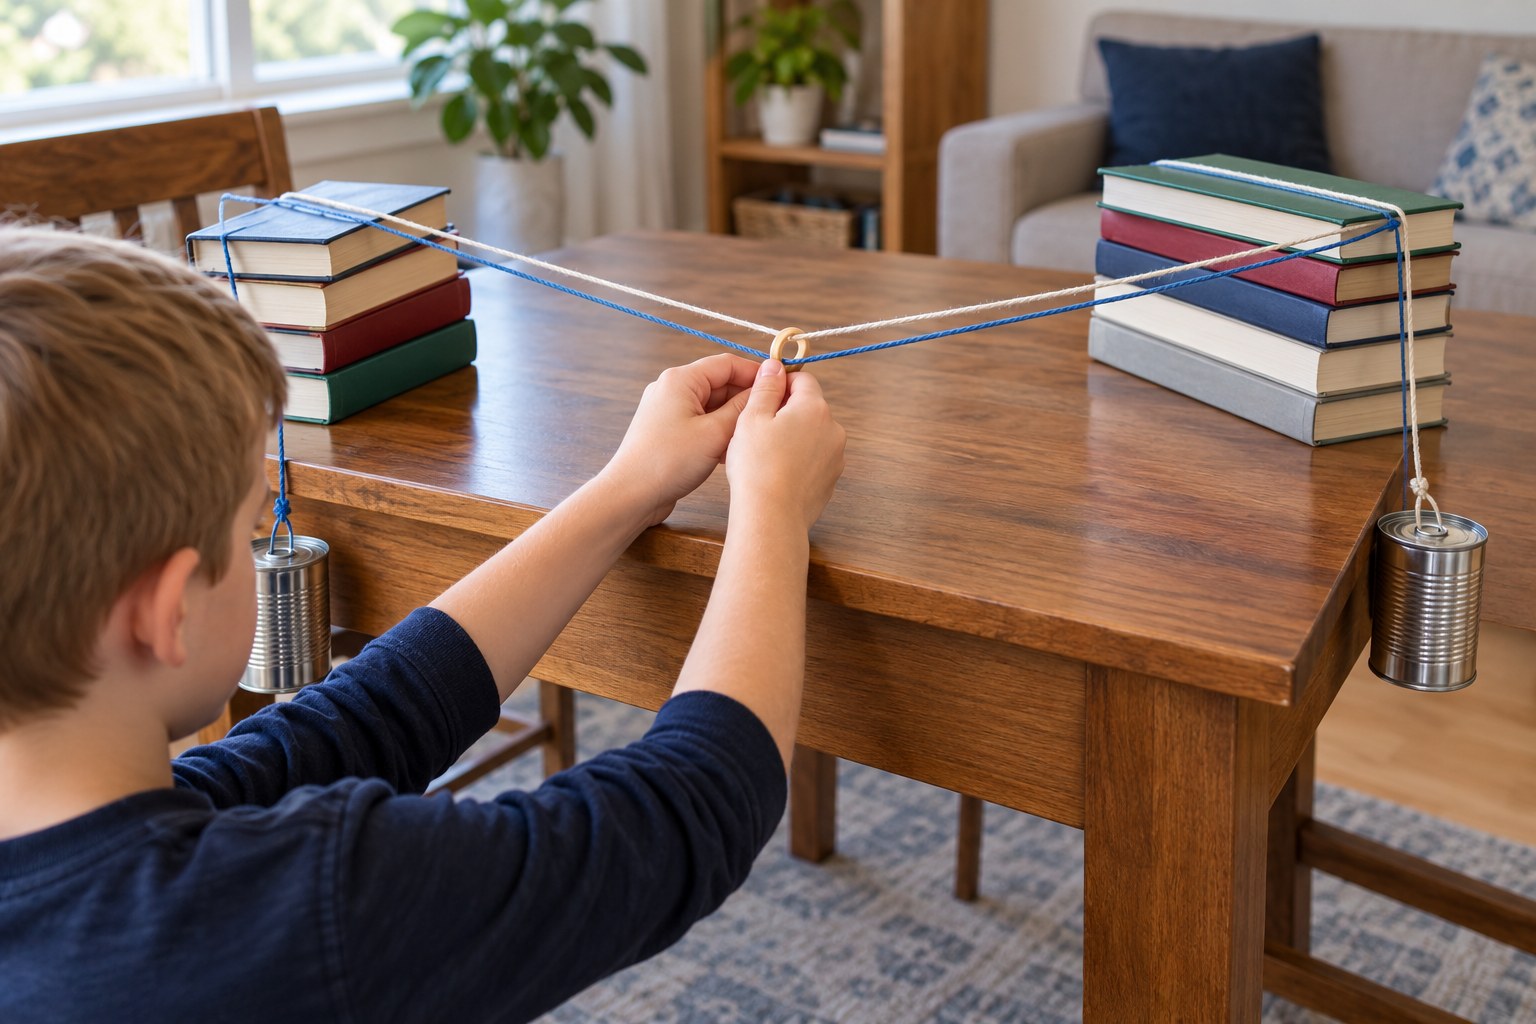
Your child will build a suspension bridge model, test its load with and without cables, and explain how the cables, towers and anchors work together to hold up the deck.
Materials
| Item | Quantity |
|---|---|
| Stacks of books for two towers, about 8 inches tall | 2 stacks |
| String or yarn | about 10 feet |
| Strip of cardstock or a cereal-box panel, about 3 x 16 inches (the deck) | 1 |
| Tape | 1 roll |
| Small paper cup and pennies or other coins for the load | 1 cup, 50 coins |
| Two heavy objects for anchors (cans or more books) | 2 |
Vocabulary
Preparation
- Set two book stacks about 12 inches apart on a table to be the towers.
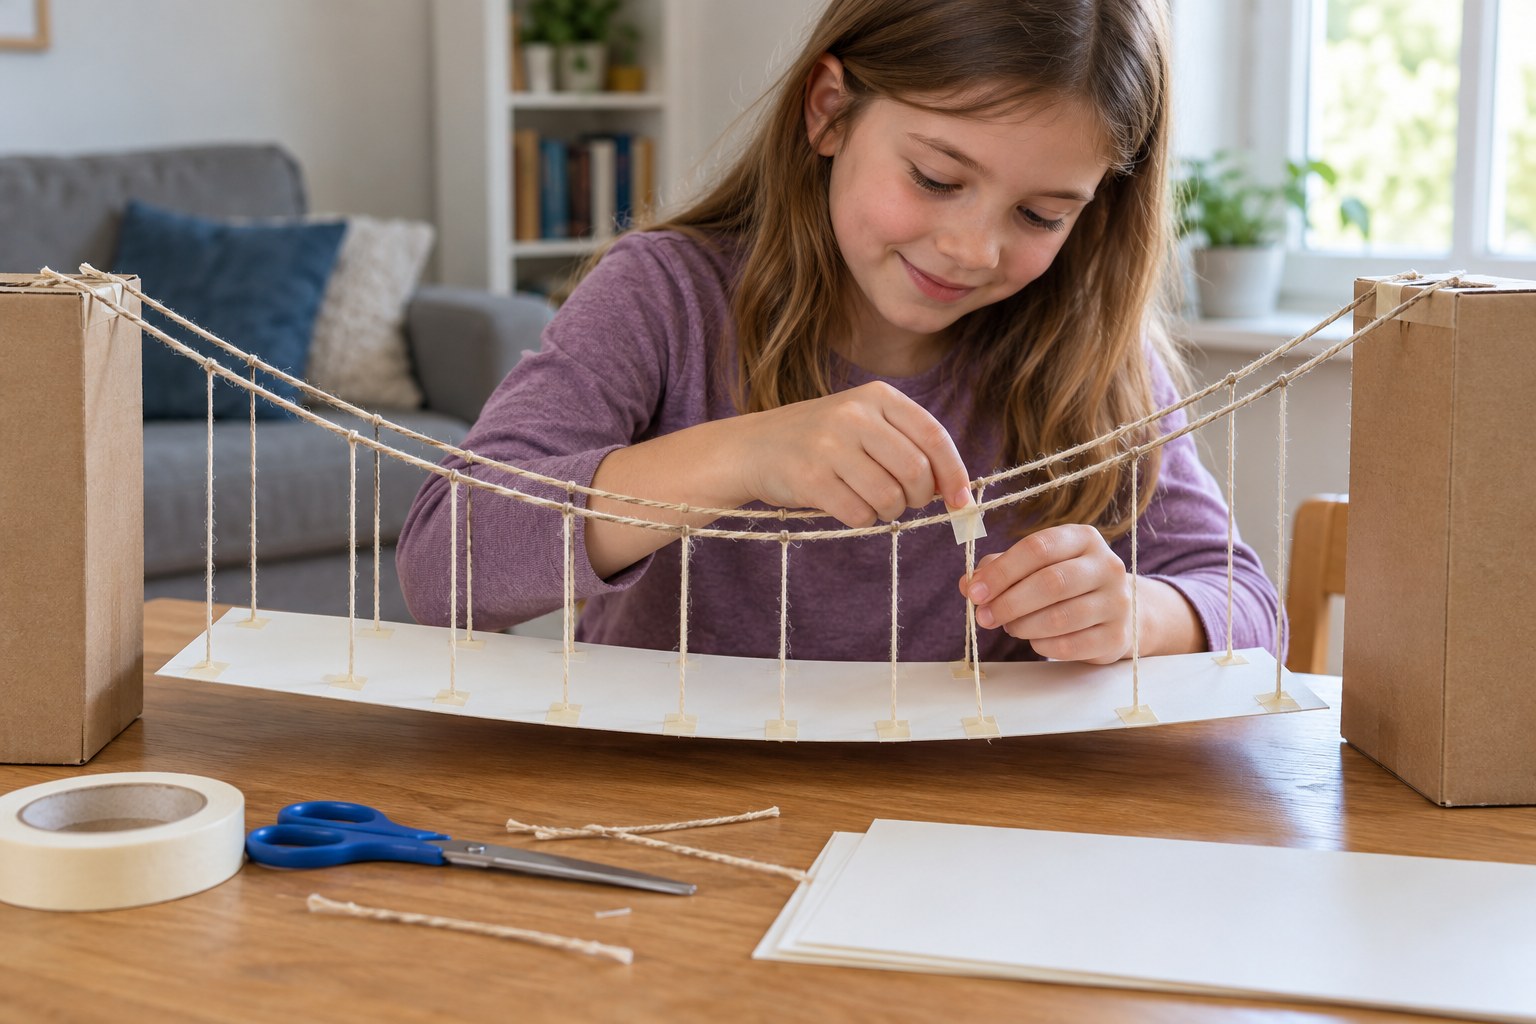
- Cut two long pieces of string for the main cables (about 40 inches each) and six shorter pieces for hangers (about 10 inches each).
- Read 'About bridges' so you can show pictures of real suspension bridges.
Introduction
Show your child a picture of the Golden Gate Bridge or another suspension bridge. Ask: the road is hanging in the air over deep water, so what is holding it up? Today you'll engineer one and find out.
Where do you think the weight of the cars goes?
Why might a long cable be stronger than a thin paper road?
Steps

Conclusion
Ask: what would happen if one anchor came loose? Find the longest suspension bridge you can on a map, and compare its main span to the length of your model.
Make your own lesson plan in minutes
Describe a topic and Resource Portal AI writes the objectives, materials and steps for your group.
Try Resource Portal AI