Ancient Egypt Papyrus-Style Paper Making
Overview
Layer and press strips into papyrus-style paper.
Description
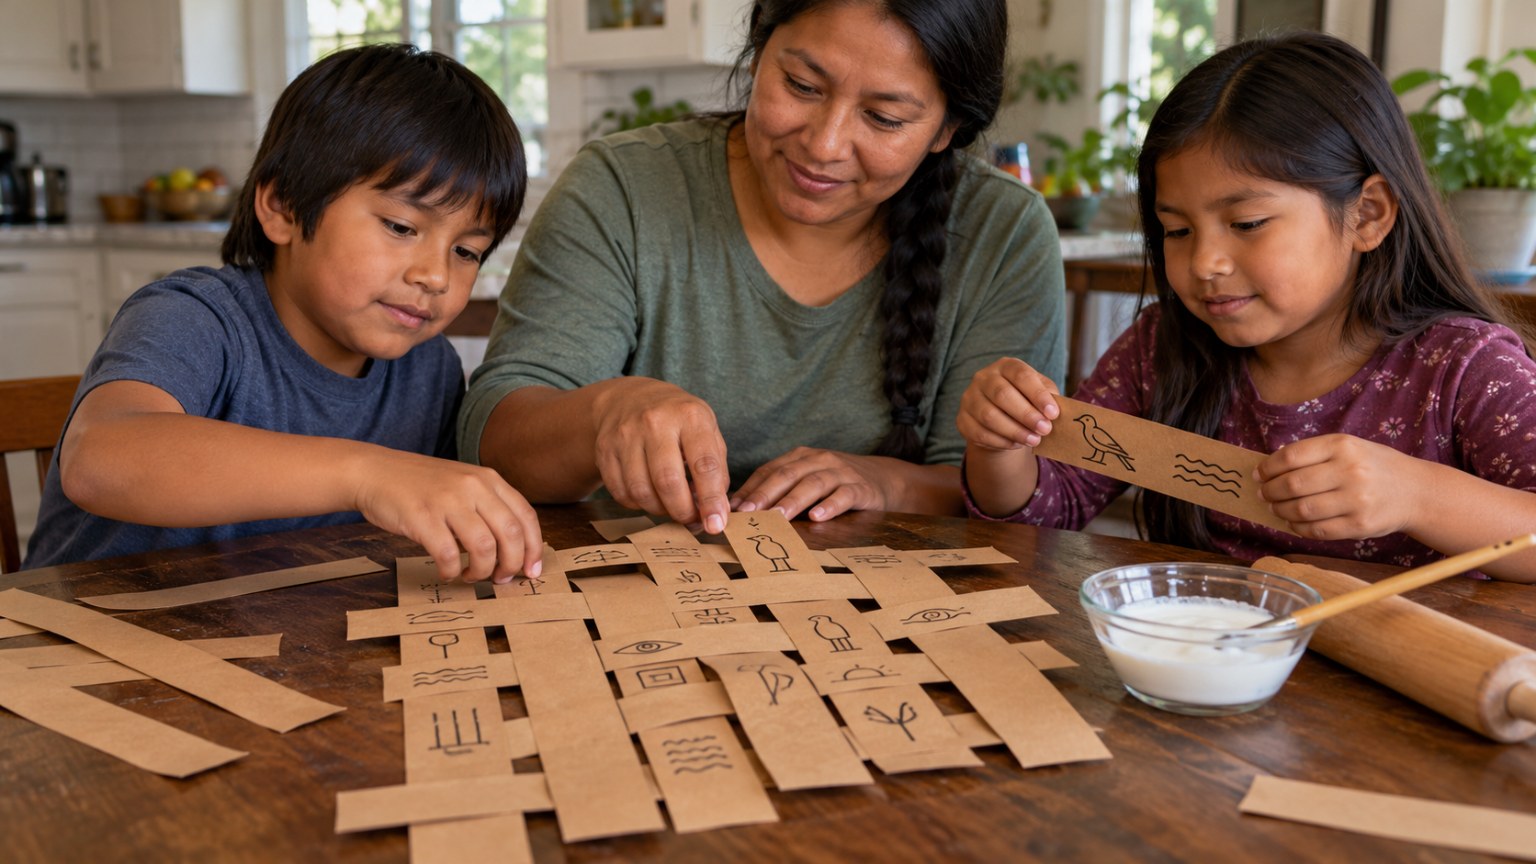
Your child learns how Egyptians turned papyrus reeds into a writing surface, then makes a sturdy papyrus-style sheet by weaving two crosswise layers of glue-soaked paper-bag strips and uses it for a message once dry.
Objective
Your child will explain the steps Egyptians used to make papyrus and follow a similar process to make a layered sheet, comparing its strength to a single layer.
Materials
| Item | Quantity |
|---|---|
| Brown paper grocery bags or brown packing paper | 1 large bag per child |
| White school glue | 1/2 cup |
| Water | 1/2 cup |
| Shallow dish or baking pan for the glue mix | 1 per 2 children |
| Wax paper or parchment | 2 sheets per child |
| Rolling pin or a smooth jar | 1 |
| Scissors and a ruler | 1 each per child |
Vocabulary
Preparation
- Cut the paper bags open and flatten them. Cut a test strip so you know the paper tears easily in one direction.
- Mix the glue and water in the dish and cover the table with newspaper.
Introduction
Hand your child one paper strip and ask them to tear it the long way, then try another the short way. Ask: what if we glued strips crossing both ways? Egyptians used that trick with reeds more than 4,500 years ago.
What did people write on before paper was invented?
Why might crossing layers make something stronger?
Steps
Conclusion
Ask: why did the crisscross layers make a stronger sheet? Explain that papyrus was so useful that Egypt traded it around the Mediterranean, and our word 'paper' comes from 'papyrus'.
Make your own lesson plan in minutes
Describe a topic and Resource Portal AI writes the objectives, materials and steps for your group.
Try Resource Portal AI