Christmas Light Circuits: Series vs. Parallel
Overview
Wire LED lights in series and parallel for a light-up tree card.
Description
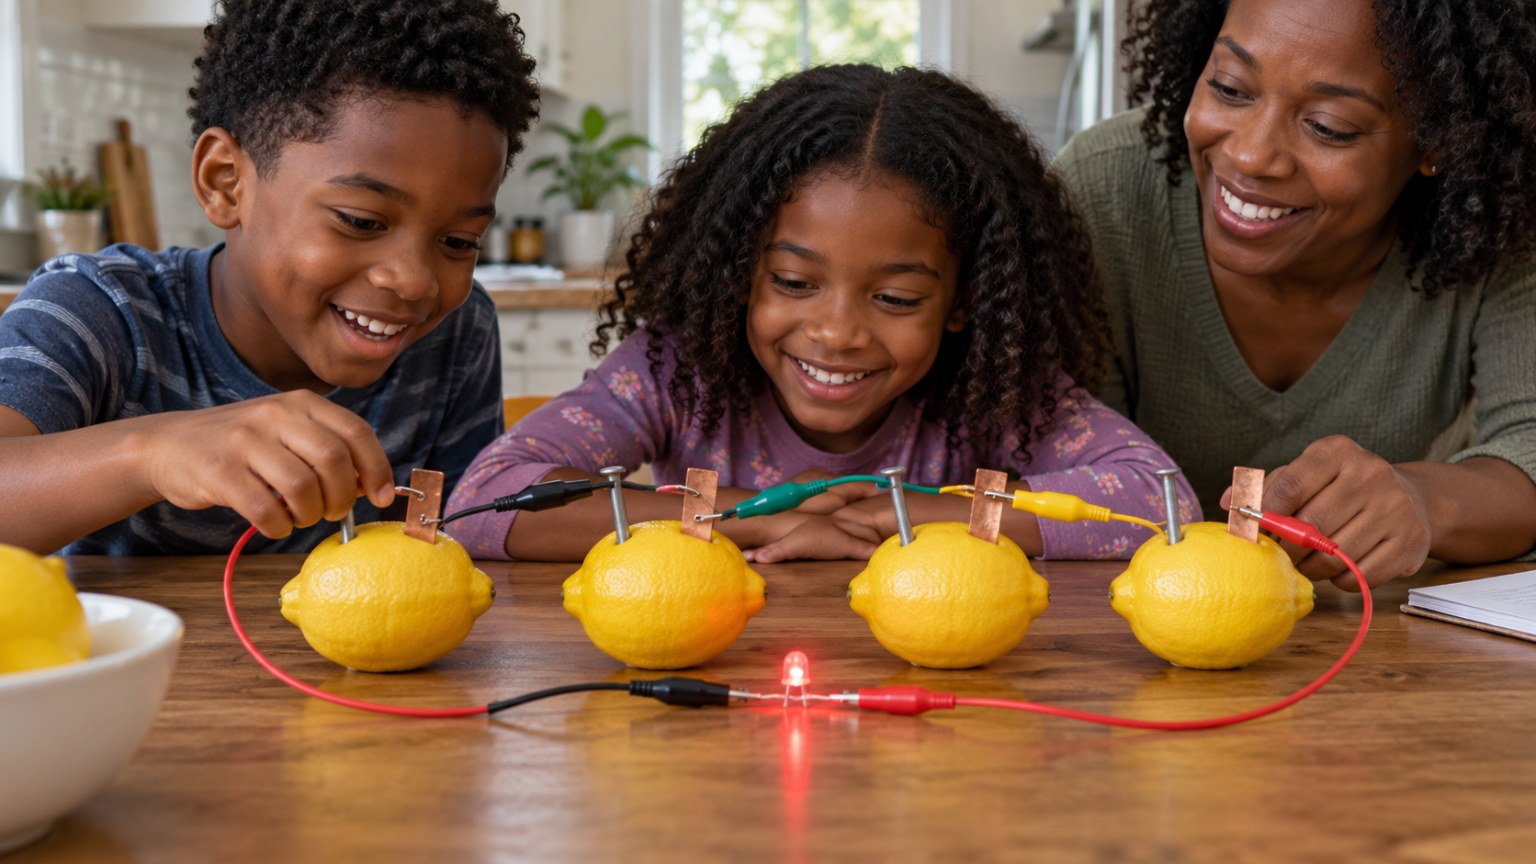
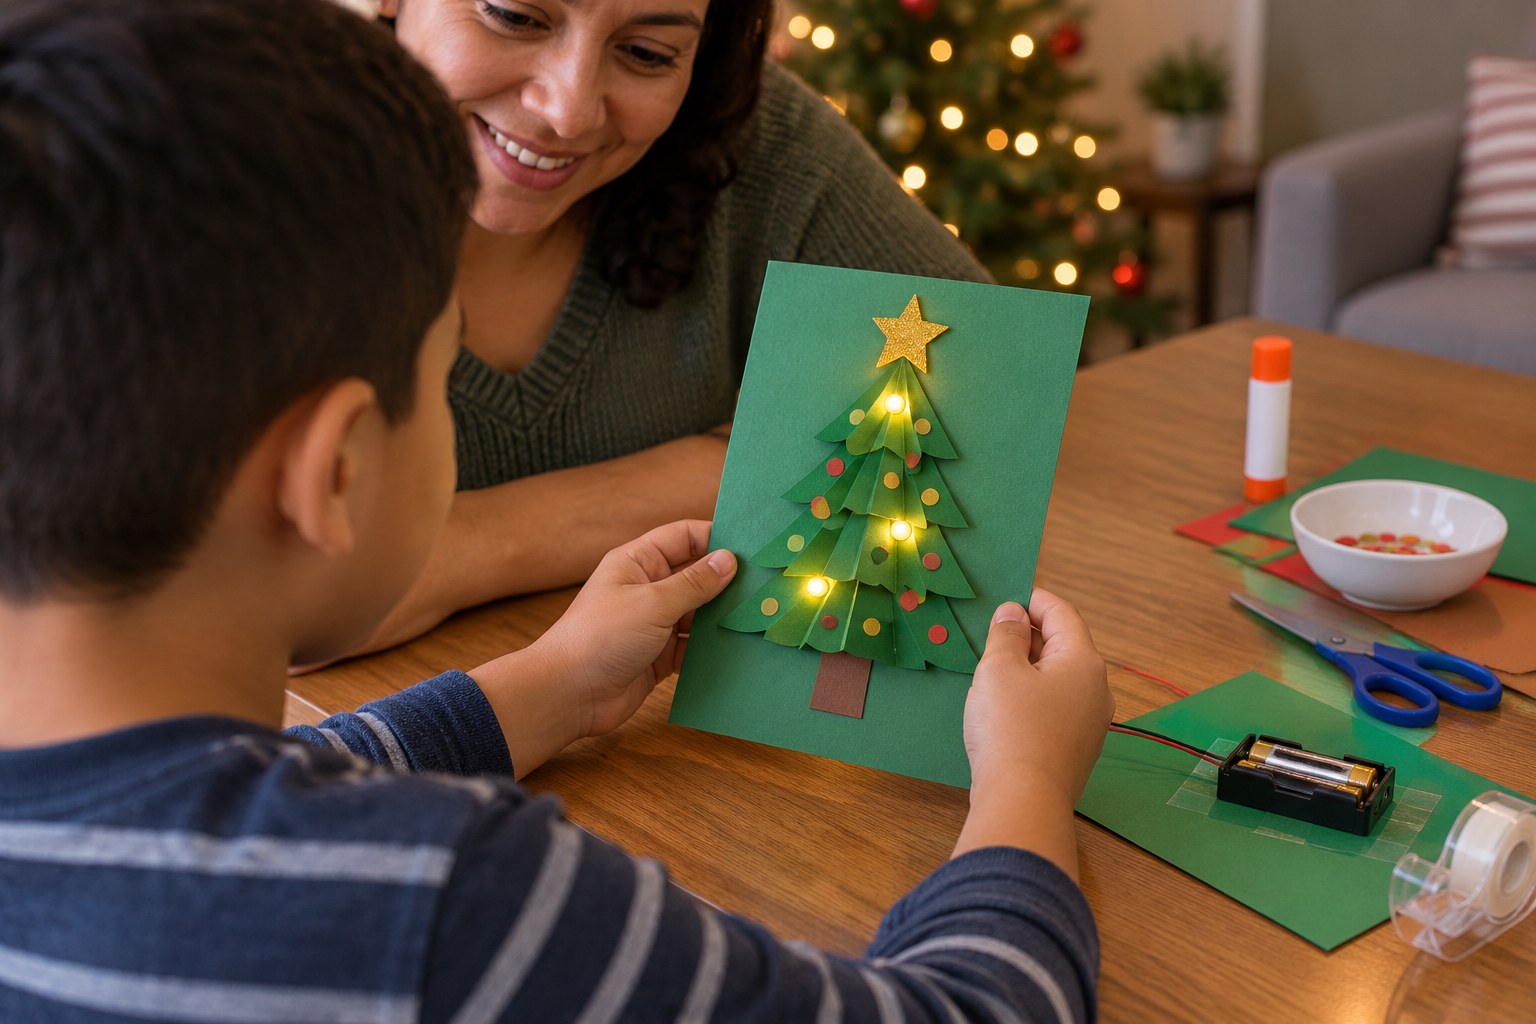
Your child lights LEDs with a 2-AA battery pack, discovers why two lights wired in a chain (series) stay dark while two wired side by side (parallel) both glow, and uses what they learn to wire lights onto a paper Christmas tree card.
Objective
Your child will build a complete circuit, compare series and parallel circuits, and explain why old strings of Christmas lights went dark when one bulb burned out.
Materials
| Item | Quantity |
|---|---|
| 2-AA battery holder with red and black wire leads, plus 2 AA batteries | 1 per child |
| Small alligator-clip wires (or tape) | 2 per child |
| 5mm LEDs (red, yellow or green) | 3 per child |
| Cardstock or a cereal-box panel | 1 per child |
| Green paper for a tree shape | 1 sheet |
| Clear tape and a binder clip | 1 roll and 1 clip |
| Pushpin or sharp pencil (adult uses) | 1 |
| Paper and pencil for a results chart | 1 each |
Vocabulary
Preparation
- Put the 2 AA batteries in the holder. If the wire ends are bare, an adult can twist them into small hooks so they're easy to hold against the LED legs.
- Cut a green paper tree and glue it to the cardstock. Poke 3 pairs of small holes through the tree (adult job) where the lights will go.
Introduction
Hold up an LED and the battery pack. Ask: these two things can make light, but only if you connect them the right way. Can you figure out how?
What does electricity need to make a light work?
Have you ever seen a string of lights where one part went dark?
Steps
Conclusion
Ask: which kind of circuit would you choose for real Christmas lights? Why? Most modern light strings use parallel sections so the rest stay lit if one bulb fails.
Make your own lesson plan in minutes
Describe a topic and Resource Portal AI writes the objectives, materials and steps for your group.
Try Resource Portal AI