Lesson planOversized Tee to Fitted Tank: A No-Machine Shirt Flip
D.I.Y.60 minutesGrades: 10th
Overview
Flip a baggy tee into a fitted tank with just a needle.
Description
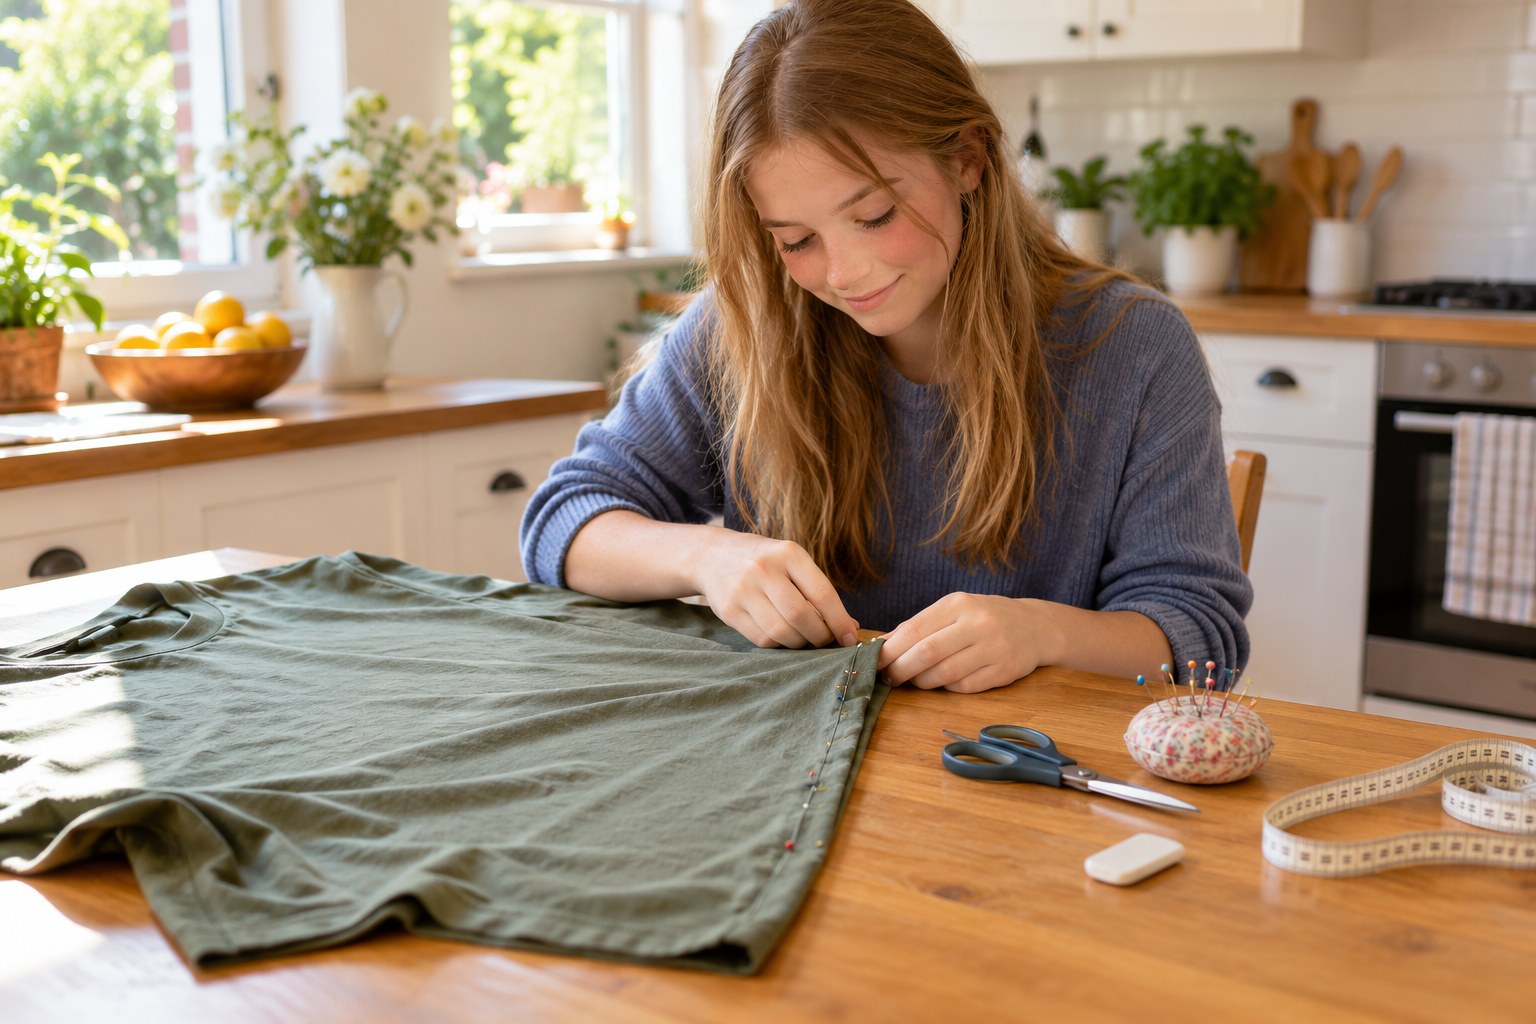
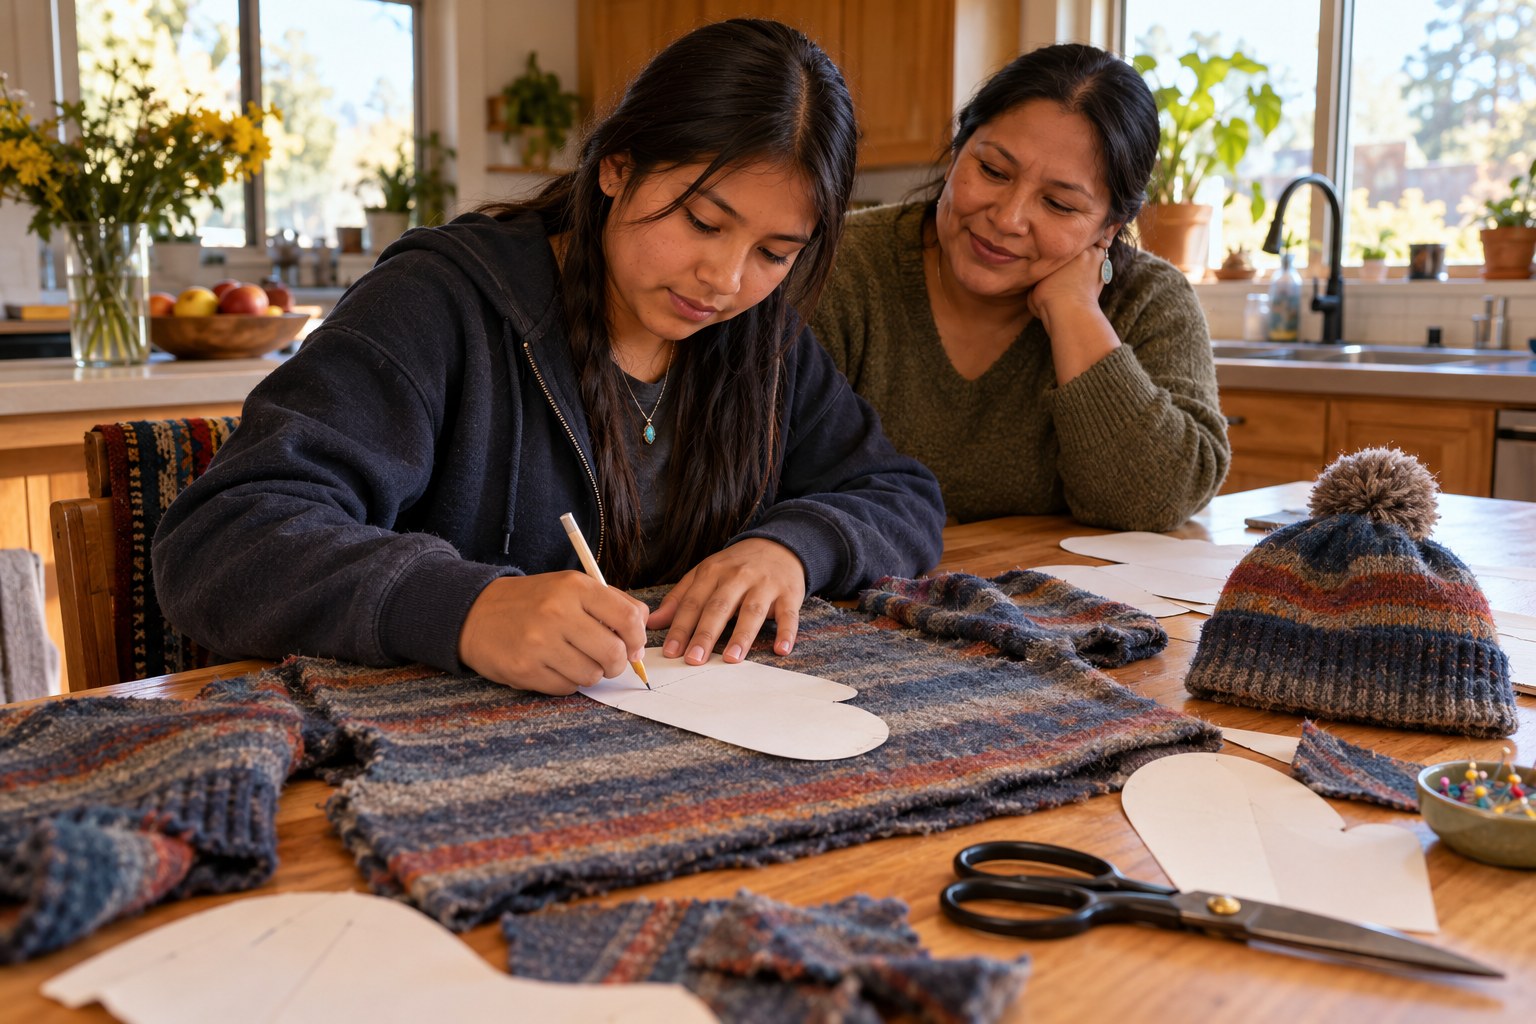
Your teen measures a fitted top they already like against an oversized thrifted T-shirt, marks new side seams and armholes with chalk, and cuts and hand-sews the shirt into a fitted tank or crop top. They use a backstitch for strong seams and a rolled hem for clean edges, then try it on and adjust.
Objective
Your teen will measure and mark a garment, cut fabric accurately, and hand-sew strong seams and a rolled hem to remake a T-shirt.
Materials
| Item | Quantity |
|---|
| Oversized T-shirt (thrifted or outgrown) | 1 |
| Fitted tank or tee your teen likes, as a guide | 1 |
| Fabric scissors | 1 pair |
| Measuring tape | 1 |
| Tailor's chalk or a bar of soap | 1 |
| Straight pins | about 20 |
| Hand-sewing needle and all-purpose thread in a matching color | 1 needle and 1 spool |
Vocabulary
Seam allowance
The strip of fabric between the cut edge and the stitching line, usually 1/4 to 1/2 inch on a hand-sewn seam.
Backstitch
A strong hand stitch where each stitch goes back to meet the end of the one before, making a solid line like machine stitching.
Rolled hem
A narrow hem made by rolling the raw edge over twice and stitching it down so it won't fray or curl.
Grain
The direction the threads run in a fabric; cutting with the grain helps a garment hang straight.
Preparation
- Wash and dry the thrifted shirt.
- Clear a table and set out the scissors, measuring tape, chalk, pins, needle and thread. Fabric scissors are sharp, so use them carefully and keep them only for fabric.
Introduction
Ask your teen to hold up the oversized tee next to the tank they love. What's different: the width, the armholes, the length? A tailor's first job is seeing those differences, then measuring them.
Where does a shirt need to be loose, and where should it fit closer?
Why would you cut a little bigger than you think you need?
Steps
1Step 1
Measure and compare
(8 min) Your teen lays the fitted tank on top of the oversized T-shirt, both folded in half lengthwise, lining up the center folds and shoulders. With the measuring tape they check chest width and length on both and note how much to take in on each side.
2Step 2
Mark and pin
(10 min) Your teen traces the tank's outline onto the T-shirt with the tailor's chalk, then adds a 1/2-inch seam allowance along the sides and marks deeper armholes and a new neckline if wanted. They pin both layers together with the straight pins inside the chalk lines so nothing shifts.
3Step 3
Cut
(8 min) Your teen cuts along the outer chalk lines through both layers with the fabric scissors, using long, smooth cuts. They cut the armholes and neckline a little conservatively, since they can always take off more.
4Step 4
Backstitch the side seams
(20 min) With the shirt inside out, your teen threads the needle with a double strand of the thread and backstitches each side seam along the 1/2-inch line, knotting securely at both ends. They try it on carefully, check the fit, and take in a little more if needed.
5Step 5
Roll the hems
(14 min) Your teen rolls the raw edges of the armholes (and the bottom if they cropped it) to the inside twice, about 1/4 inch each time, and stitches them down with small, evenly spaced stitches. They turn the top right side out and try it on.
Conclusion
Ask your teen what they'd change on the next flip. Every remake teaches how clothes are built, which makes thrifting smarter too.
Make your own lesson plan in minutes
Describe a topic and Resource Portal AI writes the objectives, materials and steps for your group.
Try Resource Portal AI