Free lesson plan

Community Helpers Hat Parade
STEAM1 HourGrades: K, 1st
Community Helpers Hat Parade

Overview

Join us in a fun-filled activity where students create hats representing their favorite community helpers!

Description

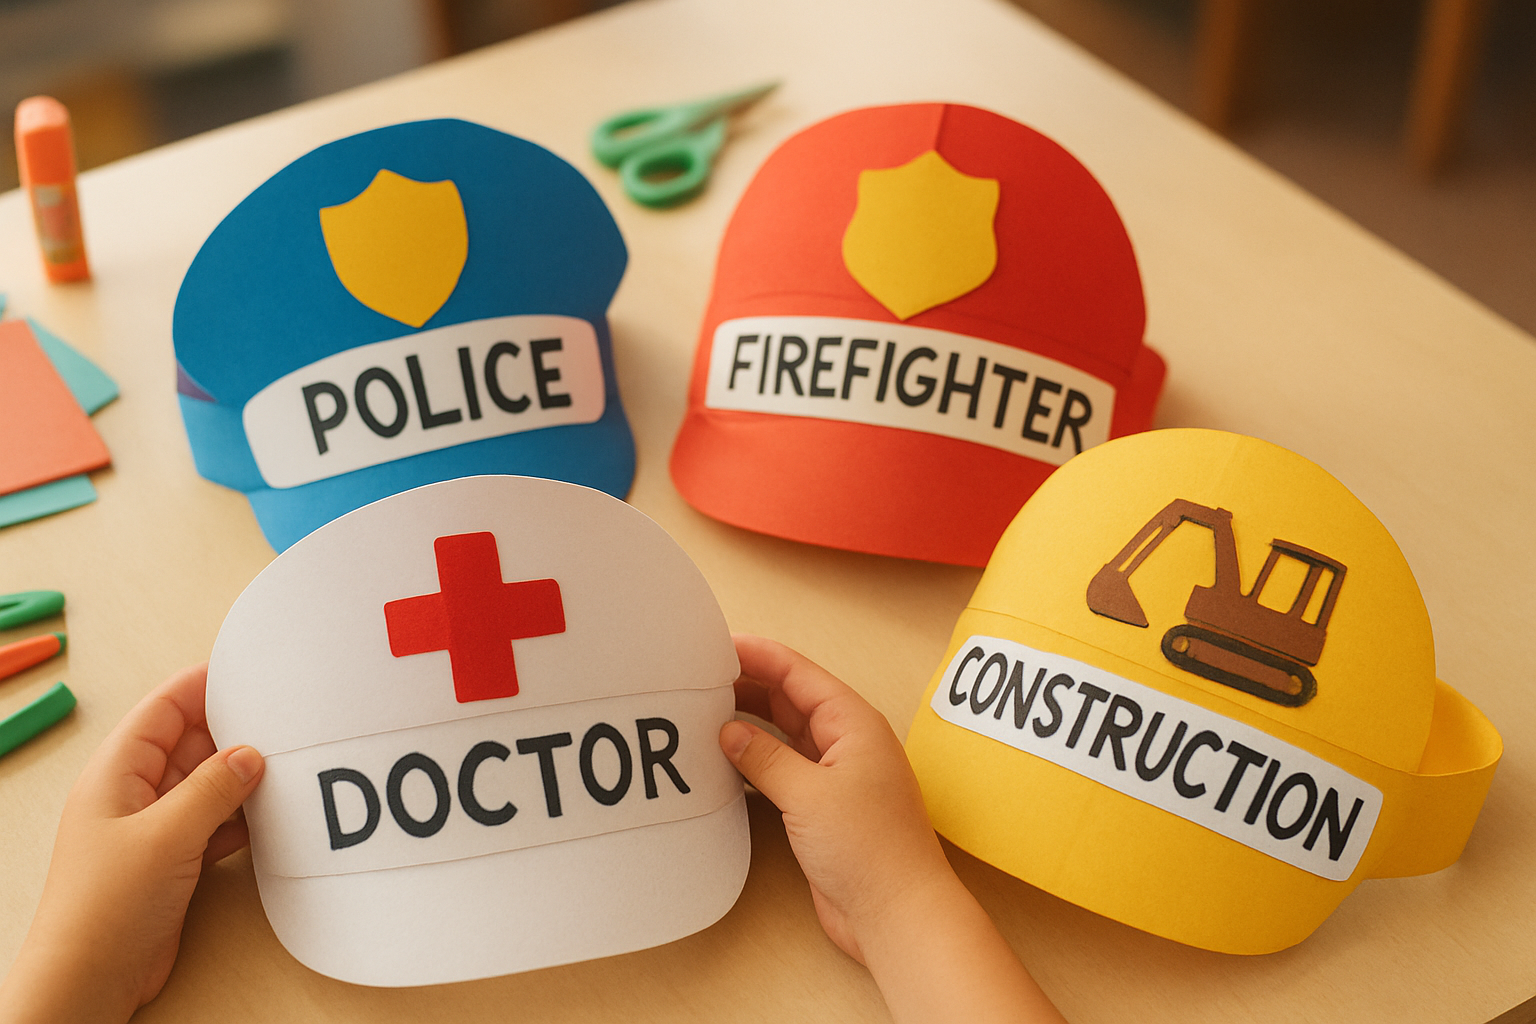
Students will learn about community helpers and create a festive hat to celebrate them in a parade. Each student will choose a community helper, make a hat, and participate in a parade wearing their hats while sharing what they learned.

Objective

Students will create a hat representing a community helper and participate in a parade.

Materials

ItemQuantity
Construction paper (various colors)30 sheets
Glue sticks20 pieces
Markers20 pieces
Decorative stickers20 pieces
Tape5 rolls
Paper bands20 pieces
Helper picture cards5 sets

Vocabulary

Community Helpers
People who help us in our community.
Hat
A covering for the head.
Parade
A fun celebration with people walking together.
Creative
Using your imagination to make something new.

Preparation

Introduction

Show pictures of community helpers and ask students to share what they see.
Who can tell me who a community helper is?
What jobs do they do to help us?

Steps
1Step 1
Choose Your Community Helper
(10 min) Begin by showing pictures of community helpers like firefighters, nurses, and mail carriers. Ask students, "Who can tell me who a community helper is?" Students will share their thoughts. Each group will receive a set of helper picture cards to discuss which helper they want to represent with their hats.
Step 1
2Step 2
Design Your Hat
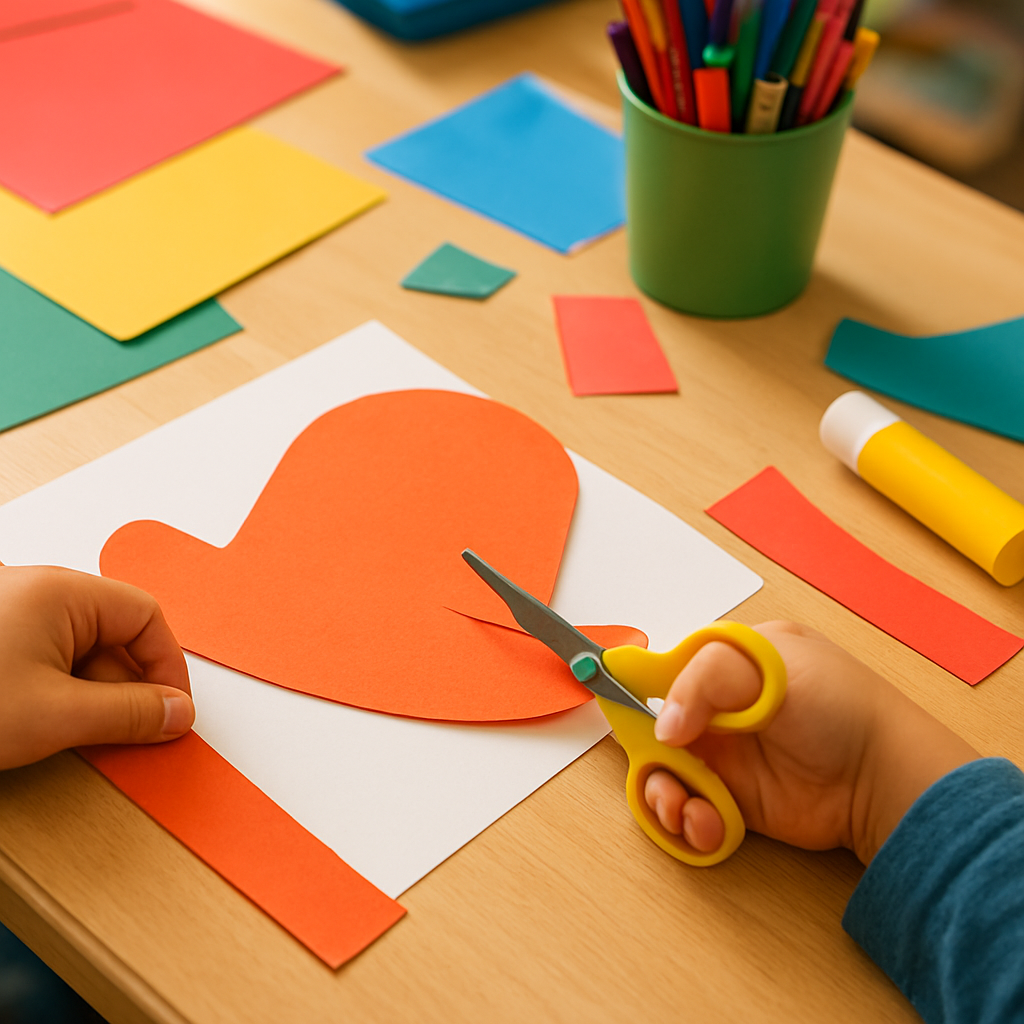
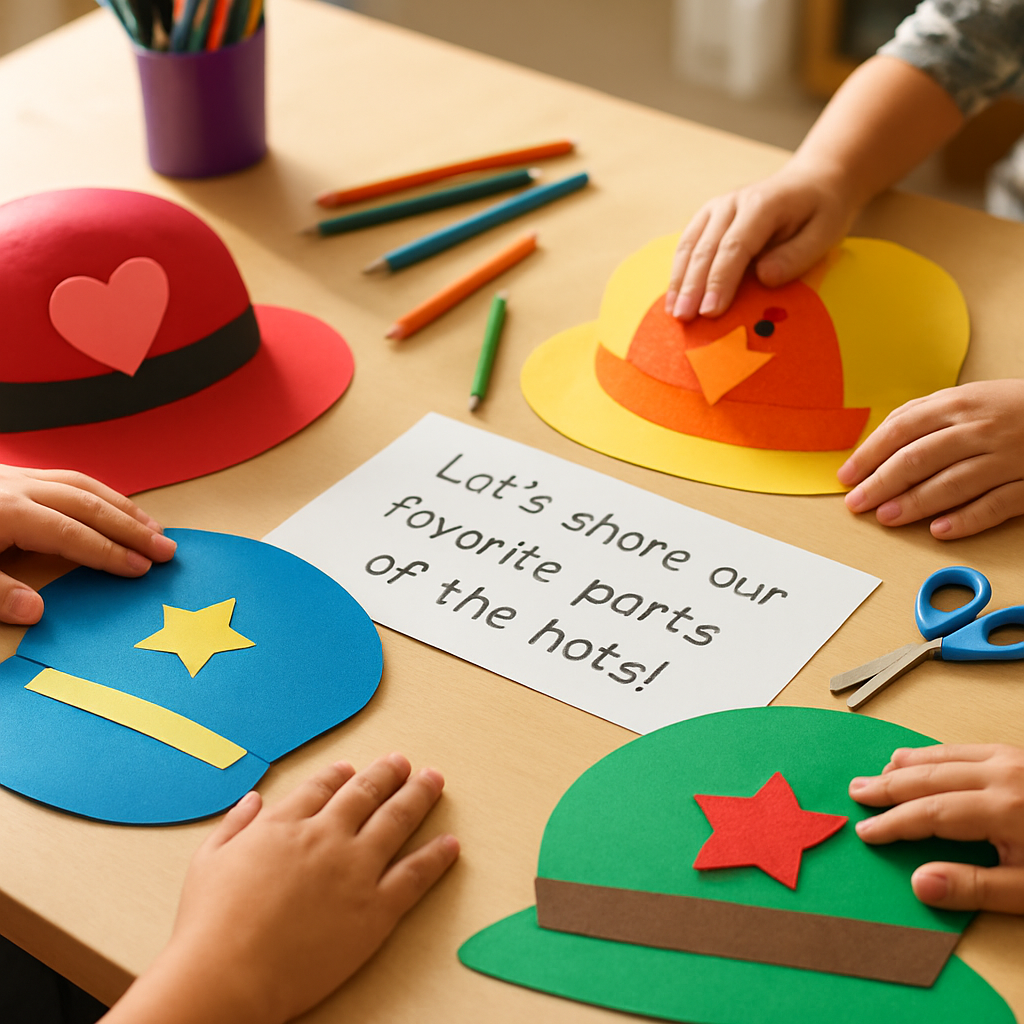
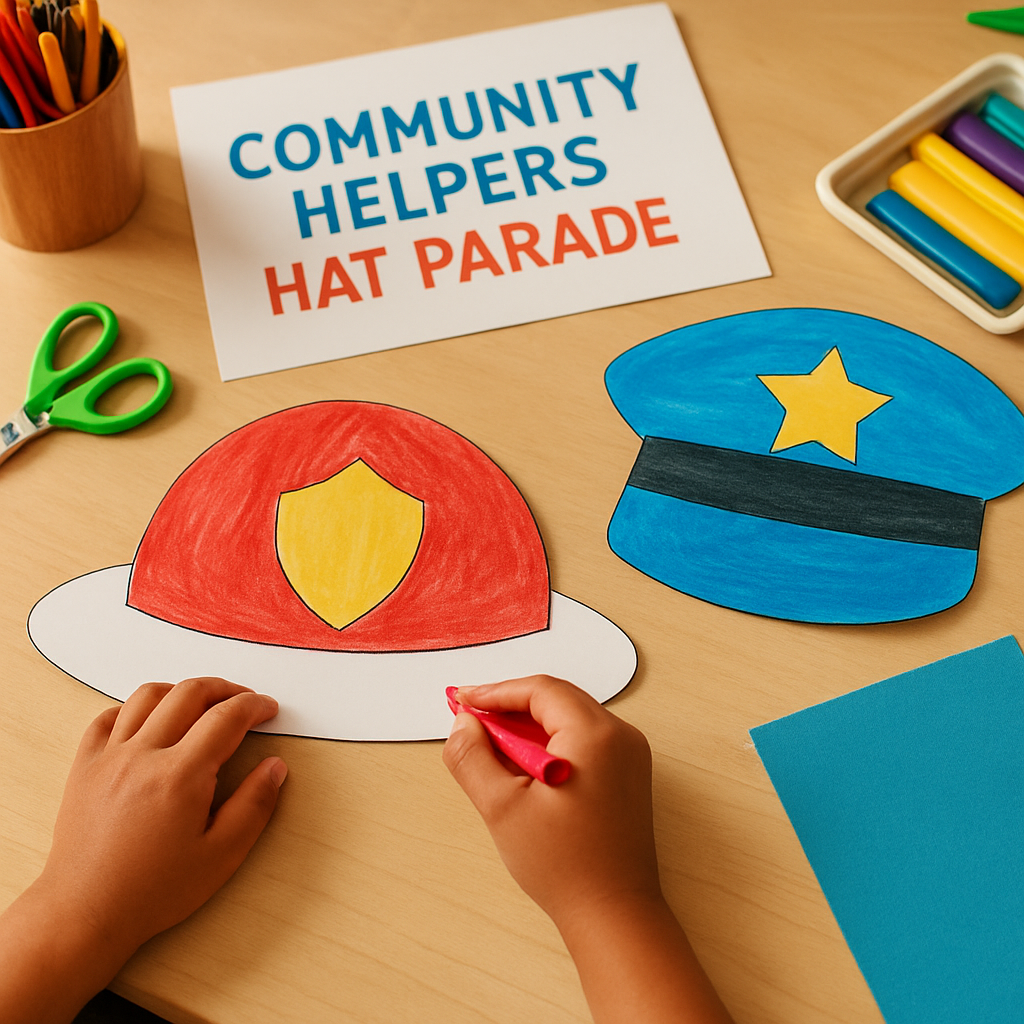
(10 min) Students will use safety scissors to cut out a hat shape for their chosen helper. Each group will have 6 sheets of construction paper and 2 pairs of scissors. The teacher will say, "Make sure to choose colors that represent your helper!" After cutting, students will create a paper band to fit their heads using tape. The finished hats will be colorful and unique to each helper, showcasing their creativity.
Step 2
3Step 3
Decorate Your Hat
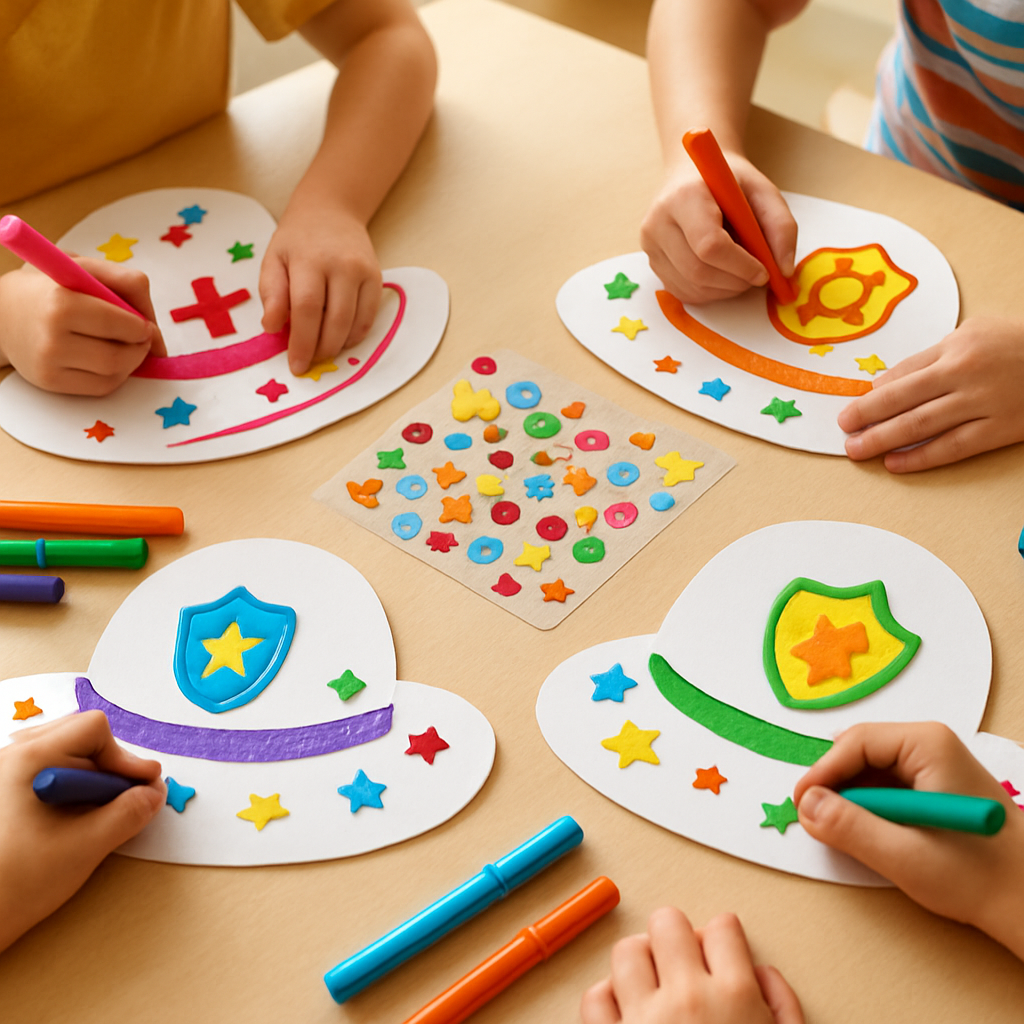
(10 min) Next, students will use markers and stickers to decorate their hats. The teacher will encourage them by saying, "What decorations will make your hat special?" Each student will have access to 4 markers and a variety of decorative stickers. Students will carefully plan their designs and attach the decorations, making their hats stand out. The finished hats will reflect their unique ideas and chosen community helpers, looking vibrant and imaginative.
Step 3
4Step 4
Assemble Your Hat
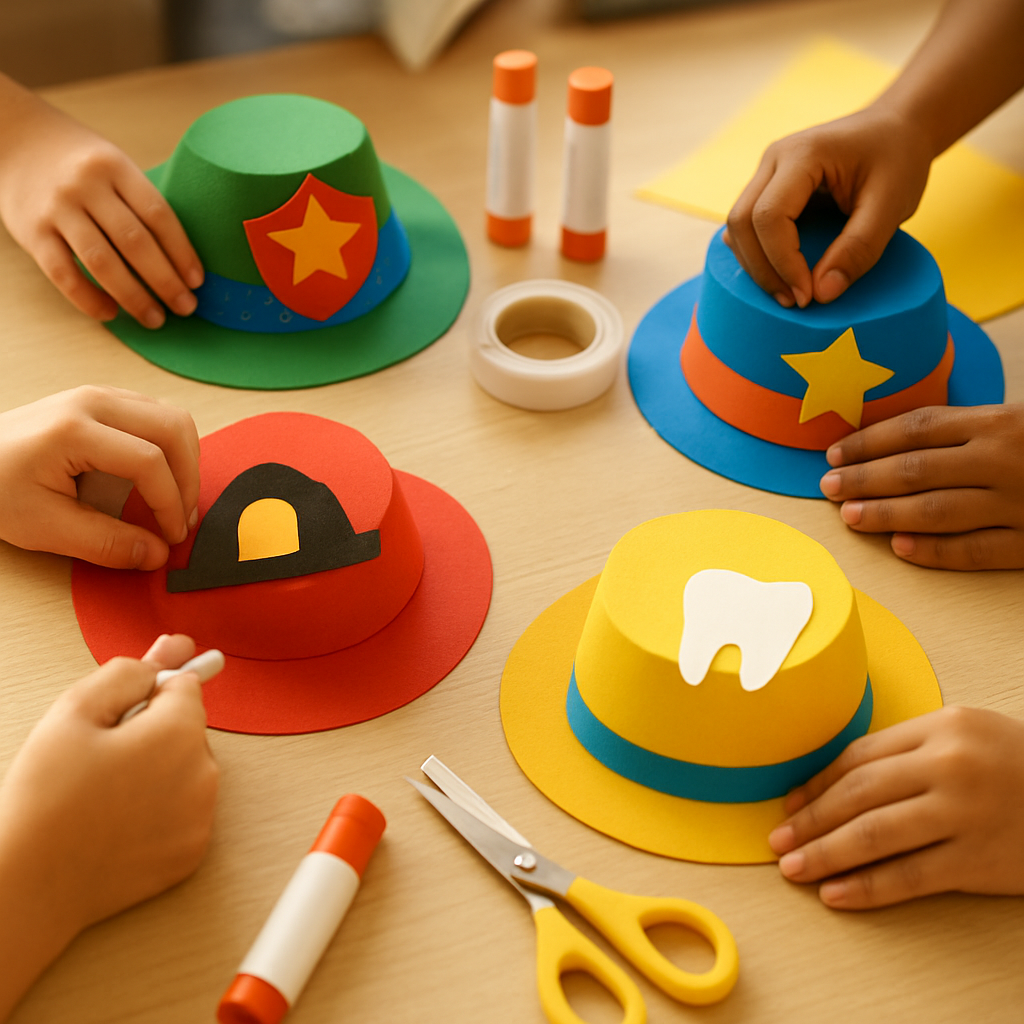
(10 min) Students will tape or glue the decorations onto their hats. Each group will have 4 glue sticks and 1 roll of tape for everyone to use. The teacher will remind them, "Be careful and ask for help if you need it!" As they attach the decorations, students will ensure their hats are sturdy enough to wear during the parade. The completed hats will be colorful and ready for the celebration.
Step 4
5Step 5
Present Your Hat
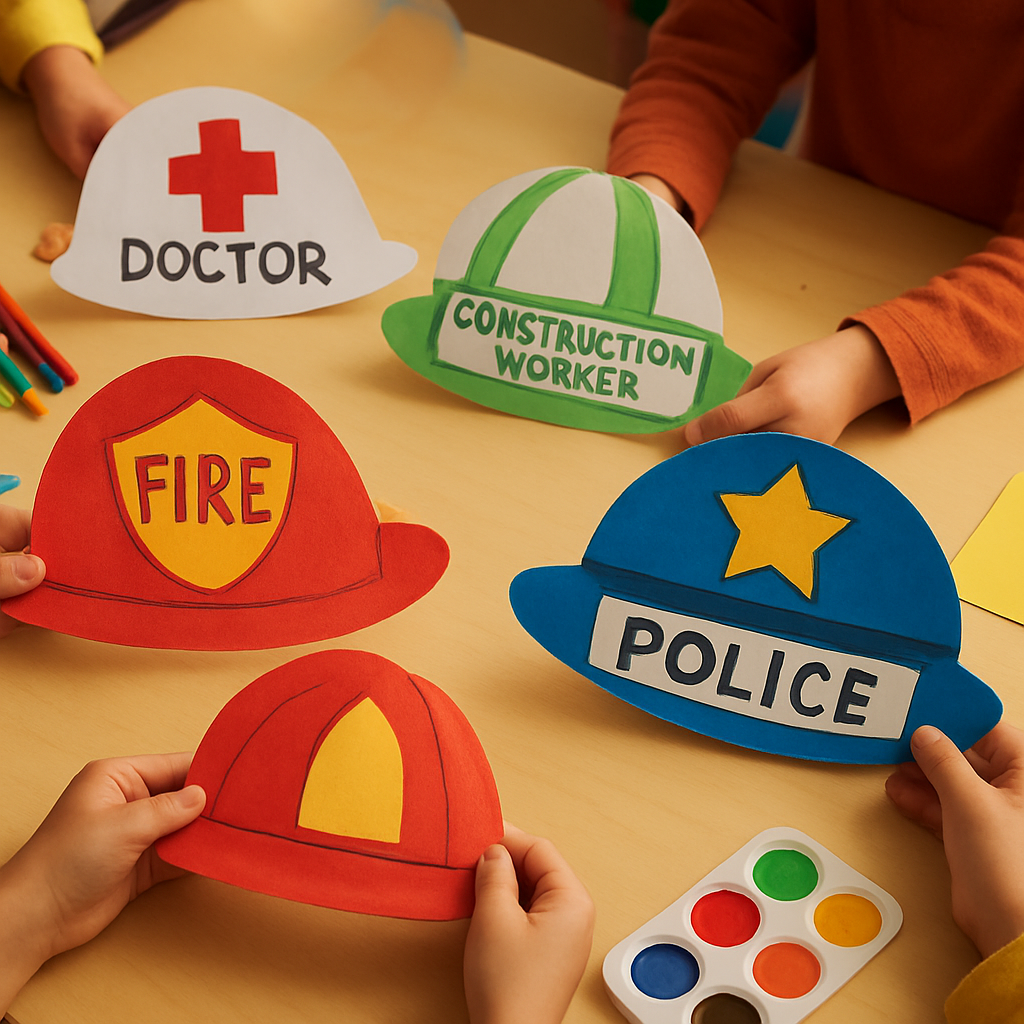
(10 min) Finally, students will present their hats to the class. Each student will take turns sharing about their community helper and what they learned. The teacher will say, "Let's celebrate our hard work!" Students will confidently explain their helpers and how they help the community. This will help reinforce their understanding and build confidence in speaking, creating an engaging atmosphere of sharing.
Step 5
6Step 6
Share and Appreciate Your Hats
(10 min) Students will take a moment to admire each other's hats and share what they love about them. The teacher will facilitate this by saying, "Let's share our favorite parts of the hats!" This encourages positive feedback and appreciation among classmates.
Step 6

Conclusion

In the parade, each child will say, 'I am a ___ . I help by ___.' This reflects what they learned about their community helper.

Make your own lesson plan in minutes

Describe a topic and Resource Portal AI writes the objectives, materials and steps for your group.

Try Resource Portal AI