Robot Arm Angle Commands: Turn by Degrees
Overview
Program a paper robot arm with angle commands.
Description
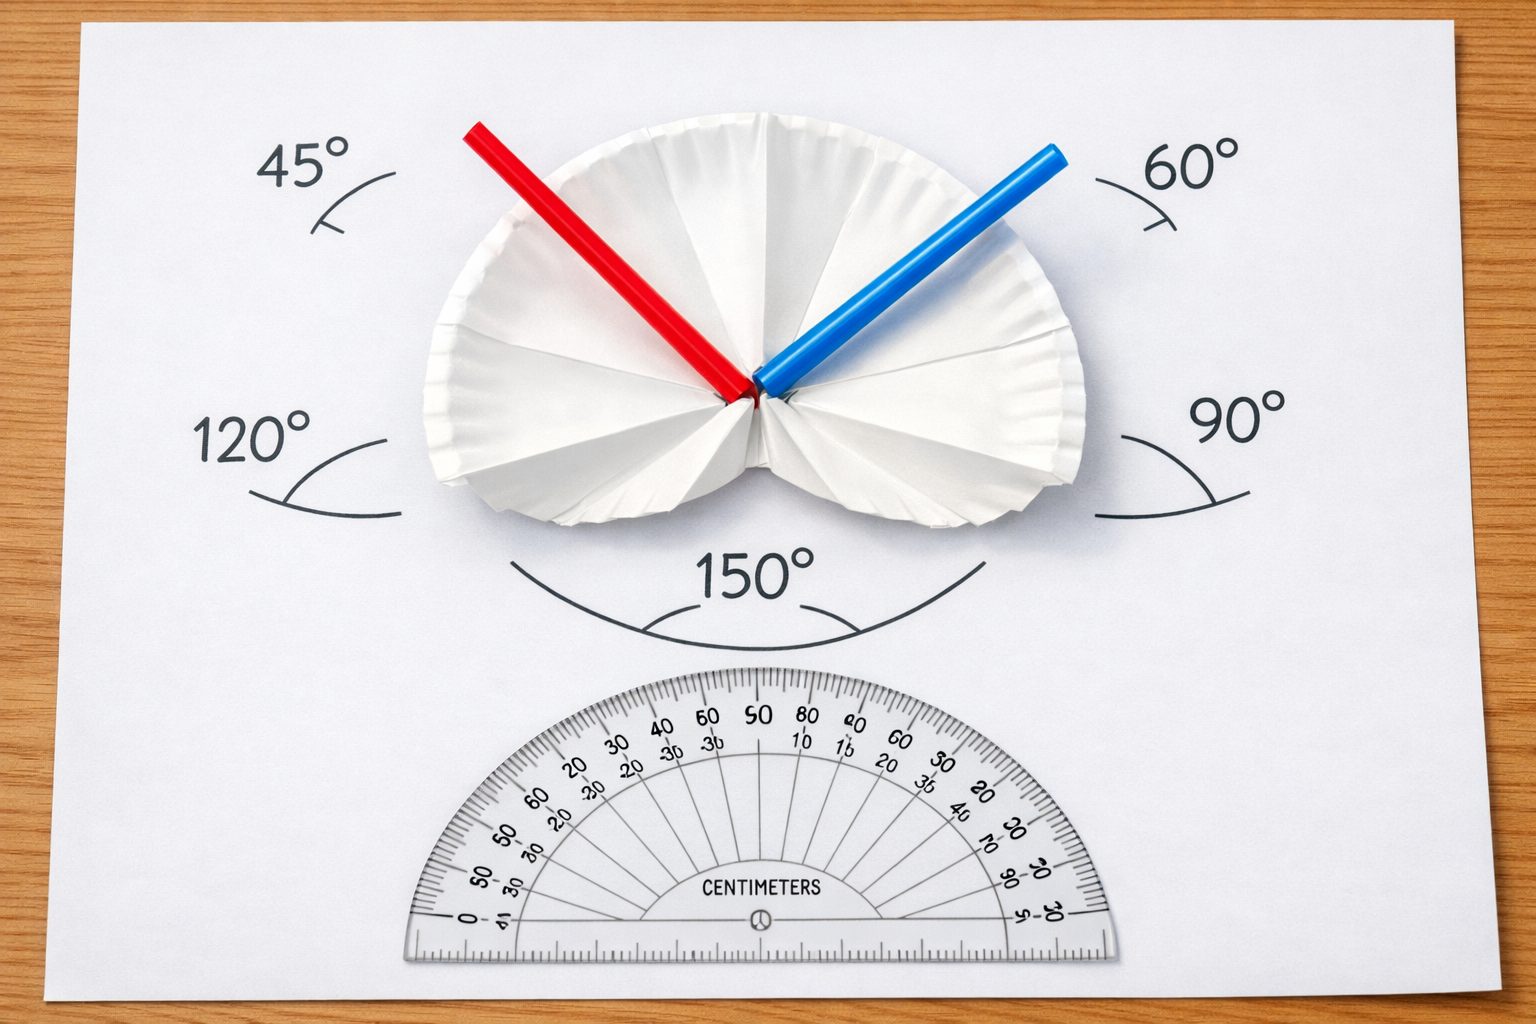
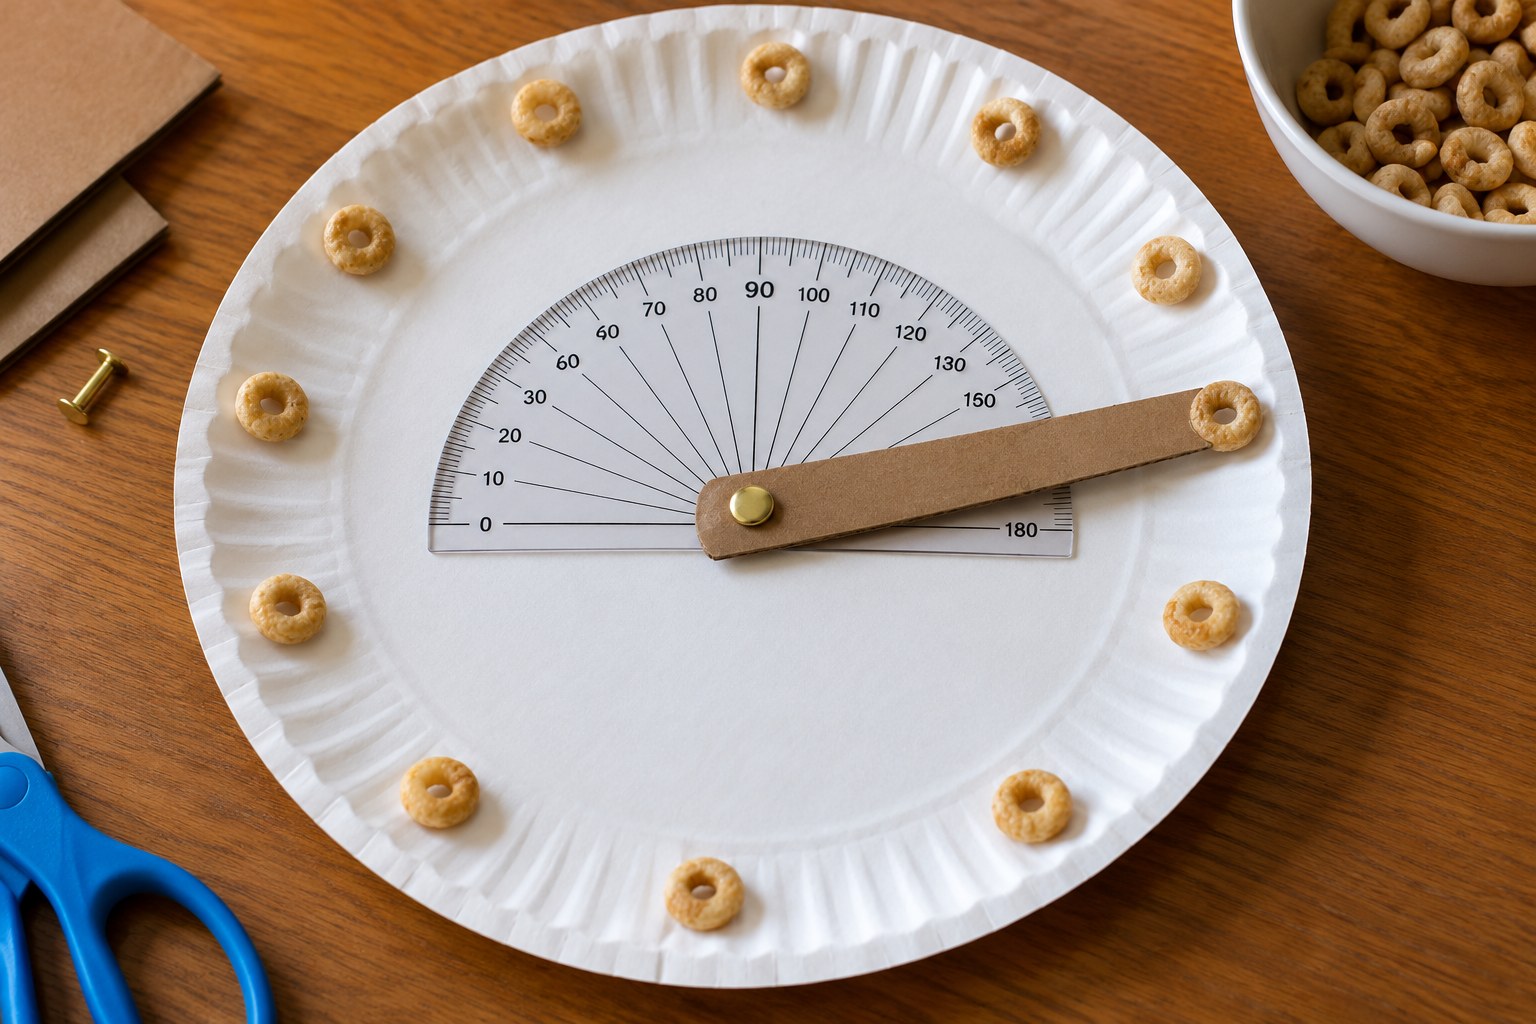
Your child builds a paper-plate robot arm that spins around a center point and programs it with turn commands in degrees to pick up 'parts' placed around the plate. They measure each turn with a protractor and add turns together.
Objective
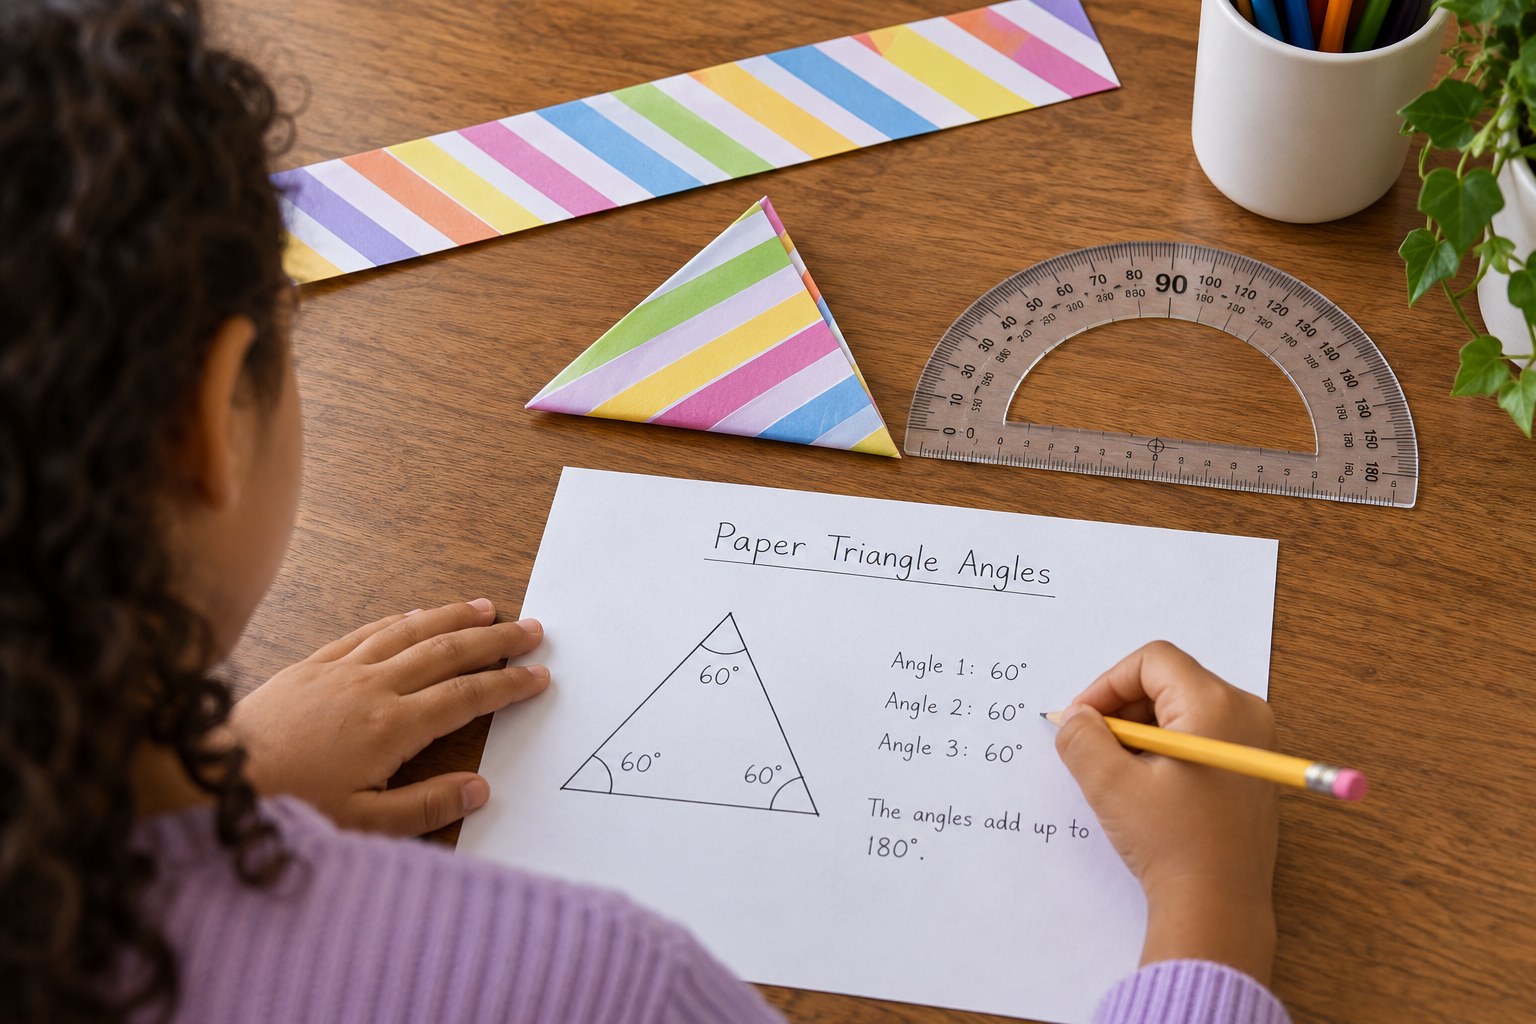
Your child will measure and sketch angles with a protractor, write turn commands in degrees, and use addition and subtraction of angles to find a robot arm's total turn.
Standards
Materials
| Item | Quantity |
|---|---|
| Paper plate | 1 per child |
| Cardboard strip for the arm, about 1 by 5 inches | 1 per child |
| Brass fastener (brad) or a pushpin and eraser | 1 |
| Protractor (or a paper one printed or traced) | 1 per child |
| Small 'parts': cereal pieces, buttons or paper squares | 6 |
| Pencil and paper | 1 each |
Vocabulary
Preparation
- Poke the brad through one end of the cardboard strip and the center of the plate so the arm spins.
- Draw a starting line from the center to the plate edge and label it 0.
- Keep small parts away from younger siblings.
Introduction
Point the arm at 0. Say: 'A factory robot arm cannot see where to go unless we tell it how many degrees to turn. Let's program one.'
How many degrees is a full turn? A half turn?
Why would a robot need exact numbers instead of 'turn a little'?
Steps
Conclusion
Ask: when you added your turns, did they match the total angle? Real robot arms use these same angle calculations for each joint.
Make your own lesson plan in minutes
Describe a topic and Resource Portal AI writes the objectives, materials and steps for your group.
Try Resource Portal AI