Full lesson previewVisible Mending: Patching Worn Jeans With Sashiko-Style Stitches
D.I.Y.60 minutesGrades: 11th
Overview
Repair jeans with stitches you want people to see.
Description
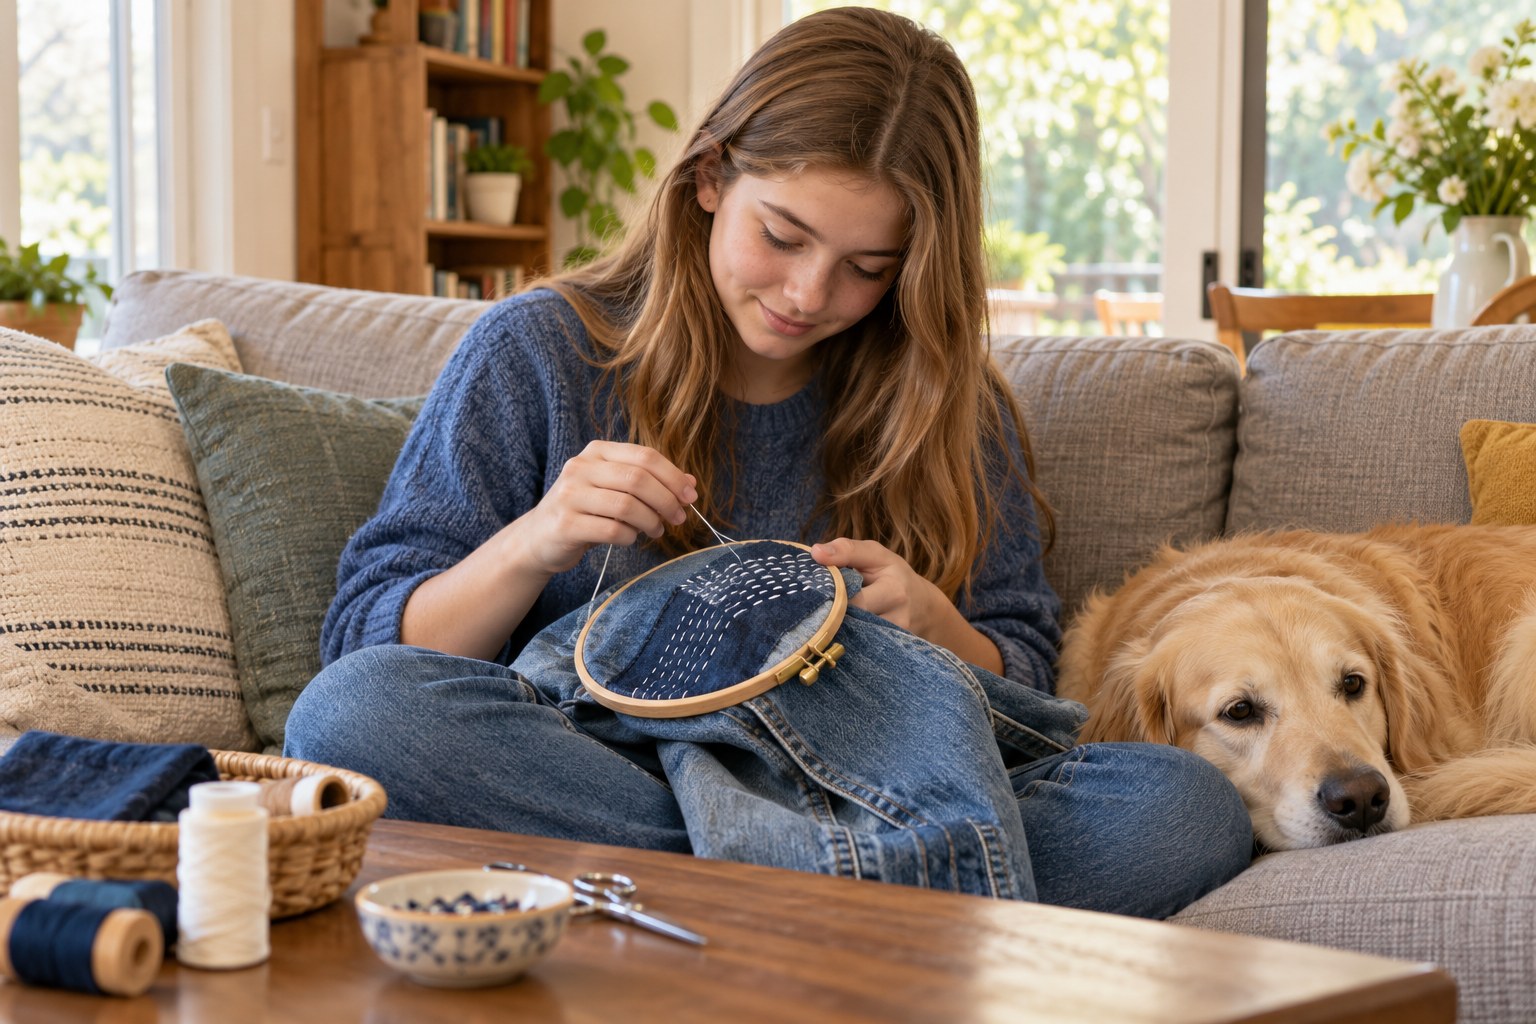
Your teen learns about sashiko, a Japanese running-stitch tradition historically used to reinforce and repair cloth, and today's visible mending movement. They back a worn knee or hole in jeans with a fabric patch and stitch a geometric grid of running stitches over it with embroidery thread, turning a repair into a design.
Objective
Your teen will reinforce worn denim with a backing patch and an even sashiko-style running-stitch pattern.
Materials
| Item | Quantity |
|---|
| Pair of jeans with a worn knee or small hole | 1 |
| Patch of sturdy cotton or denim scrap, about 2 inches larger than the hole on every side | 1 |
| Embroidery thread or sashiko thread (white or a contrast color) | 1 skein |
| Embroidery or sashiko needle (large eye) | 1 |
| Straight pins | 6 |
| Tailor's chalk or washable marker | 1 |
| Ruler | 1 |
| Embroidery hoop (optional) | 1 |
| Scissors | 1 pair |
Vocabulary
Sashiko
A Japanese stitching tradition that uses rows of small running stitches, often in geometric patterns, to strengthen and mend fabric.
Running stitch
The simplest hand stitch: the needle goes in and out along a line, leaving even dashes of thread.
Visible mending
Repairing clothes so the fix shows on purpose, celebrating the repair instead of hiding it.
Boro
A Japanese tradition of layering and stitching patches on worn textiles over years of use.
Preparation
- Wash the jeans and trim any long loose threads around the hole.
- Set up a well-lit spot on a couch or table.
Introduction
Show your teen a few photos of sashiko or boro textiles from a museum website. People stitched these patterns to make cloth last longer, and the patterns became beautiful in their own right. Today your teen gets to do the same with a pair of jeans.
Why might someone want a repair to show instead of hiding it?
What makes a row of stitches look neat?
Steps
1Step 1
Learn the tradition
(6 min) Your teen reads the vocabulary and looks at 3 examples of sashiko or boro online, noting the patterns they see, such as grids, crosses or waves. They pick a simple grid or cross pattern for their mend.
2Step 2
Place the patch
(10 min) Your teen turns the jeans inside out and pins the fabric patch over the hole with the 6 pins, right side of the patch facing the inside of the leg. They turn the jeans right side out and check the patch fully covers the worn area with at least 1 inch to spare.
3Step 3
Draw the grid
(8 min) On the outside of the jeans your teen draws a grid of lines about 1/4 inch apart over the patch area using the ruler and tailor's chalk. If using the embroidery hoop, they set it loosely around the area so the fabric is flat but not stretched.
4Step 4
Stitch the rows
(28 min) Your teen threads the needle with the embroidery thread, knots it, and sews running stitches along each chalk line through both the jeans and the patch, aiming for even stitches about 1/8 to 1/4 inch long. They leave a little slack at the end of each row so the denim can still bend, and cross the rows the other way if their pattern calls for it.
5Step 5
Finish and check
(8 min) Your teen knots the thread on the inside, trims the patch edges to about 1/2 inch past the stitching, and removes the pins. They try on the jeans, bend the knee, and check that the mend is flat and secure.
Conclusion
Ask your teen how the jeans feel now that they carry their own work. Mending used to be a basic household skill, and it's coming back because it saves clothes and money and looks great.
Make your own lesson plan in minutes
Describe a topic and Resource Portal AI writes the objectives, materials and steps for your group.
Try Resource Portal AI