Free lesson plan

Build a Gift Box from a Net and Figure the Wrapping Paper
D.I.Y.40 minutesGrades: 6th
Build a Gift Box from a Net and Figure the Wrapping Paper

Overview

Turn a cereal box into a gift box using nets.

Description

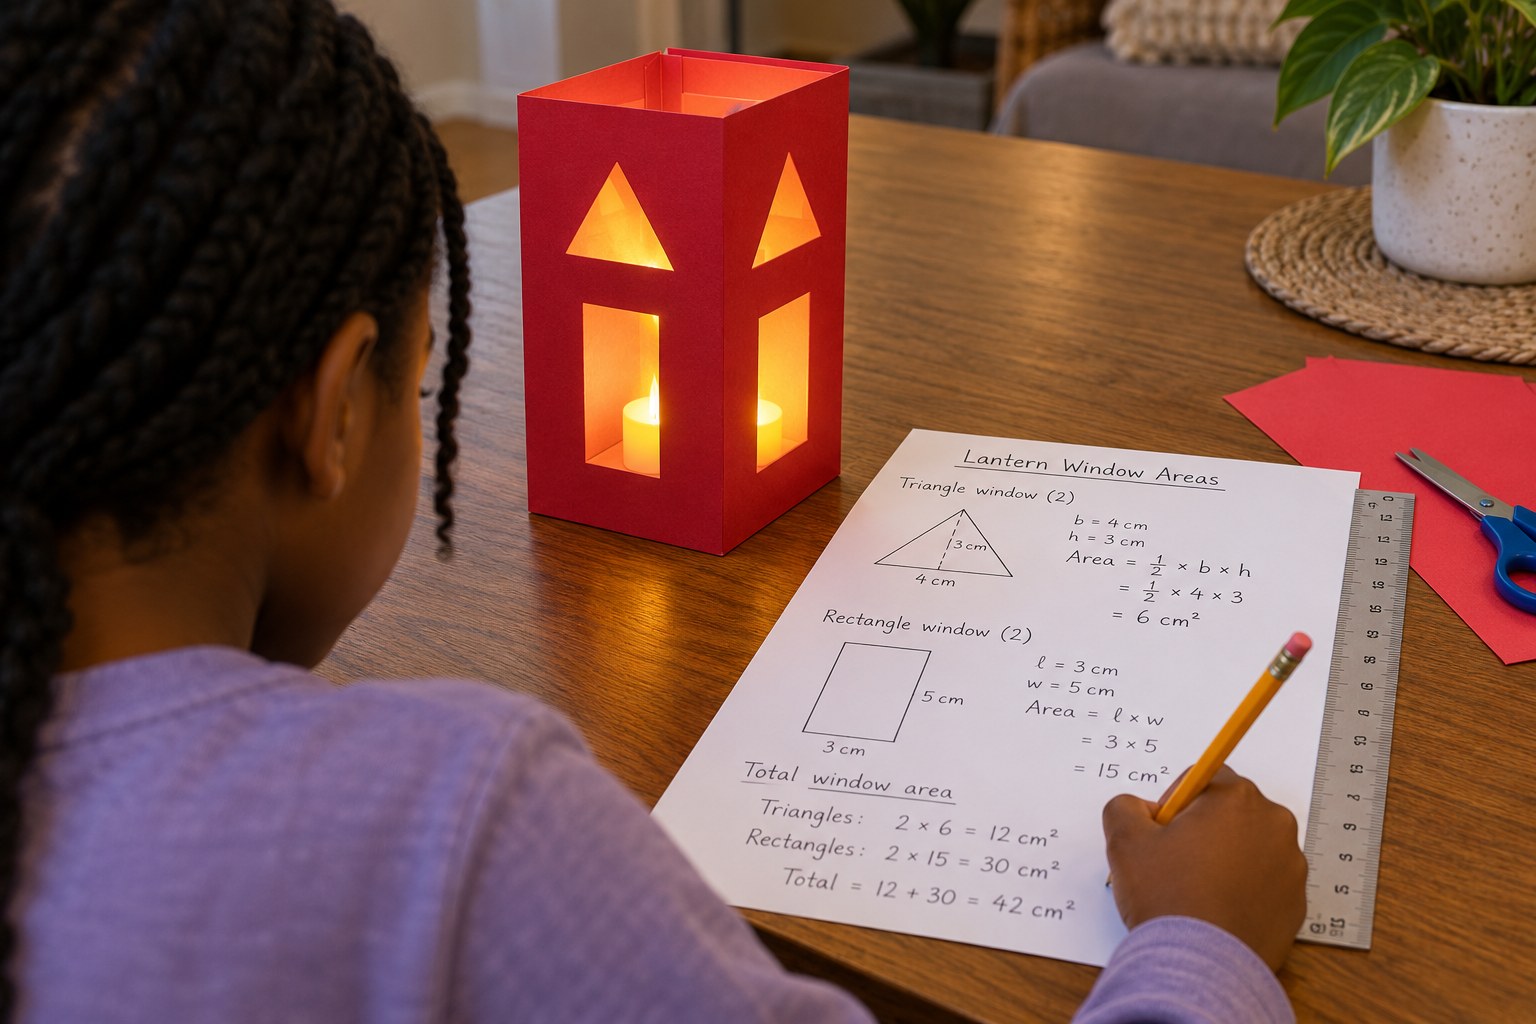
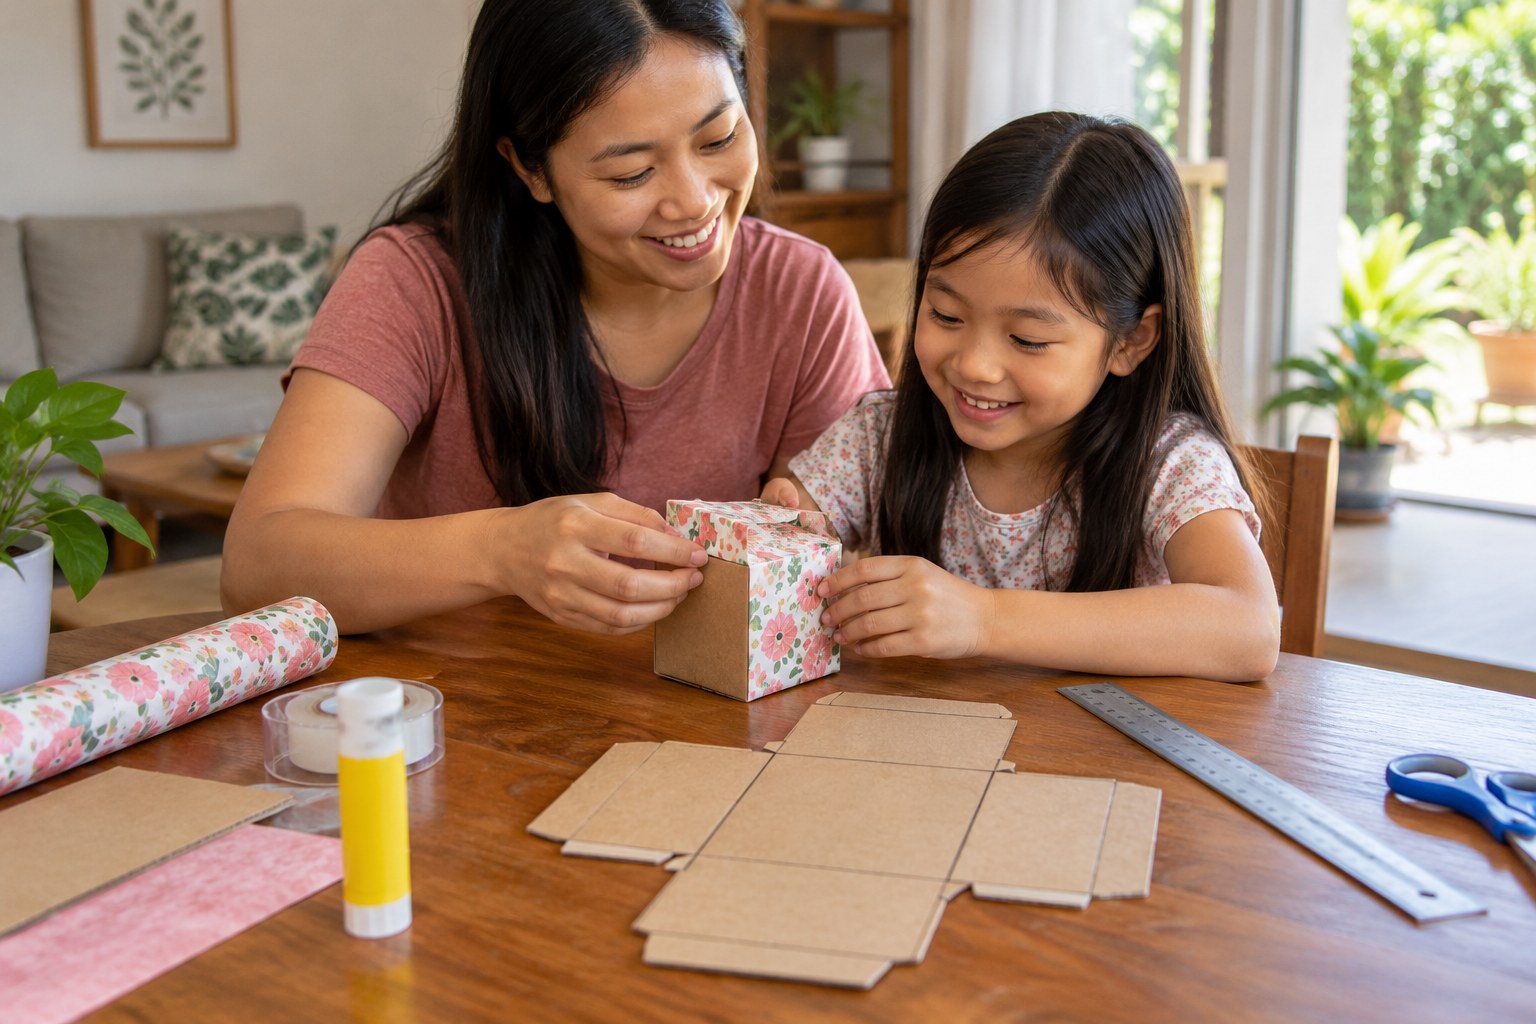
Your sixth grader draws a net for a 4 × 3 × 2-inch box on the plain side of a cereal box, uses the net to find the box's surface area, folds and tapes it into a real gift box, then cuts wrapping paper to match the surface area plus overlap.

Objective

Your child will represent 3-D figures with nets of rectangles and triangles and use the nets to find surface area for a real-world task.

Standards

6.G.4Math · Grade 6 · Geometry
Represent three-dimensional figures using nets made up of rectangles and triangles, and use the nets to find the surface area of these figures. Apply these techniques in the context of solving real-world and mathematical problems.

Materials

ItemQuantity
Empty cereal box1 per child
Ruler1
Pencil1 per child
Scissors1 pair
Clear tape1 roll
Wrapping paper or newspaper1 sheet, at least 12 × 12 inches

Vocabulary

Net
A flat pattern that folds up into a 3-D shape.
Surface area
The total area of all the faces on the outside of a 3-D shape, in square units.
Face
One flat side of a 3-D shape.
Prism
A 3-D shape with two matching bases joined by rectangle faces.

Preparation

Introduction

Say: a small gift needs a box, and we only have a cereal box. Can you design a flat pattern that folds into exactly the box you need, and know how much wrapping paper to cut before you start?
How many faces does a box have, and which ones match?
Why is it smart to know the surface area before cutting wrapping paper?

Steps

1Step 1
Draw the net
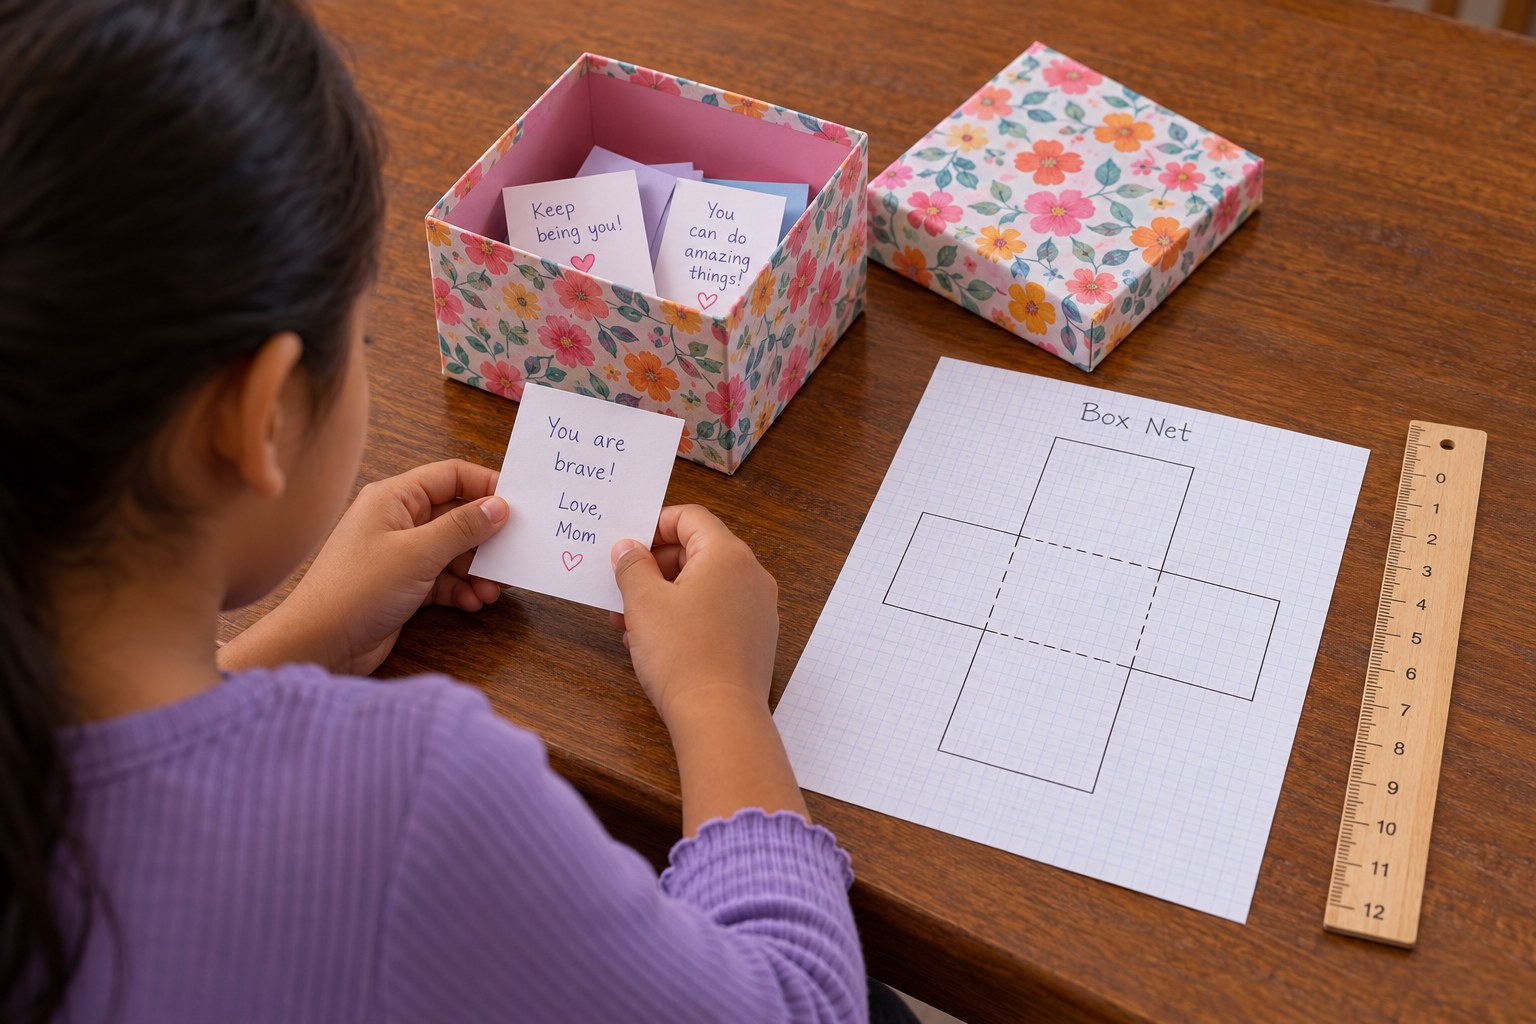
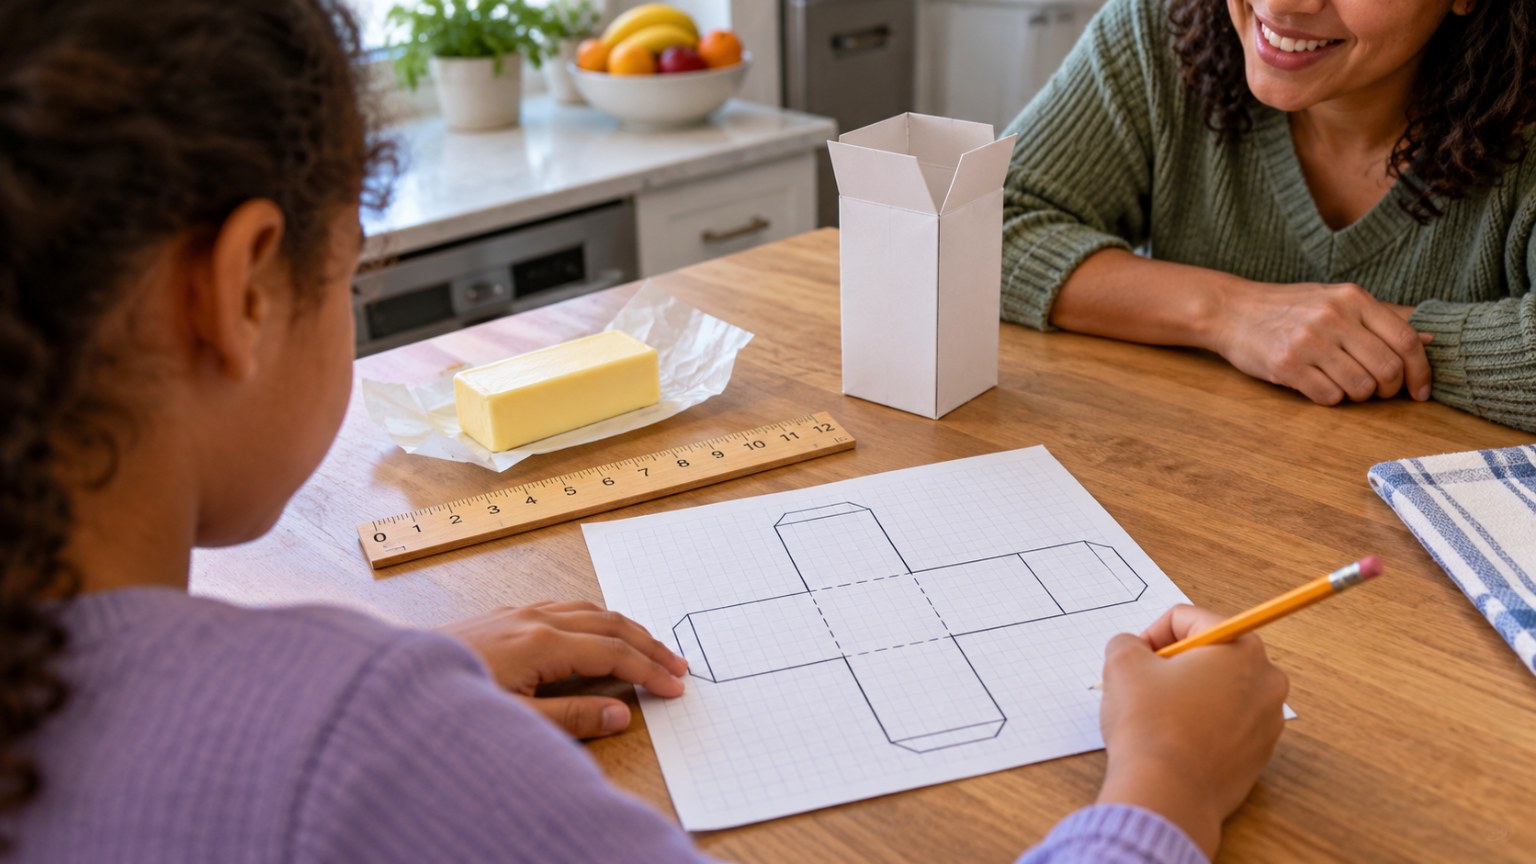
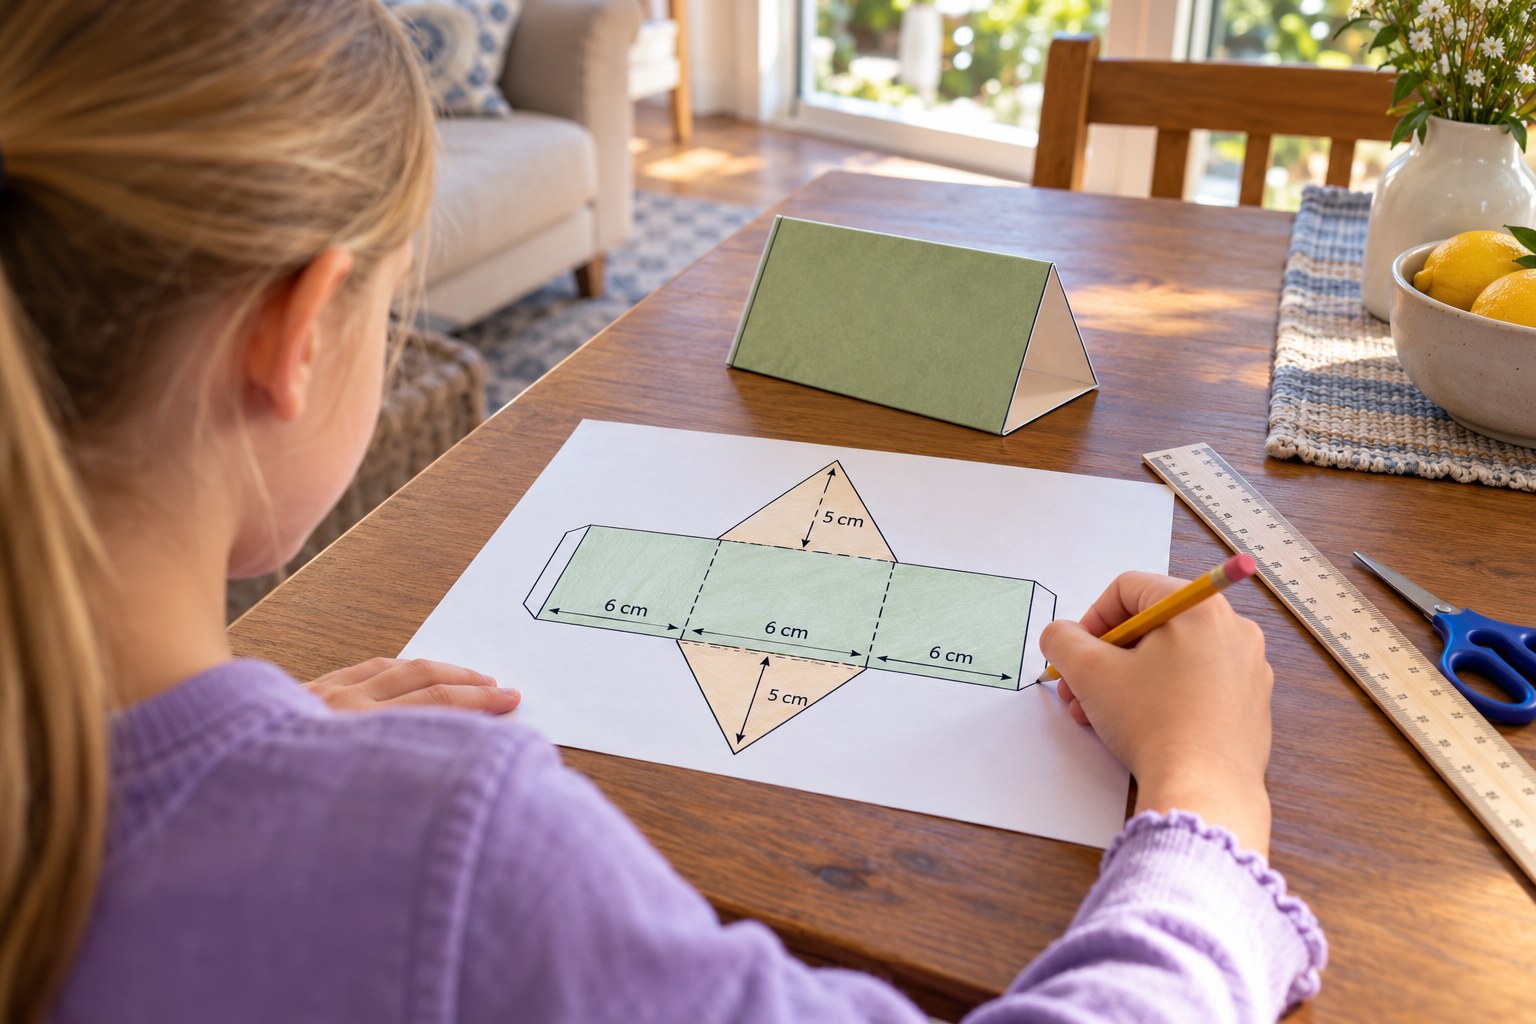
(10 min) On the plain side of the flattened cereal box, your child uses the ruler and pencil to draw a net for a 4-inch long, 3-inch wide, 2-inch tall box: a 4 × 3 bottom, four side walls (two 4 × 2 and two 3 × 2) attached to its edges, and a 4 × 3 lid attached to one long wall. They label each rectangle with its dimensions and area.
2Step 2
Add up the surface area
(5 min) Your child adds the areas of all 6 rectangles: 2 × 12 + 2 × 8 + 2 × 6 = 52 square inches, and writes it beside the net. Ask them to point to the matching pairs of faces on the drawing.
3Step 3
Cut, fold and tape
(10 min) Your child cuts out the net with the scissors, adding 1/2-inch tabs on the side walls for taping, and folds along every drawn line by pressing it against the edge of the ruler. They fold it up into a box and secure the tabs with the clear tape so the lid opens and closes.
4Step 4
Wrap it right
(6 min) Your child cuts a piece of the wrapping paper with an area a little bigger than 52 square inches, such as an 11-inch by 7-inch piece (77 square inches): 11 inches wraps around the 3-inch and 2-inch sides (3 + 2 + 3 + 2 = 10) with 1 inch of overlap, and 7 inches covers the 4-inch length with 1 1/2 inches to fold over each end. They wrap the box and tape the seams. Discuss why real wrapping needs more than the exact surface area.
5Step 5
Practice problems
(8 min) Your child sketches a net and finds the surface area for each Practice Problem with the pencil. Check with the Answer Key.

Conclusion

Ask your child how the net made the surface area easier to find. Challenge: draw a different net that folds into the same 4 × 3 × 2 box.

Make your own lesson plan in minutes

Describe a topic and Resource Portal AI writes the objectives, materials and steps for your group.

Try Resource Portal AI