Veterans Day Handprint Star Thank-You Garland
Overview
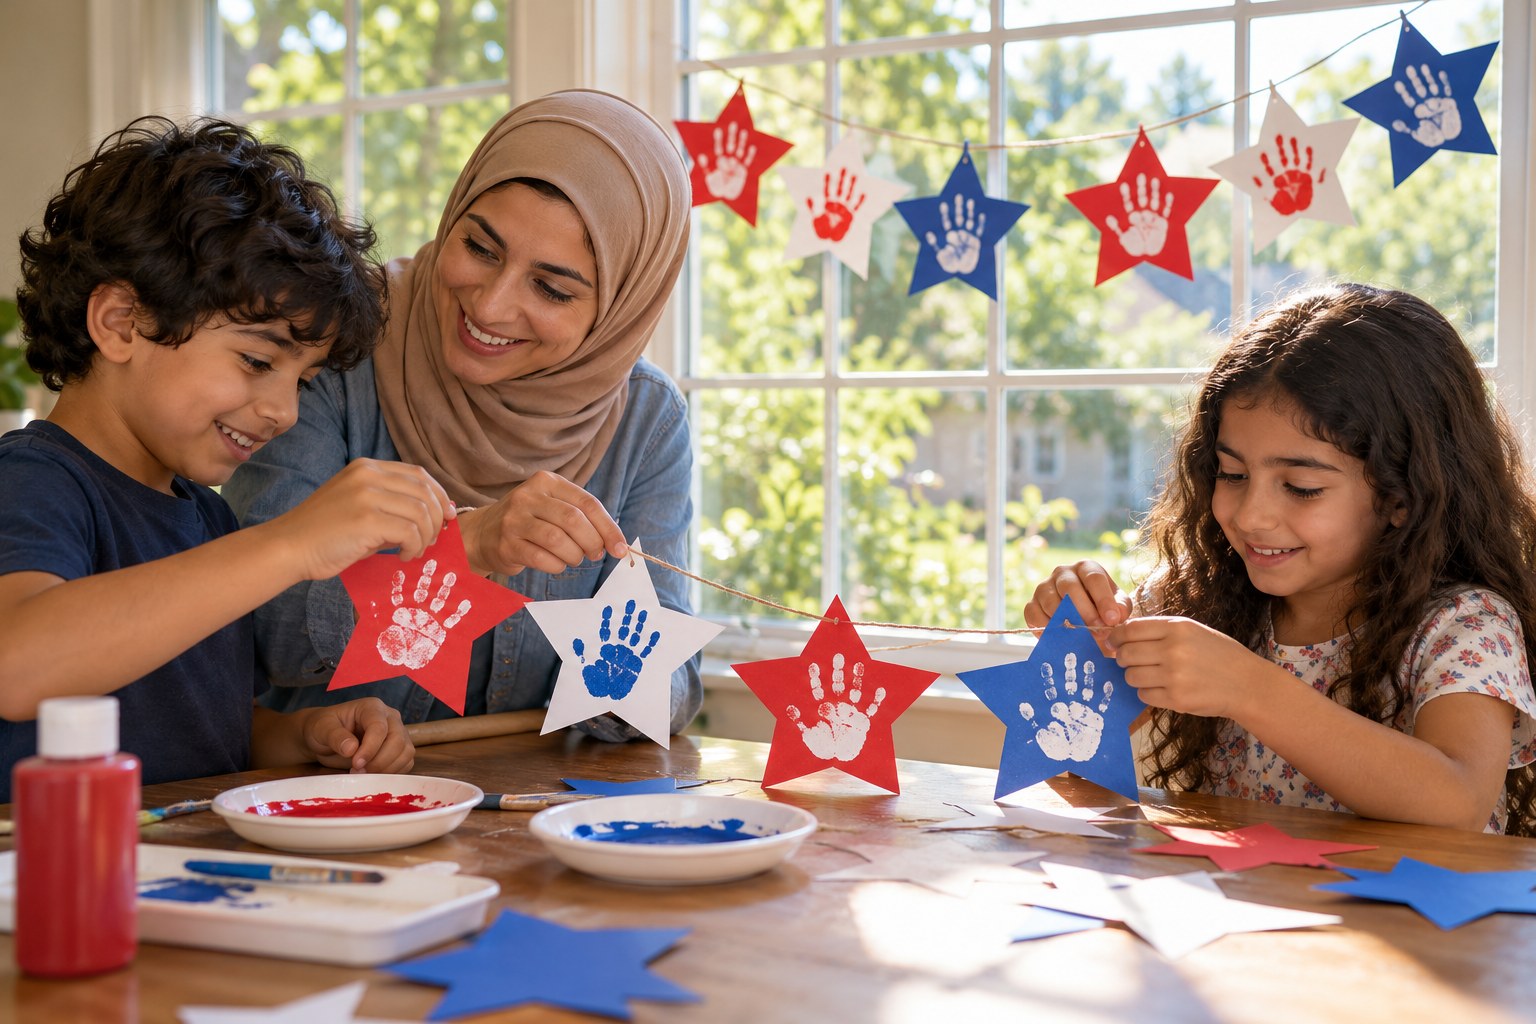
Make a handprint star garland that says thank you.
Description
Your little one learns that Veterans Day is a day to say thank you to people who served, then helps trace and color big paper stars and adds a handprint to each one to make a thank-you garland to hang in a window or give to a veteran they know.
Objective
Your child will say in their own words that Veterans Day is a day to thank people who served, and will color, decorate and help string paper stars into a garland.
Materials
| Item | Quantity |
|---|---|
| Construction paper or cardstock in red, white and blue | 6 sheets |
| Star shape drawn on cardboard as a tracing pattern, about 6 inches across | 1 |
| Washable paint in a shallow plate, or washable markers | 1 plate of paint or 1 set of markers |
| Child-safe scissors (adult cuts the stars) | 1 pair |
| Yarn or string about 4 feet long | 1 piece per garland |
| Hole punch or a pencil tip to poke holes (adult only) | 1 |
| Wet wipes or damp paper towels | a few |
Vocabulary
Preparation
- Trace and cut out 6 big stars from the construction paper (adult job). Punch one hole near the top point of each star.
- Pour a little washable paint onto a plate, or set out the markers, and cover the table.
Introduction
Hold up one paper star and count its points together: 1, 2, 3, 4, 5! Say: in November there is a special day when we say thank you to people who helped our country. We are going to make a thank-you garland full of stars.
Who are some helpers you know?
How do you say thank you when someone helps you?
Steps
Conclusion
Ask: who could we show our thank-you garland to? Take a photo of it to send to a veteran in your family, or give the garland to a neighbor who served.
Make your own lesson plan in minutes
Describe a topic and Resource Portal AI writes the objectives, materials and steps for your group.
Try Resource Portal AI