Full lesson previewDraw a Sneaker Side Profile: Templates, Panels and Proportions
Arts & Crafts45 minutesGrades: 9th
Overview
Sketch sneakers the way footwear designers do.
Description
Your teen learns the side-view sketch footwear designers start from: sole line, toe box, heel counter, eyestay and panels. They trace their own shoe for real scale, draw three original sneaker profiles in pencil on that template, then refine the best one with a fine liner and simple shading.
Objective
Your teen will draw a sneaker side profile in correct proportion, name its main parts, and use line weight and shading to make one original design read clearly.
Materials
| Item | Quantity |
|---|
| Sneaker (your teen's own) | 1 |
| Sheets of plain printer paper | 4 |
| Pencil (HB or 2B) | 1 |
| Eraser | 1 |
| Black fine-liner pen | 1 |
| Ruler | 1 |
Vocabulary
Toe box
The front section of the shoe that holds the toes; its height and curve change the whole look of a design.
Heel counter
The stiff cup at the back of the shoe that holds the heel in place.
Eyestay
The panel with the lace holes, running from the throat of the shoe up toward the ankle.
Line weight
How thick or dark a line is; designers use heavier lines for outer edges and lighter ones for stitching and details.
Preparation
- Clear a desk and set out the 4 sheets of paper, pencil, eraser, fine liner and ruler.
- Have your teen pick a clean sneaker they don't mind setting on paper.
Introduction
Tell your teen that nearly every sneaker in a store started life as a side-view sketch, often traced over a template so the proportions were right before any color was added. Today they make their own template from a real shoe and design on top of it.
Look at a sneaker from the side: which part do you notice first, the sole, the toe or the panels?
Why might designers trace a template instead of drawing every shoe freehand?
Steps
1Step 1
Trace the template
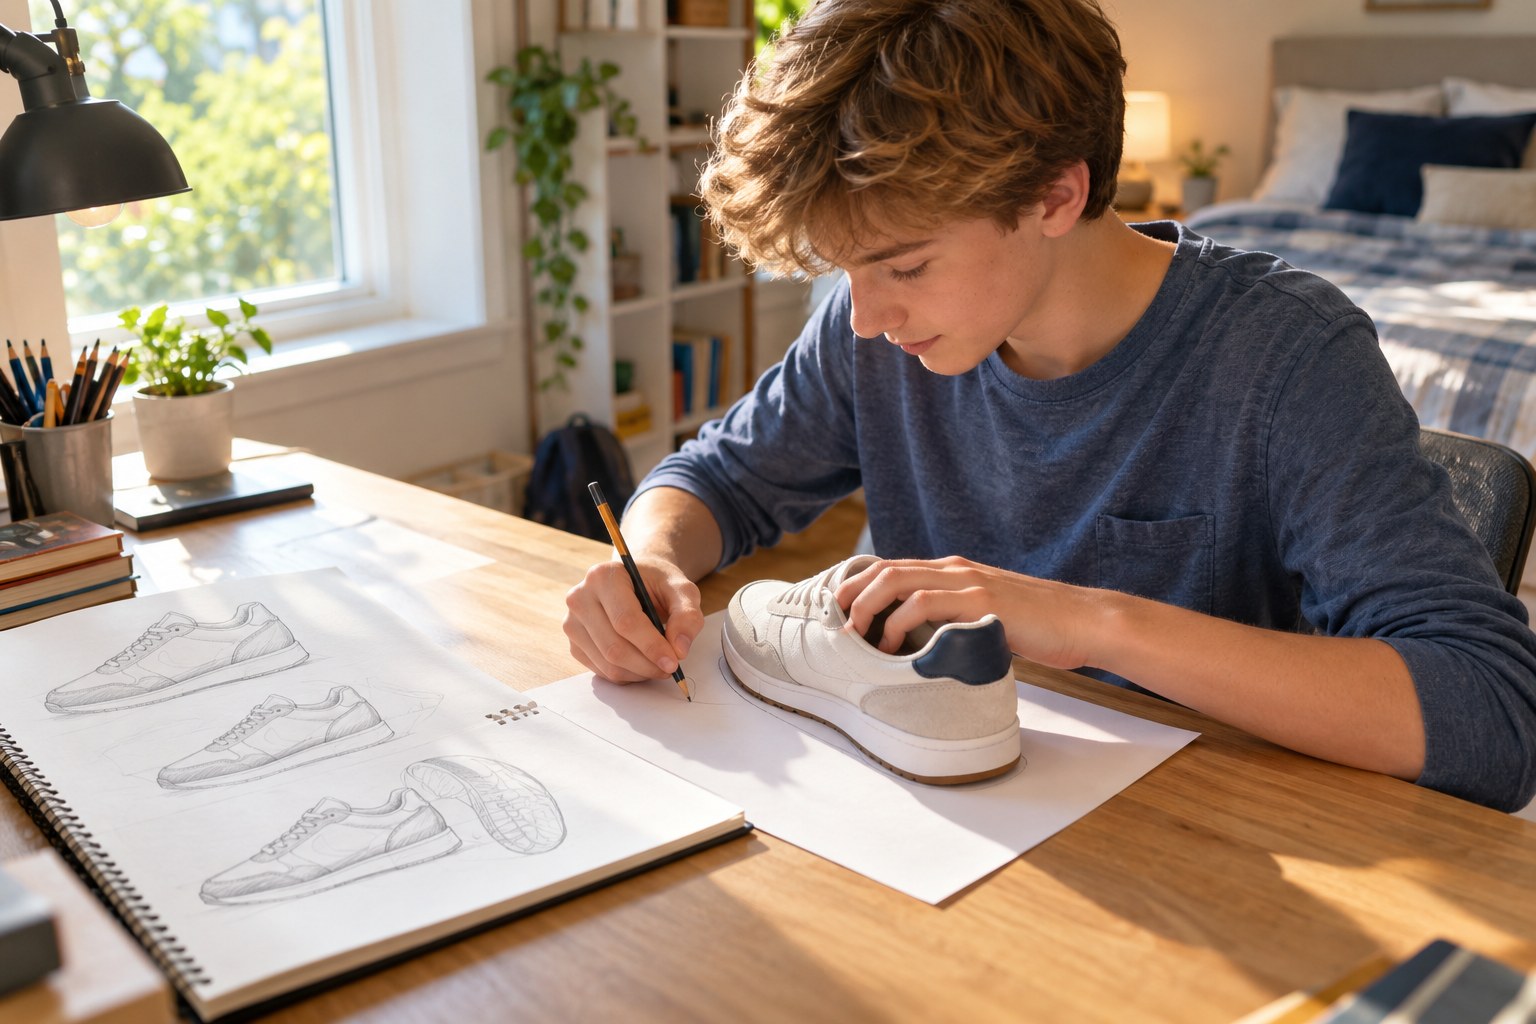
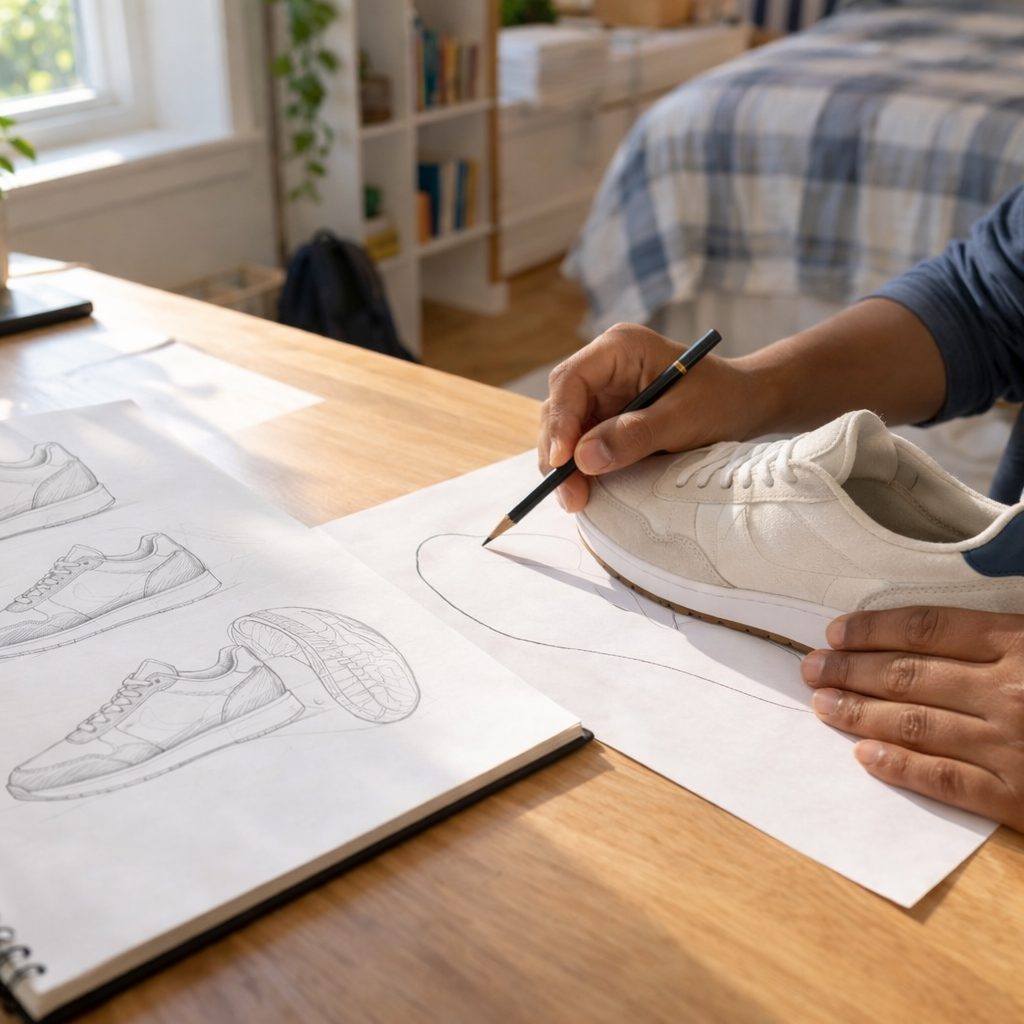
(8 min) Your teen sets their sneaker on its side on 1 sheet of printer paper and traces the outline lightly with the pencil, then lifts the shoe away. With the ruler they draw a straight ground line under the sole and mark the toe tip, the heel, and the highest point of the collar.
2Step 2
Map the parts
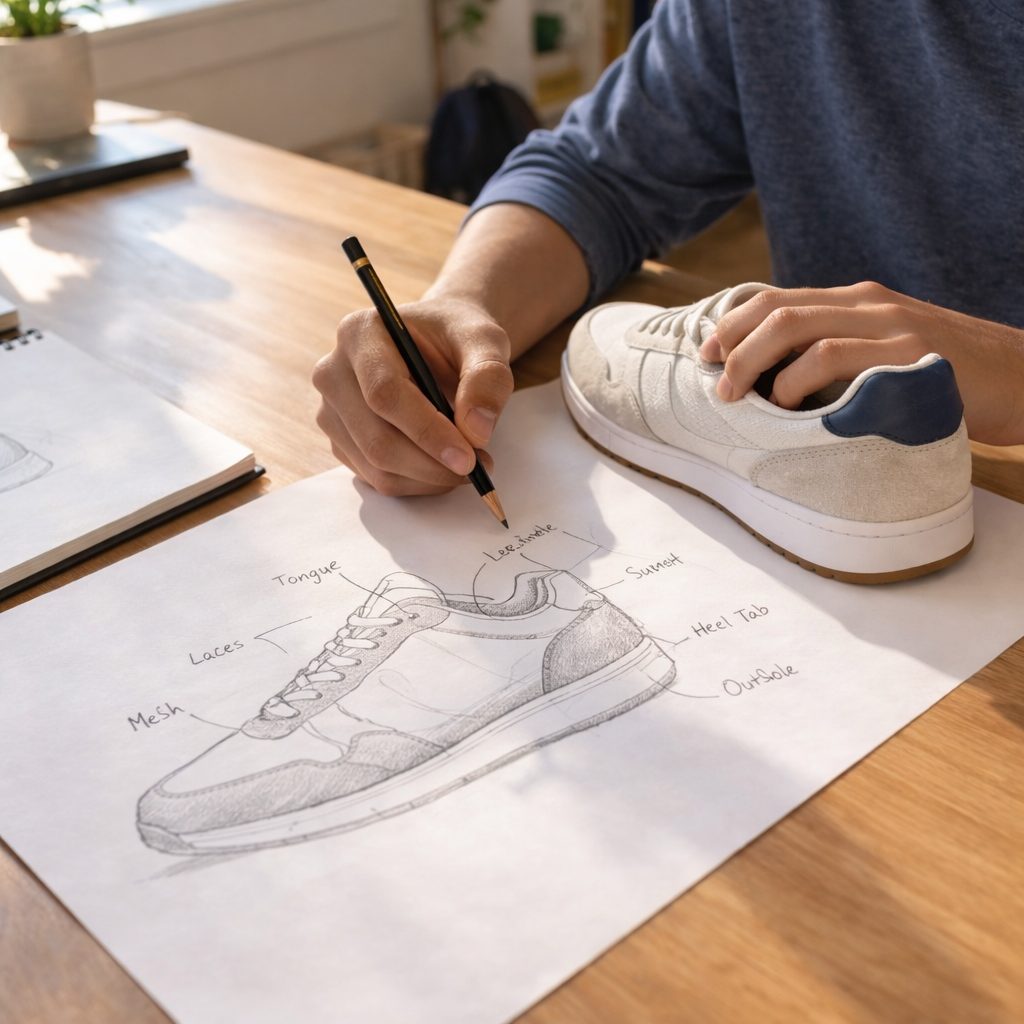
(8 min) On the traced outline your teen draws in the sole line, toe box, heel counter, eyestay and lace area, using the real shoe as a reference. They label each part in small letters and note one proportion, such as how many toe-box heights fit into the full shoe length.
3Step 3
Draw three originals
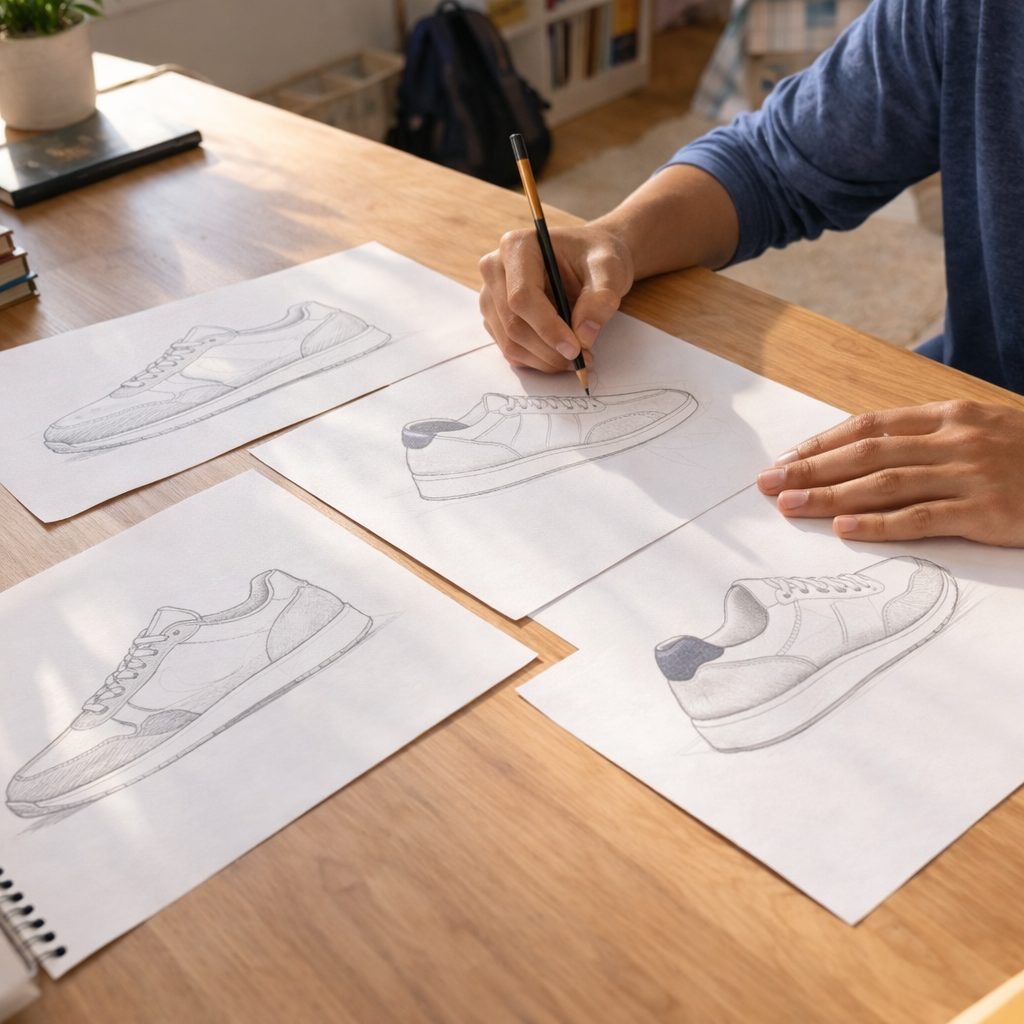
(15 min) Your teen lays a second sheet over the template (against a bright window if needed) and sketches three original profiles on the remaining 2 sheets and the back of the template, keeping the same sole length and heel height. Each design changes something real: one changes the panels, one changes the sole shape, and one changes the collar height.
4Step 4
Refine with line weight
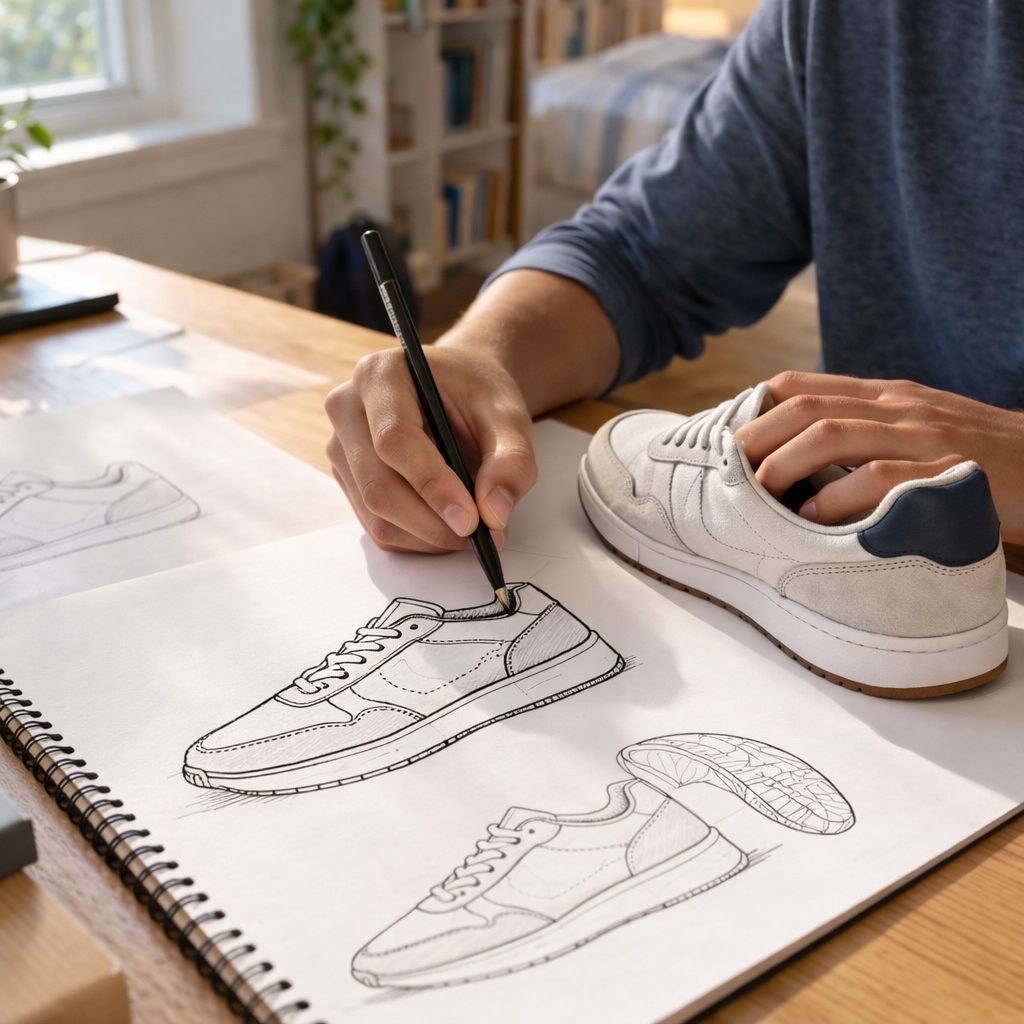
(10 min) Your teen chooses the strongest design and goes over it with the black fine liner, using a heavy line for the outer edge and sole, a medium line for panels, and short dashed lines for stitching. They add simple shading under the toe and along the midsole so the shoe looks three-dimensional.
5Step 5
Give it a design note
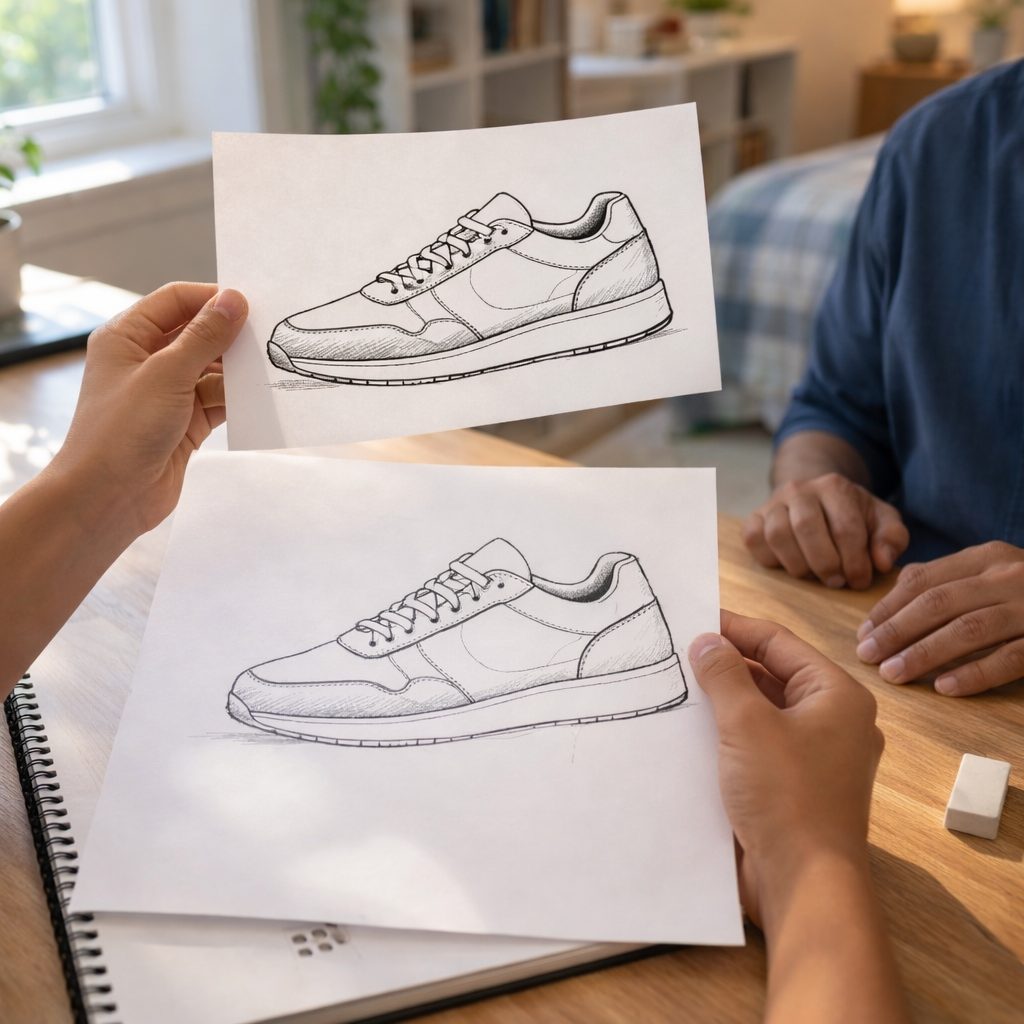
(4 min) Under the inked drawing your teen writes a name for the shoe and two sentences on who it is for and what makes it different. They show you the template and the final drawing side by side and explain one proportion they kept.
Conclusion
Ask your teen which of the three designs surprised them most. A traced template is a tool real designers use; it frees them to spend their energy on ideas rather than on getting the shape right every time.
Make your own lesson plan in minutes
Describe a topic and Resource Portal AI writes the objectives, materials and steps for your group.
Try Resource Portal AI